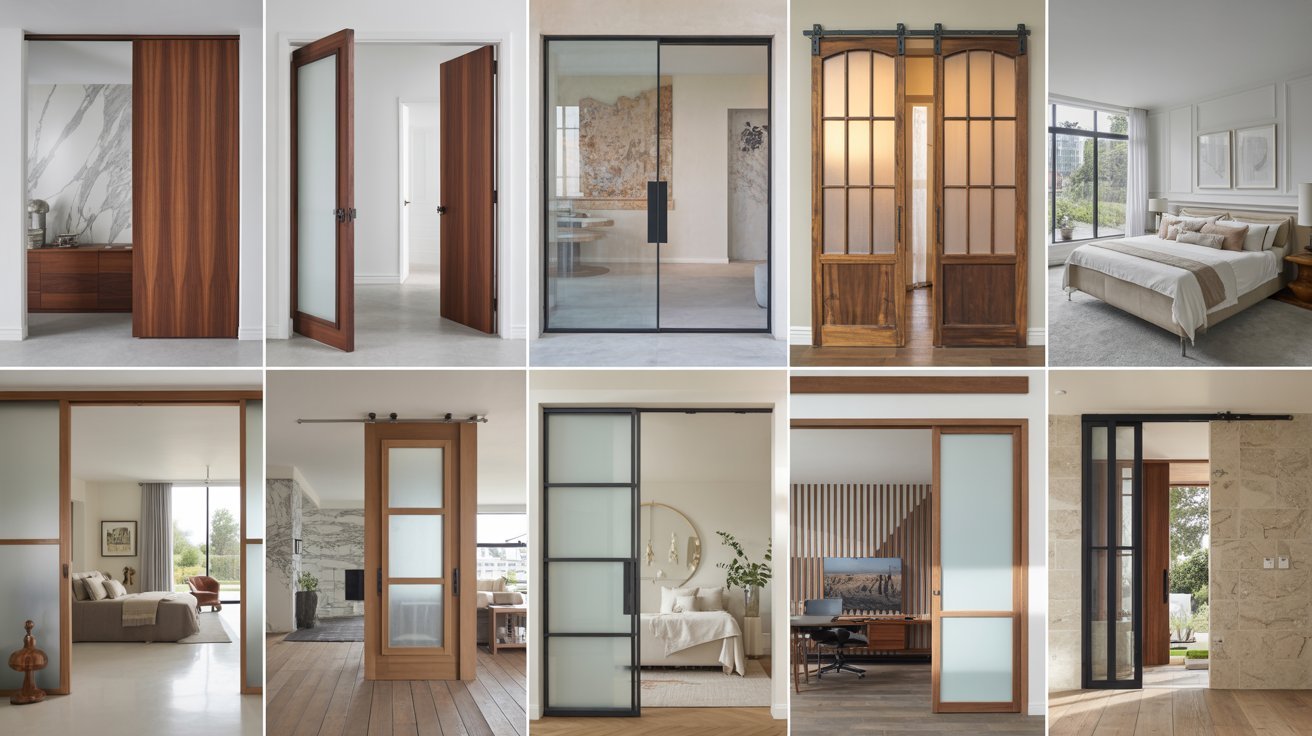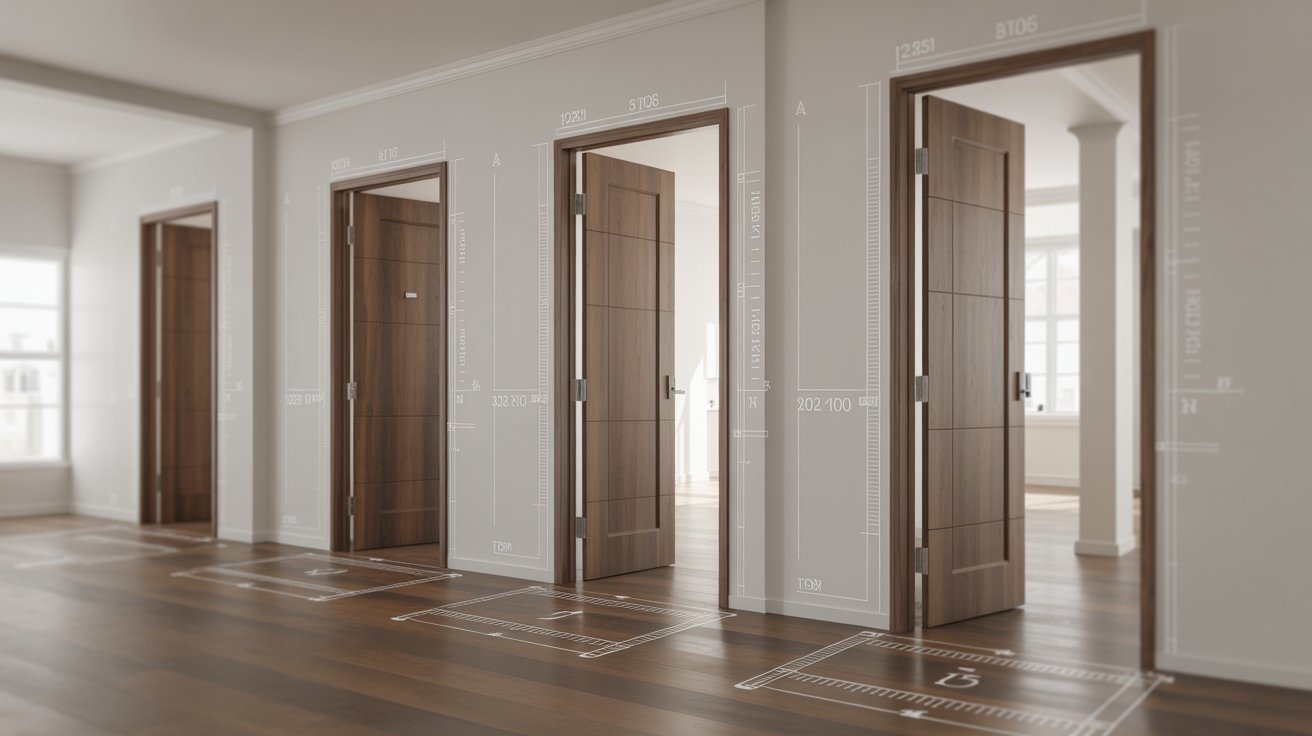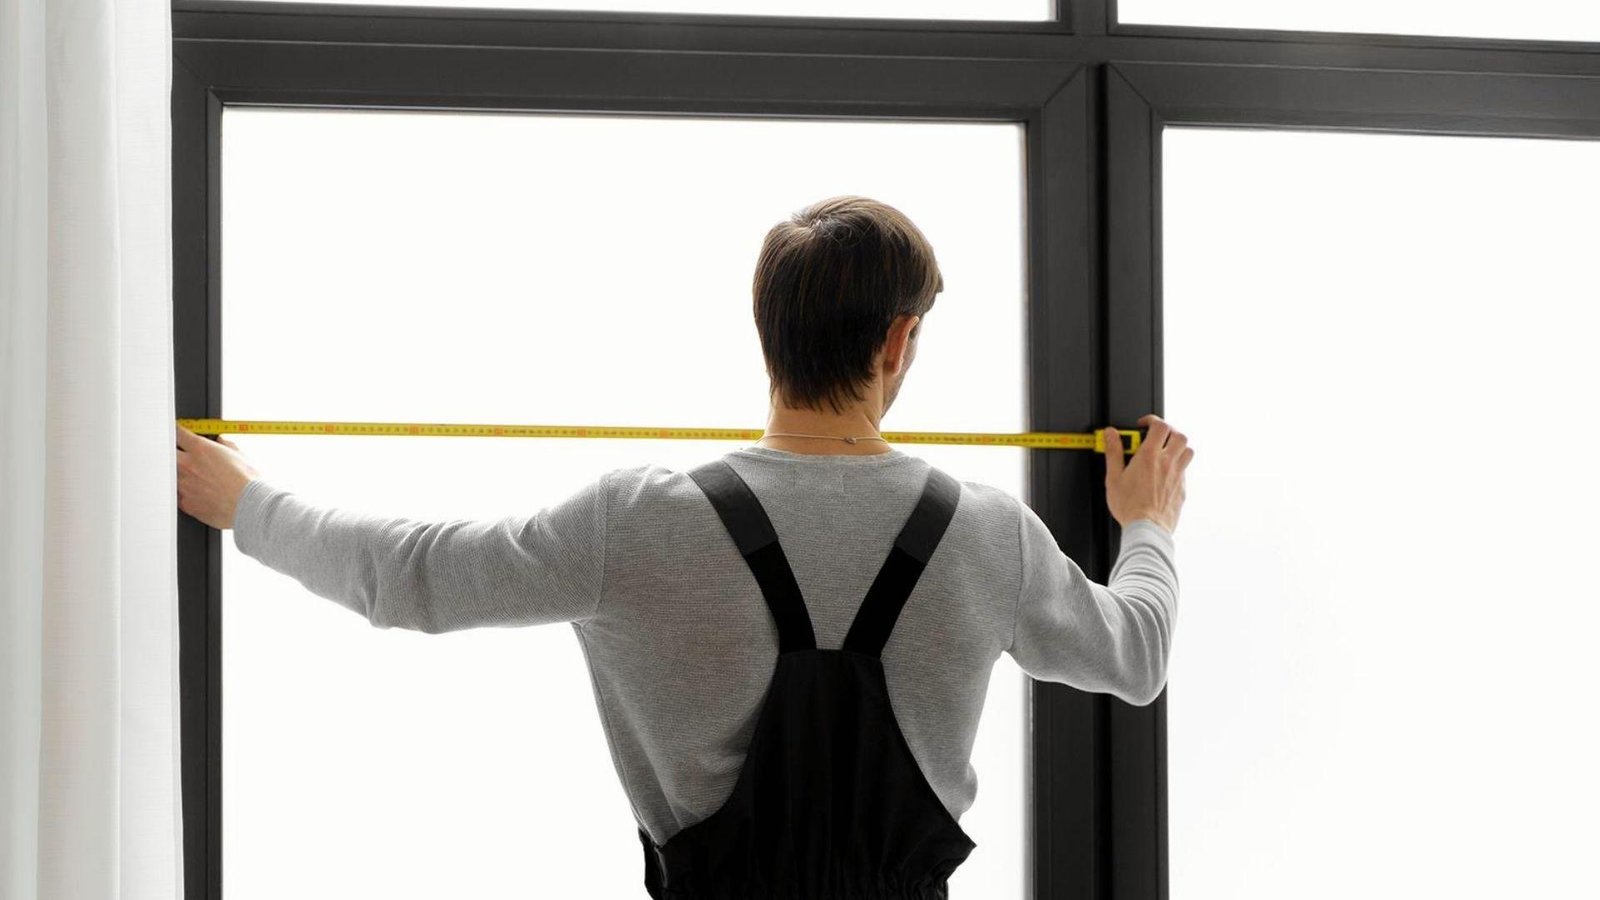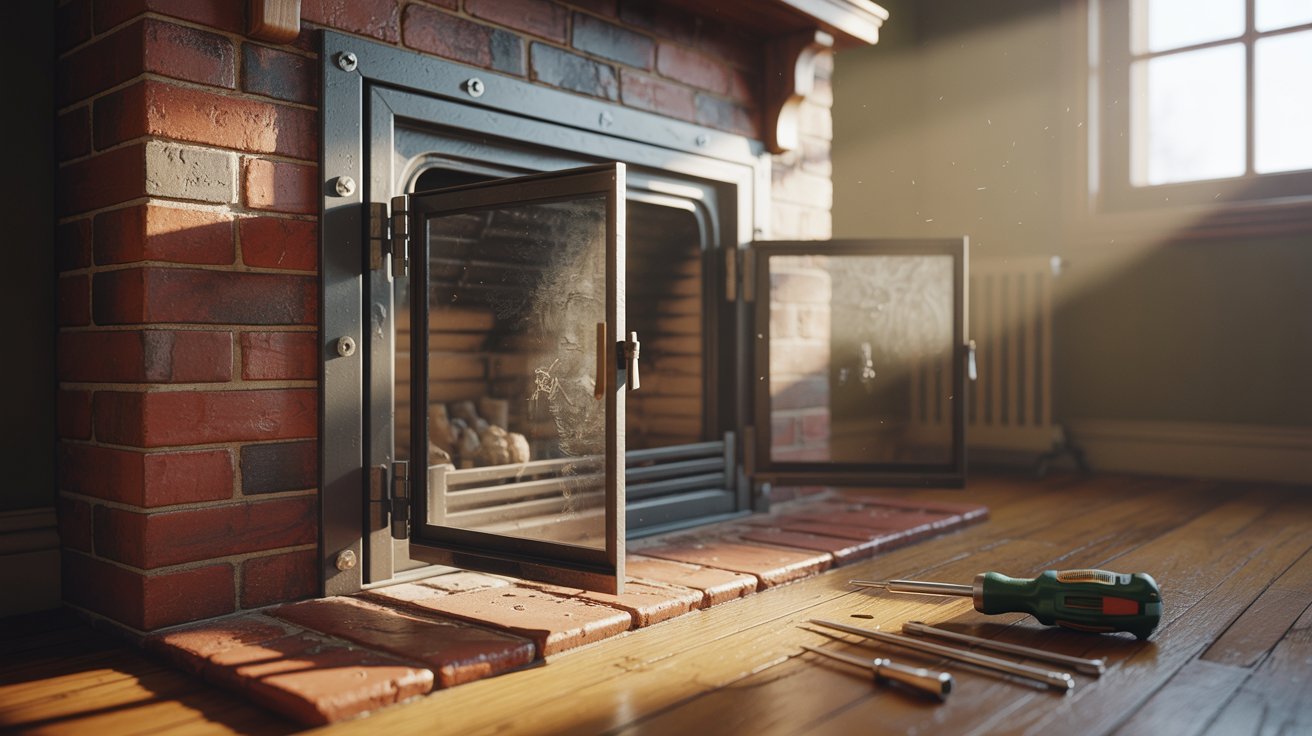
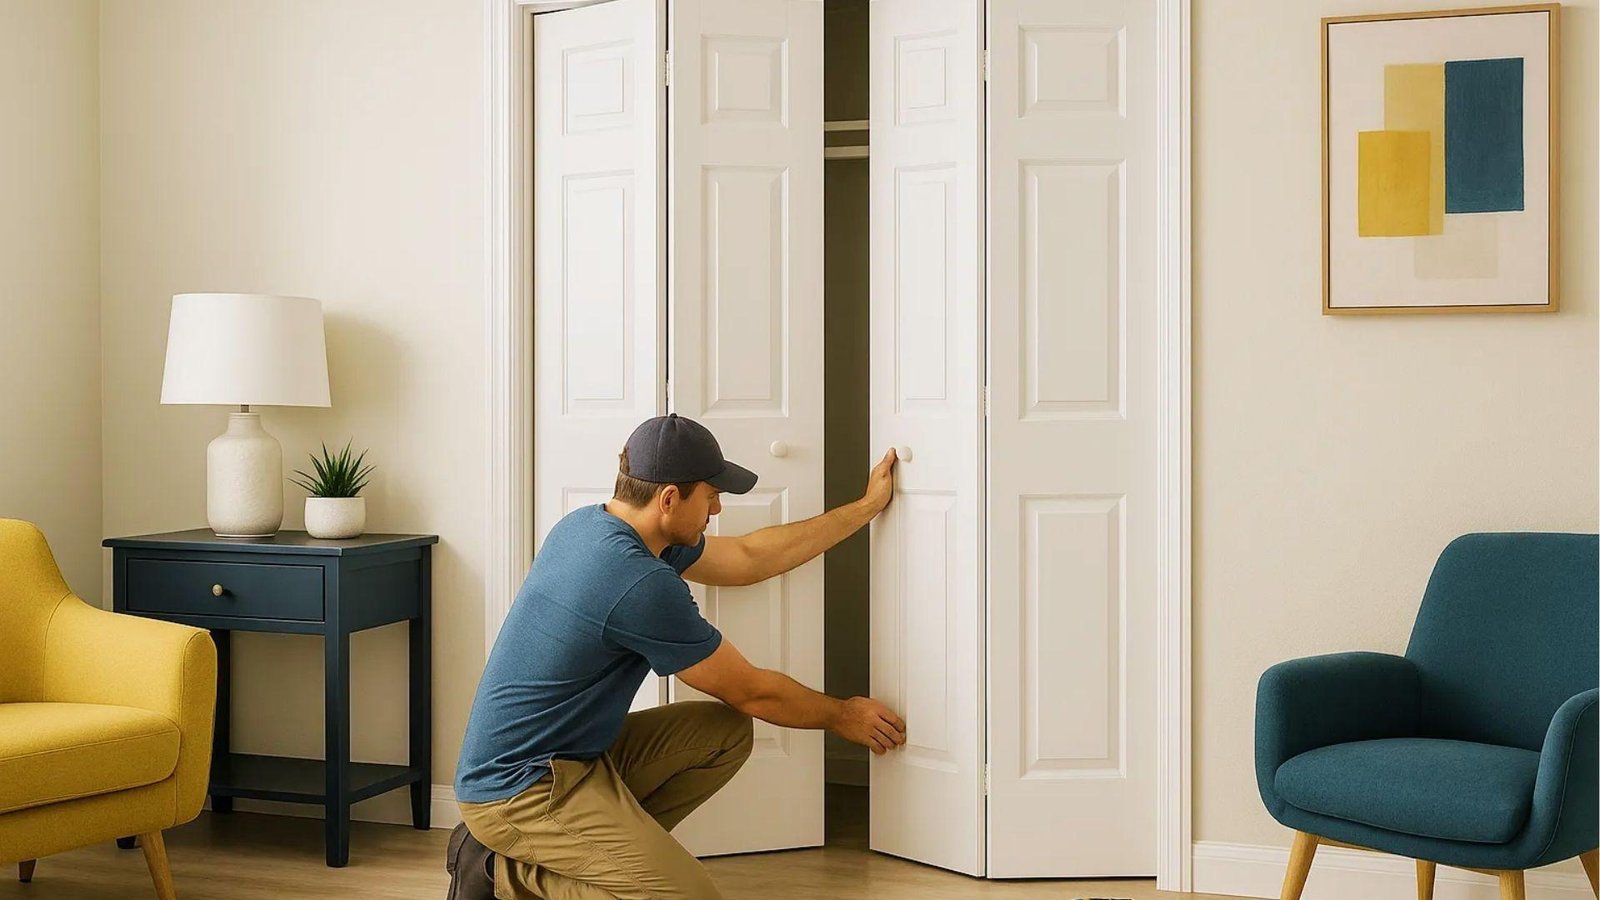

That bottom track always bothered me. It collected dust, caught on rugs, and looked out of place on my new floors.
If you are here, you probably feel the same way.
In this guide, I will show you how to install bifold doors without bottom track, step by step. I will cover the tools you need, the full install process, and fixes for the most common problems.
No complicated terms. No guesswork.
I have broken everything down in simple, clear steps so you can get this done without calling a contractor.
By the end, your doors will fold smoothly and your floors will look exactly how you wanted.
Why Homeowners Prefer Trackless Bifold Doors
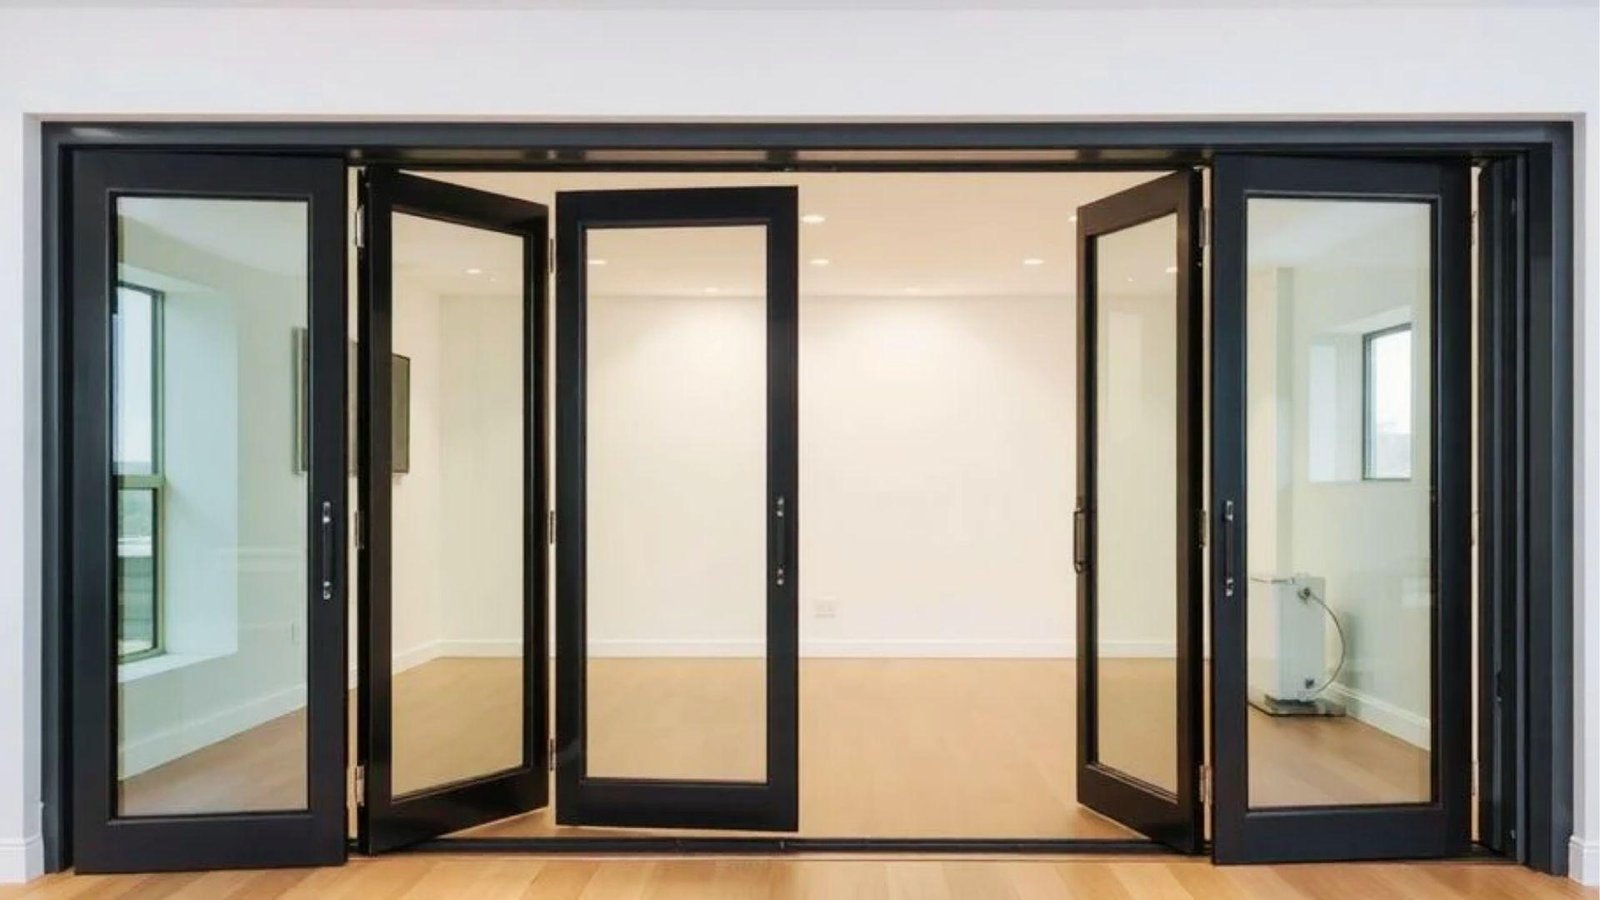
A lot of homeowners are making the switch to trackless bifold doors, and it is easy to see why.
The floor stays clean and uninterrupted, which makes the whole room look more put together. There is no rail to mop around or stub your toe on late at night.
For anyone with laminate or floating floors, this setup is a smart call because no bulky floor rail interrupts the flooring design.
Many homeowners in DIY forums also mention how much easier cleaning becomes after removing the bottom track.
It is a small change that makes a big difference.
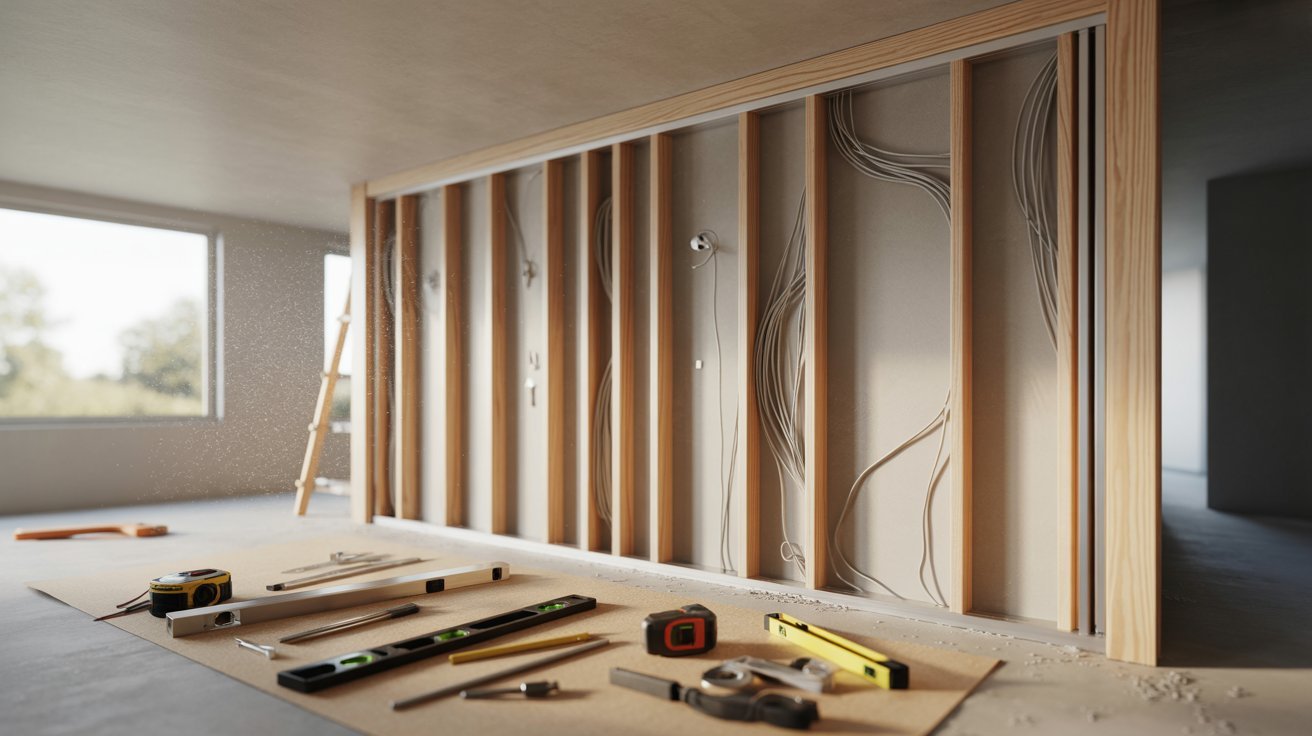
Tools and Hardware Needed
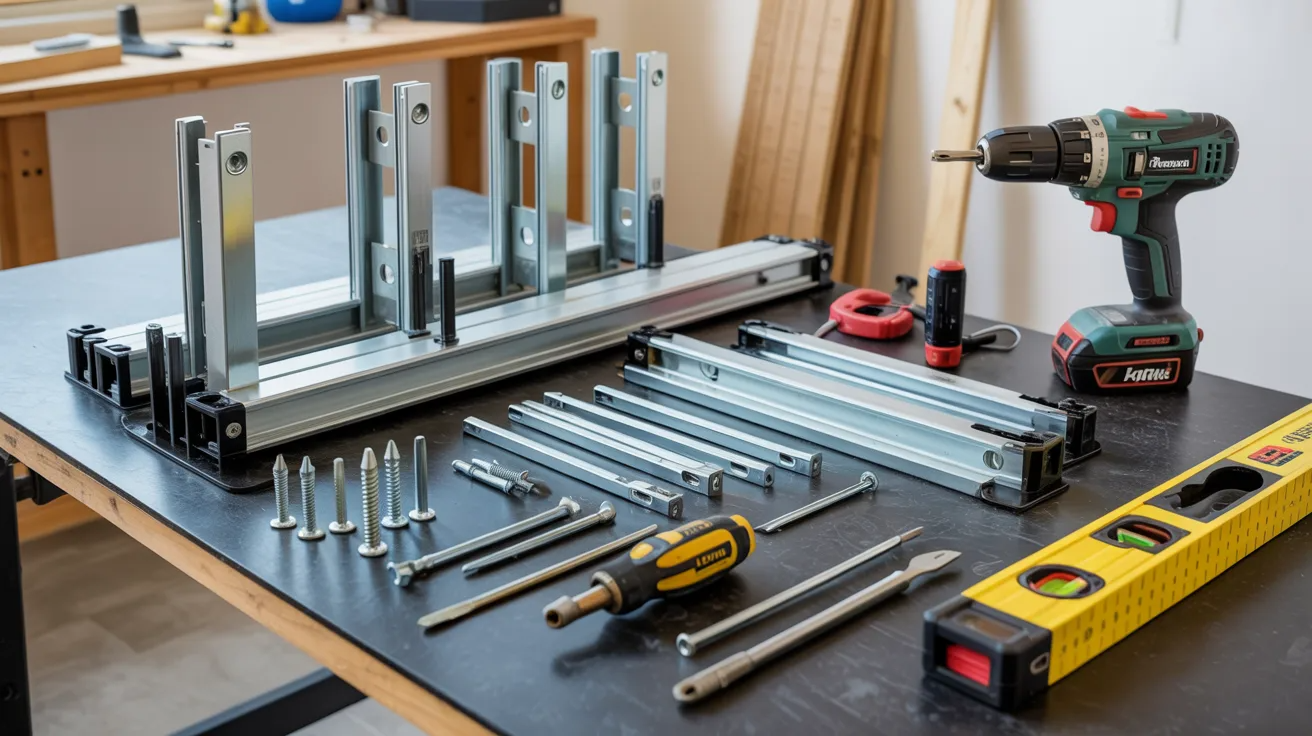
Before you start, gather everything you need:
- Top track kit: This holds the full weight of the door panels from above.
- Pivot brackets: These anchor the door at the top and bottom corners.
- Pivot pins: These connect the door panel to the pivot brackets.
- Screws and anchors:These secure the hardware firmly into the door frame.
- Drill and screwdriver:These are used to drive screws and make pilot holes.
- Level and measuring tape:These keep everything straight and properly sized.
Having all of this ready before you start saves time and prevents mid-project trips to the hardware store.
Step-by-Step Guide on How to Install Bifold Doors Without Bottom Track
Follow these steps in order and you will have clean, working trackless bifold doors by the end of the day.
1. Measure the Opening Correctly
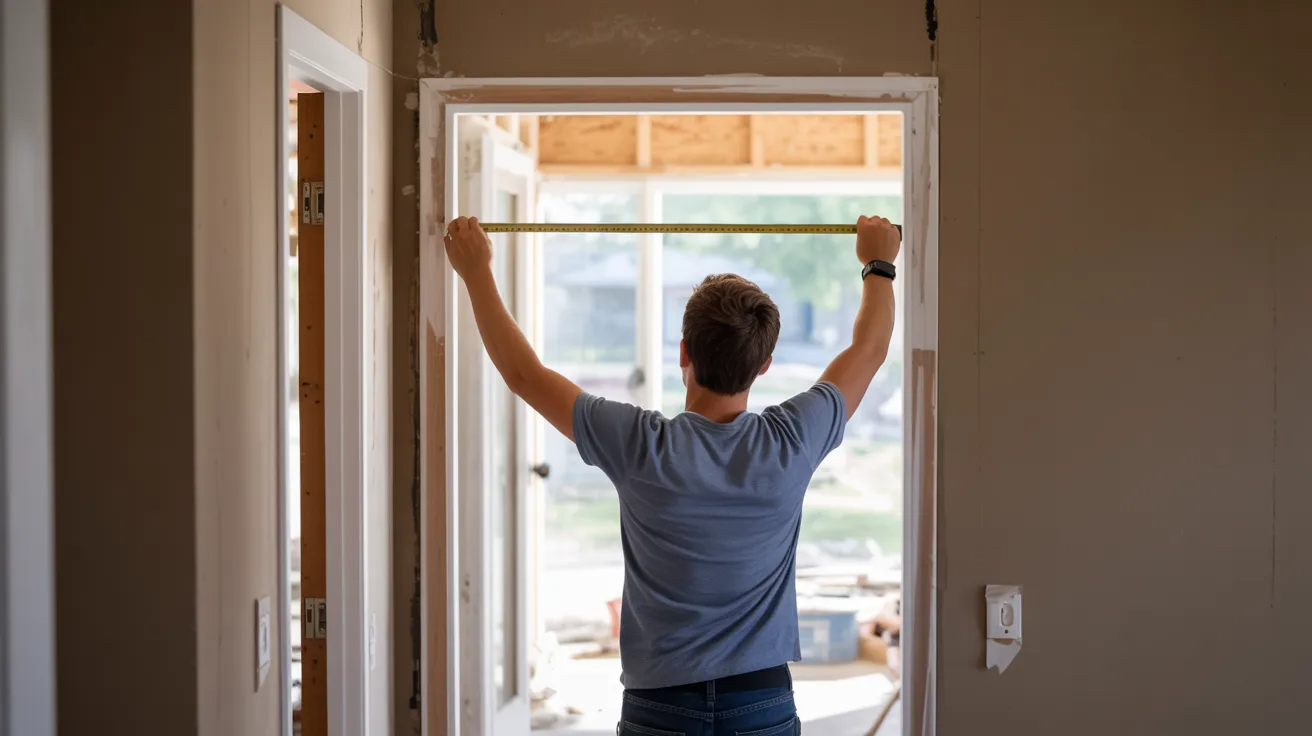
Start with accurate measurements. Measure the width of the door opening at the top, middle, and bottom.
Use the narrowest number. For height, measure from the floor to the top of the frame. Leave about a half-inch of floor clearance so the door folds without scraping.
Getting this right from the start saves you from adjusting everything later.
2. Install the Top Track
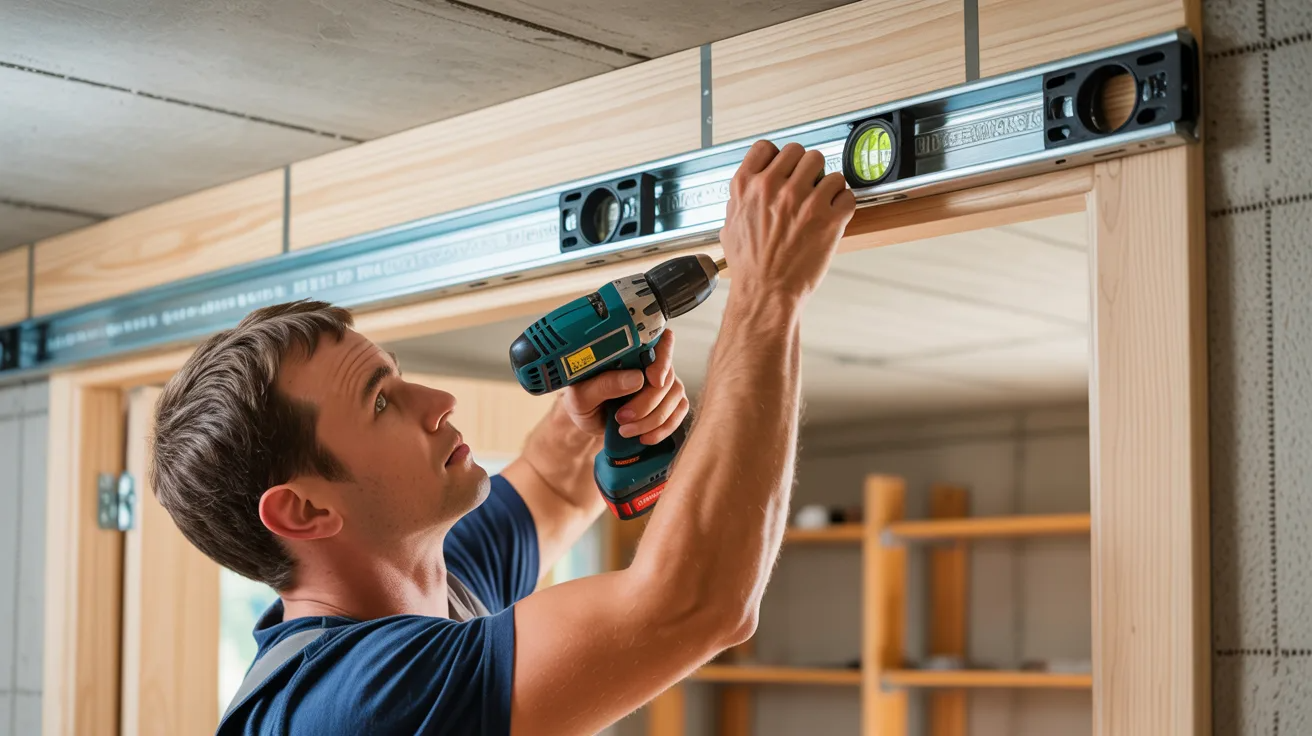
Hold the top track up to the inside of the door frame header. Use a level to make sure it sits perfectly straight.
Mark your screw holes with a pencil. Drill pilot holes first, then drive in the screws. A crooked top track causes every problem downstream.
Take your time here. A few extra minutes leveling the track saves hours of frustration later.
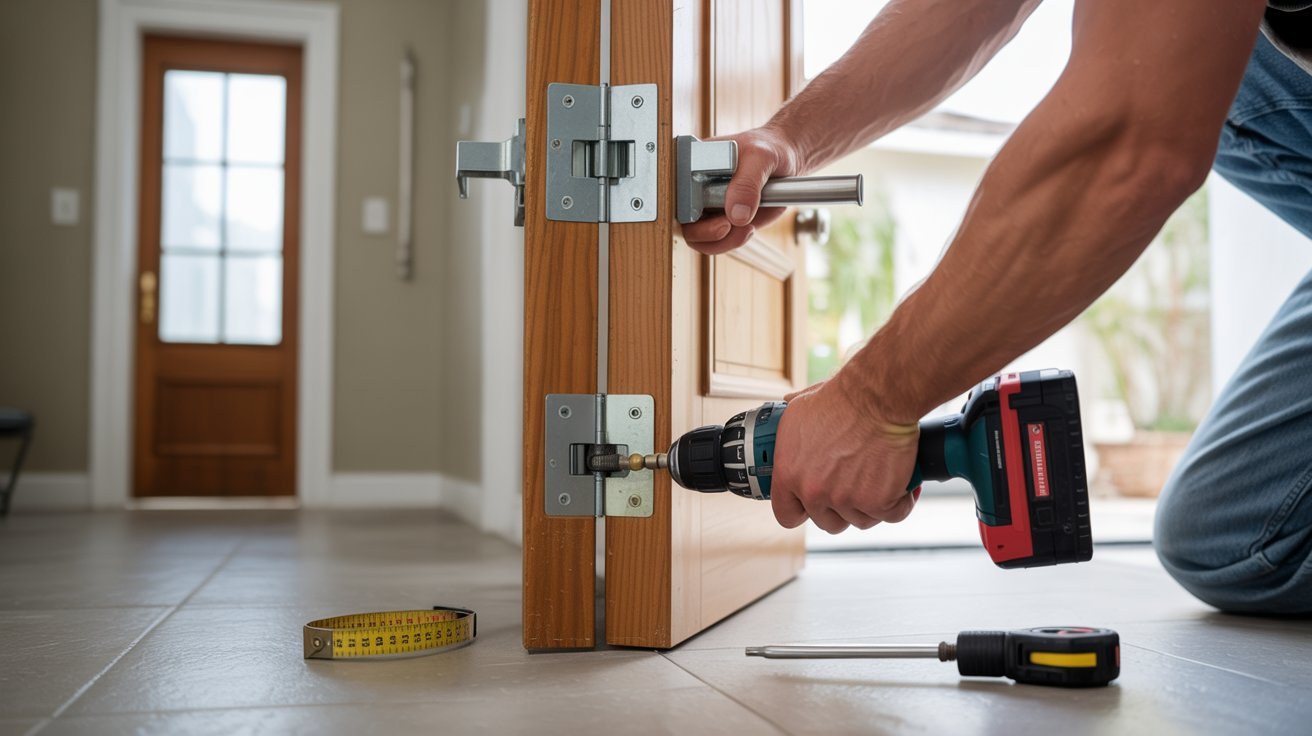
3. Attach the Bottom Pivot Bracket
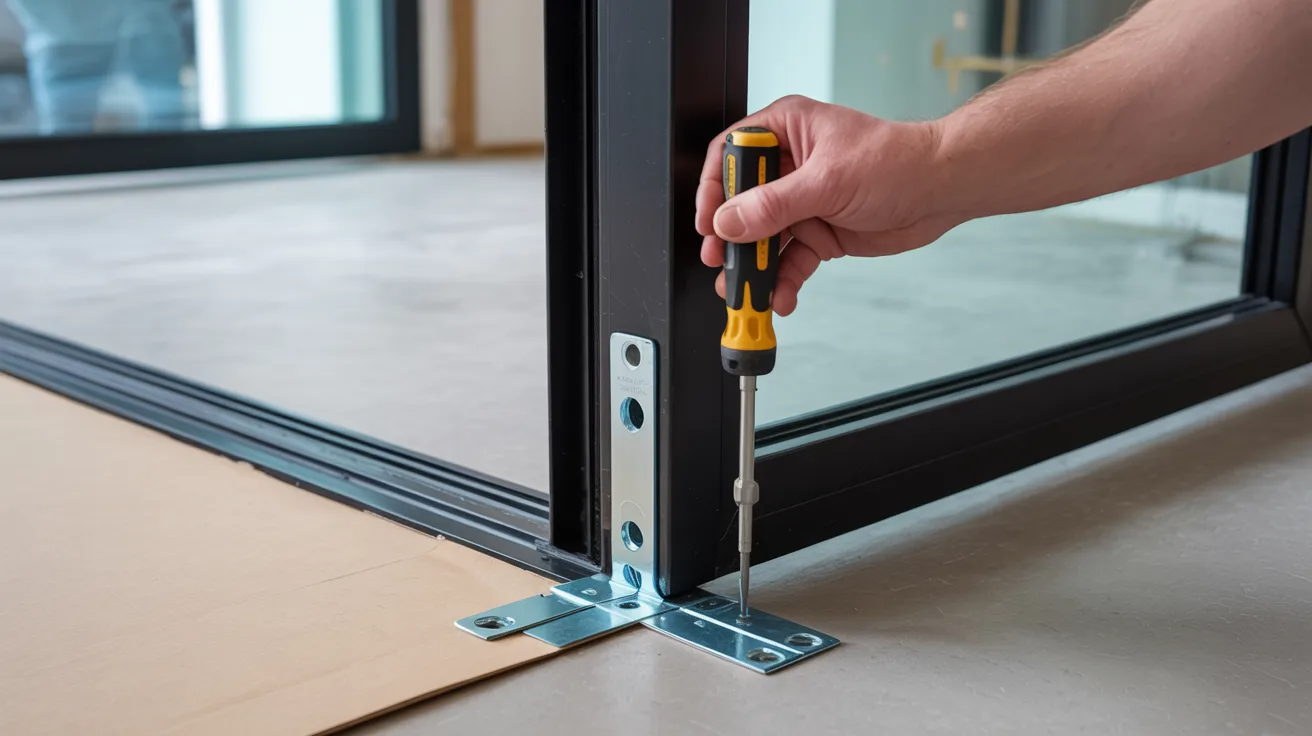
The bottom pivot bracket sits on the floor at the corner of the door opening. It holds the door panel in place at the base without using a track.
Position it directly below the top pivot point. Use a plumb line or level to line it up. Anchor it firmly with screws.
This bracket does all the stabilizing work that the bottom track used to handle.
4. Install the Door Panels
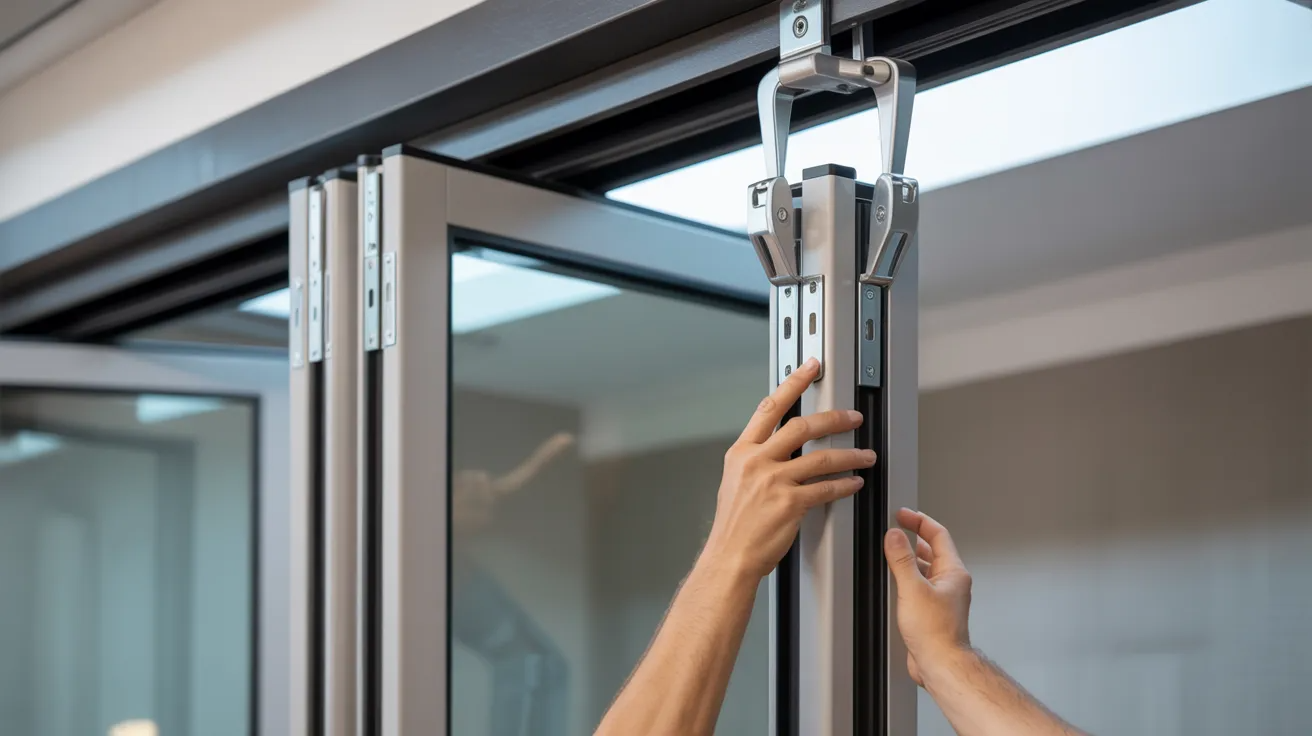
Slide the top pivot pin into the top track first. Then set the bottom pivot pin into the bottom bracket.
Attach the guide roller into the track near the top of the panel. Once both panels are in, check that the folding motion is smooth.
If a panel tilts or binds, the pivot pin height usually needs a small adjustment. Most pivot hardware has a screw for this.
5. Adjust and Test the Doors
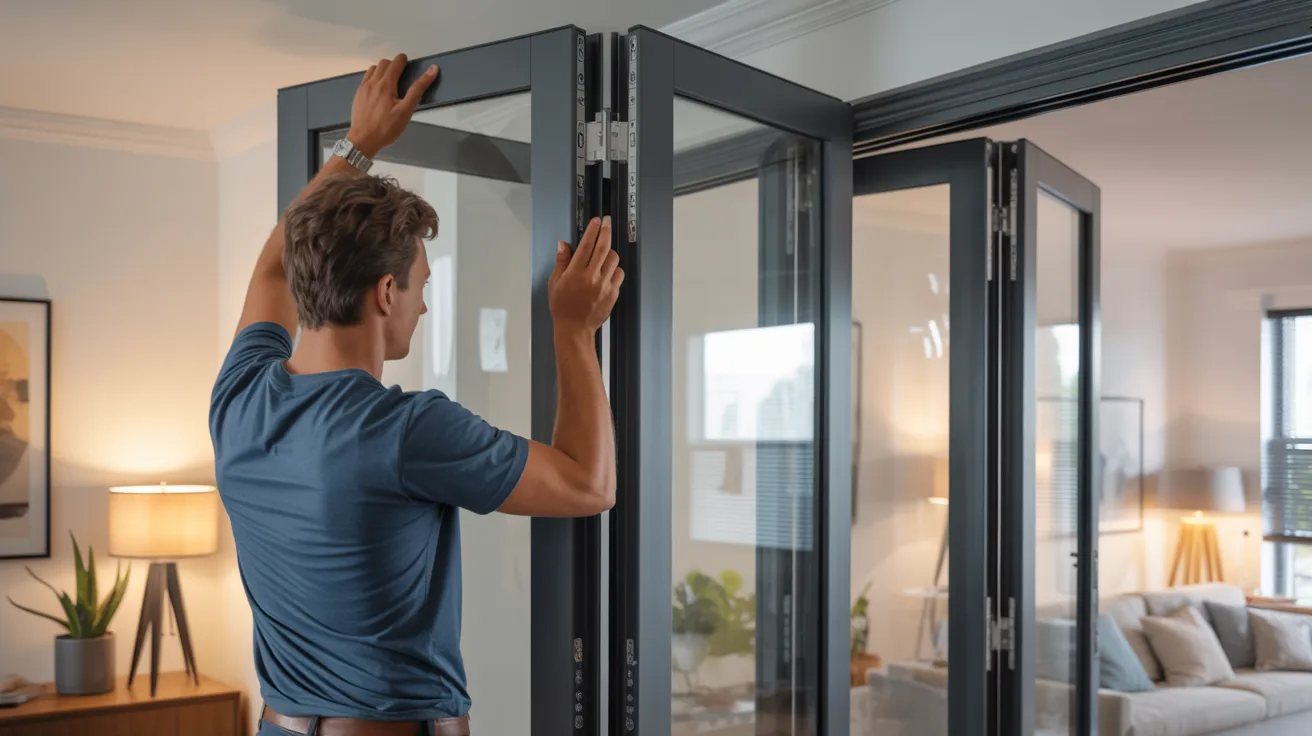
Open and close the doors several times. Watch for dragging along the floor or uneven gaps between panels.
Most top tracks have an adjustment screw on the pivot hardware. Turn it slightly to raise or lower the door.
Check that both panels fold flush. Do not finalize any screws until the movement is completely smooth and the gaps look even.
Common Problems Homeowners Face
Even a clean install can hit snags. Here are the most common issues and how to fix them fast.
Doors Rubbing Against the Floor
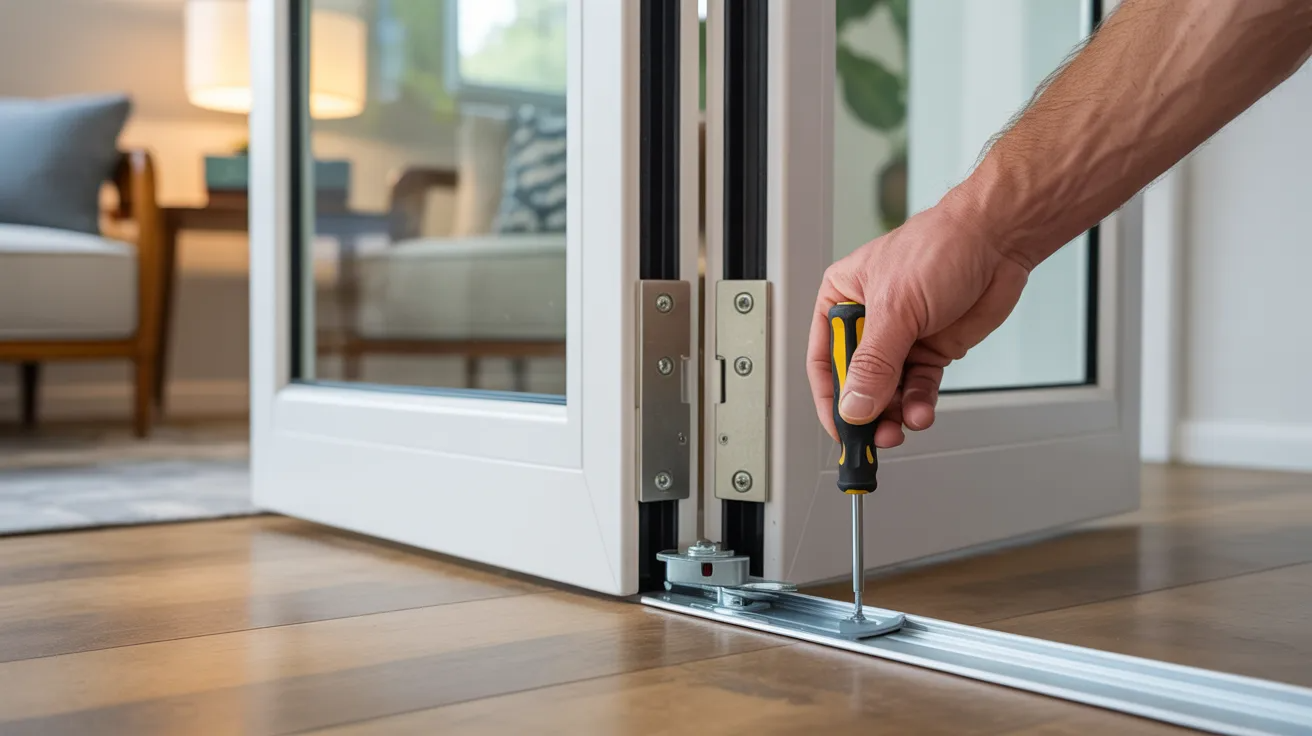
This usually means the door hangs too low. Check the bottom pivot pin first. Most pivot brackets have a height adjustment screw.
Turn it clockwise to raise the door slightly. If the floor itself is uneven, a small door shoe or floor sweep can close the gap without causing drag.
Always recheck floor clearance after any adjustment.
Uneven Gaps Between Panels
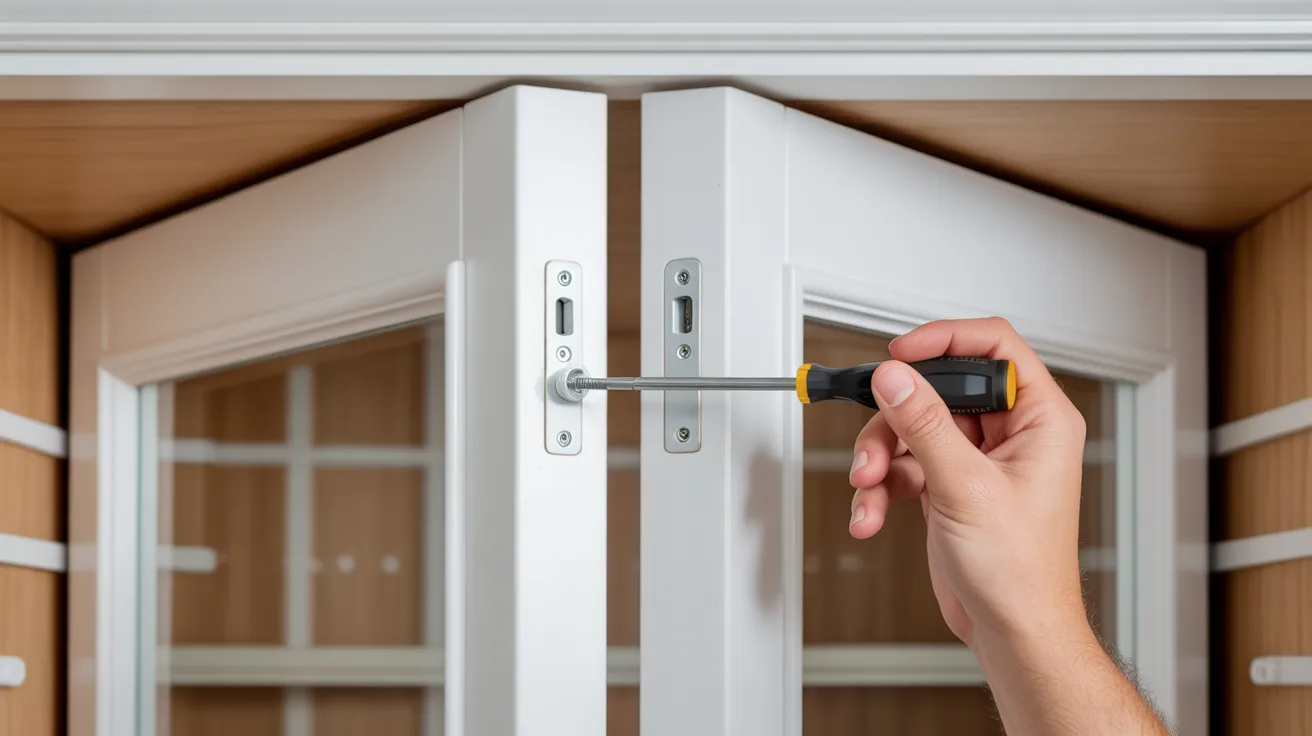
If one panel sits higher than the other, the top pivot pin is likely set at the wrong height.
Loosen the adjustment screw on the top hardware and raise or lower the pin until both panels line up.
Step back and eyeball the gap from a distance. Small adjustments make a big visual difference. Check alignment again after final tightening.
Loose Pivot Brackets
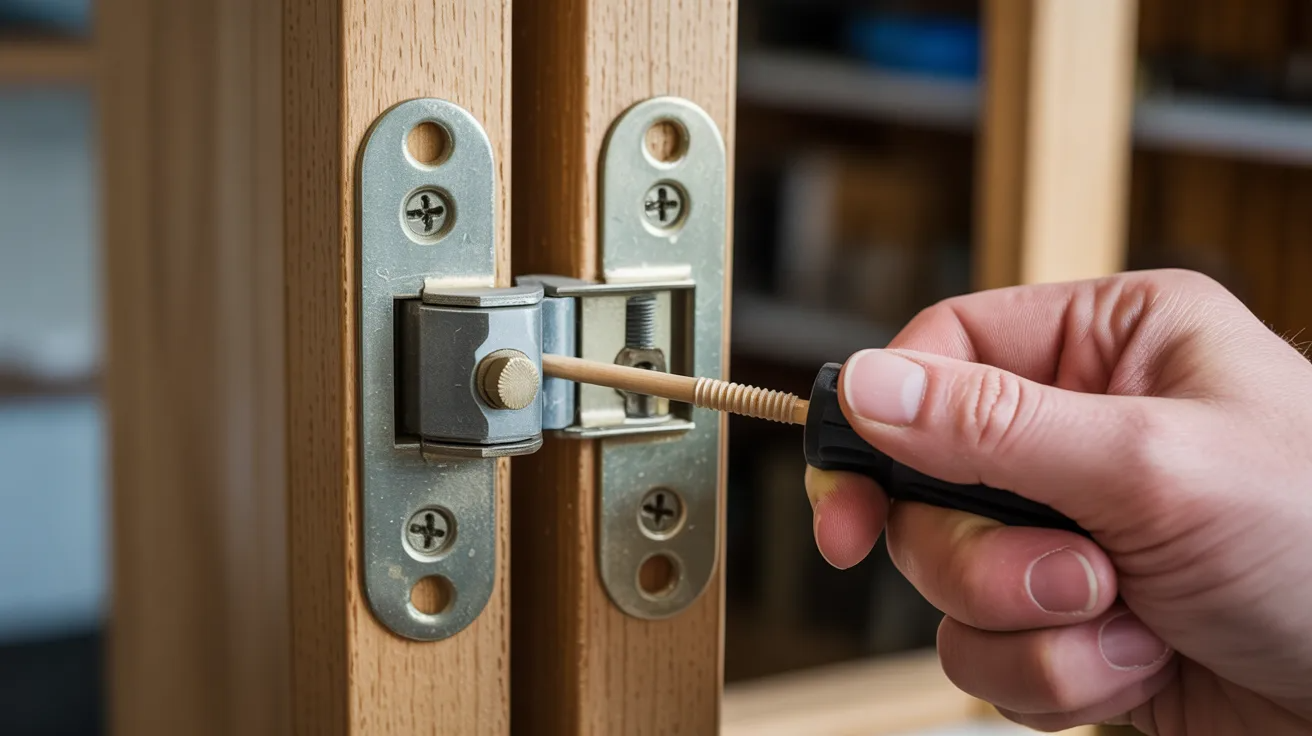
A loose bracket makes the door wobble and fold unevenly. Remove the bracket and check if the screws are stripping out.
If the hole is worn, use longer screws or fill the hole with a wooden toothpick and wood glue before re-driving the screw.
This gives the screw something solid to grip. Let it dry fully before reattaching the bracket.
Rollers Sticking Inside the Track
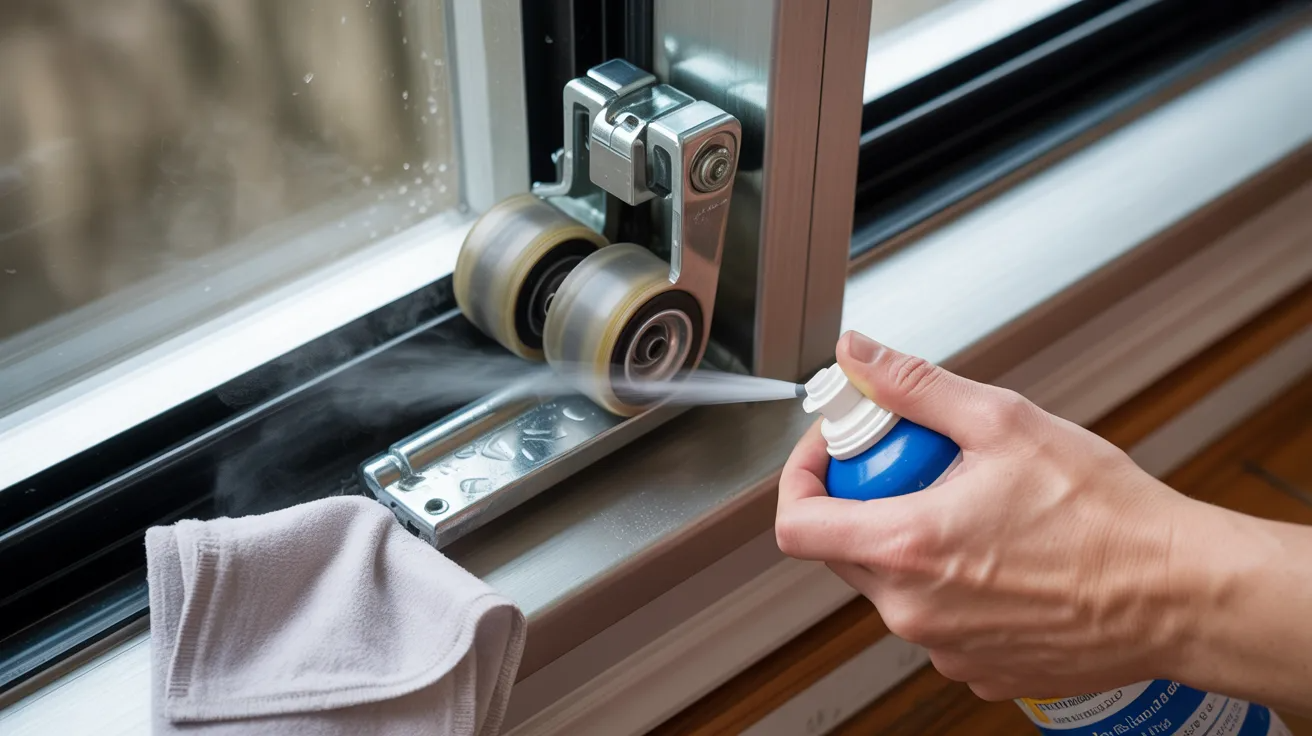
Dirt and dust build up inside the top track over time. Use a dry cloth or compressed air to clean inside the channel.
If the roller still sticks, apply a small amount of silicone spray lubricant. Avoid oil-based products because they attract more dust.
Check the roller itself for cracks or flat spots. A damaged roller needs to be replaced, not just lubricated.
Expert Tips From DIY Communities
These tips come straight from homeowners who have done this install more than once:
- Always level the top track first. Everything else depends on it being straight.
- Avoid overtightening pivot hardware. Snug is enough. Overtightening strips threads and cracks plastic components.
- Use helper support for larger doors. A second pair of hands makes hanging heavy panels much safer.
- Choose lightweight panels for smoother operation. Hollow-core doors work better in a trackless setup than solid wood.
- Test alignment before final tightening. Fold and unfold the door at least five times before locking anything in place.
These small habits separate a clean install from one that needs constant re-adjusting.
Are Bottom Tracks Ever Necessary?
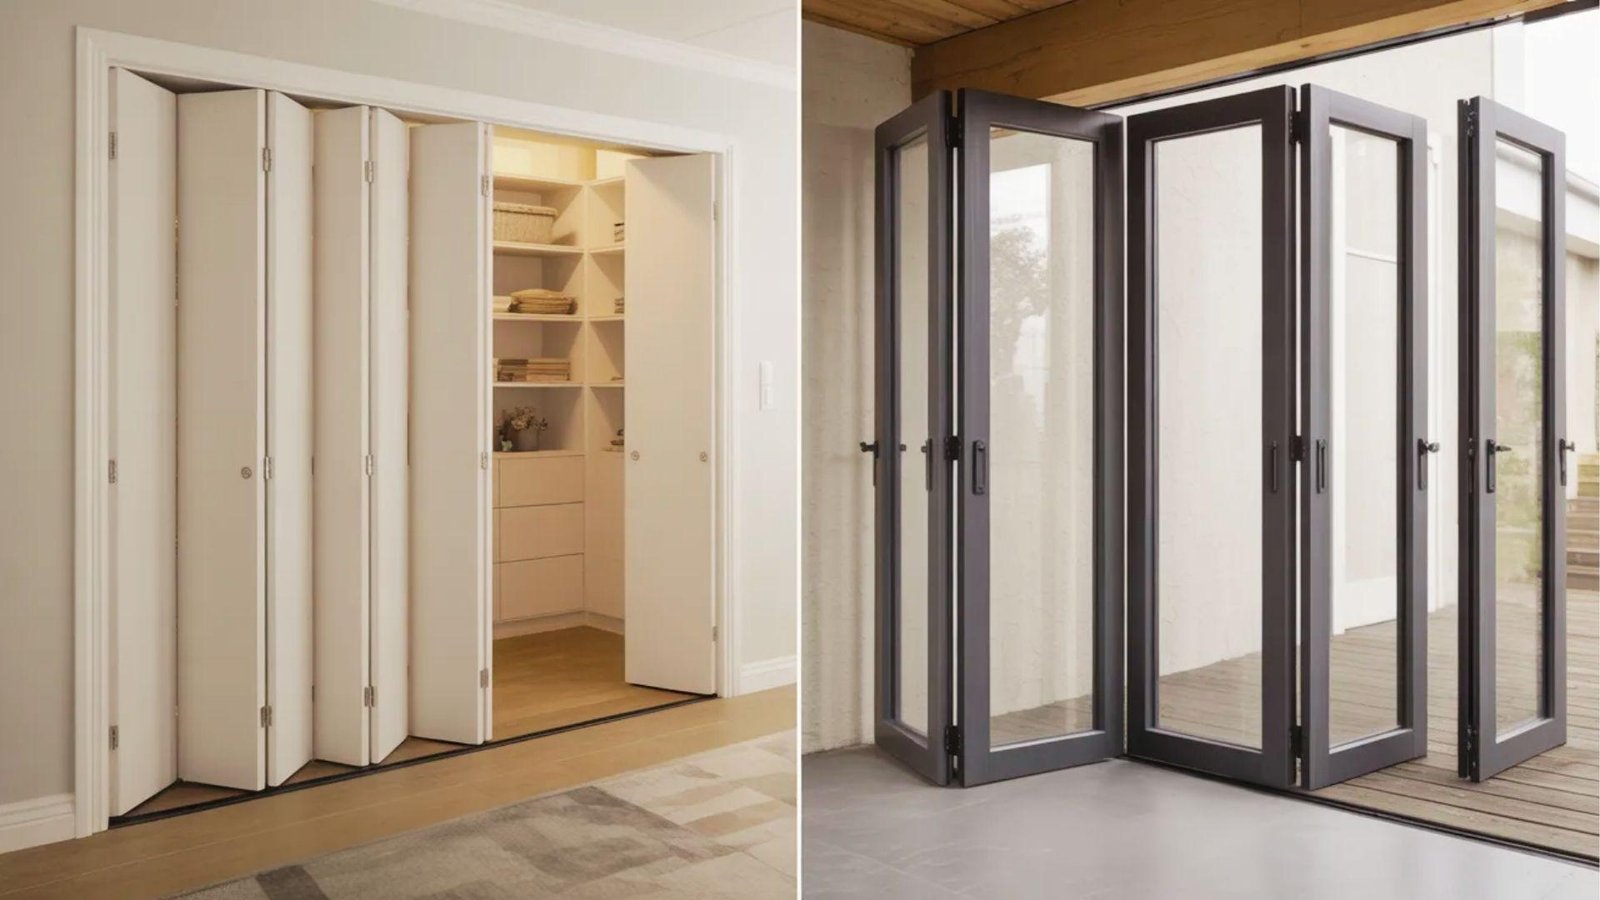
In most standard home installs, a bottom track is not needed when the hardware is good quality and installed correctly.
However, there are situations where a bottom track adds value. Very wide door openings or heavy solid-core panels may need extra floor stability to prevent side sway.
Exterior bifold doors also benefit from bottom tracks because wind pressure pushes against them.
For closets, laundry rooms, and pantry spaces with standard lightweight panels, a trackless setup works perfectly well and holds up for years with minimal upkeep.
Conclusion
Installing bifold doors without a bottom track was one of the best small upgrades I made in my home.
The floor looked cleaner, cleaning got easier, and that annoying rail was finally gone for good.
If you follow the steps in this guide, you can get it done in a single afternoon. Take your time with the measurements and leveling, and the rest falls into place.
Tried this install? Drop a comment below and tell me how it went.I would love to hear what worked for you.
Frequently Asked Questions
Can bifold doors work without a bottom track?
Yes, they can. A top track with pivot brackets at the base handles all the support.
What holds the door in place without a bottom track?
The bottom pivot bracket anchors the door at the floor corner and keeps it stable.
Will the door sway without a bottom track?
Lightweight panels installed with quality hardware stay firm and do not sway during normal use.
How do I stop my trackless bifold door from dragging?
Adjust the pivot pin height on the bottom bracket to raise the door slightly off the floor.
Is trackless bifold door installation a beginner DIY project?
Yes. With the right tools and careful measurements, most homeowners can complete it in a few hours.