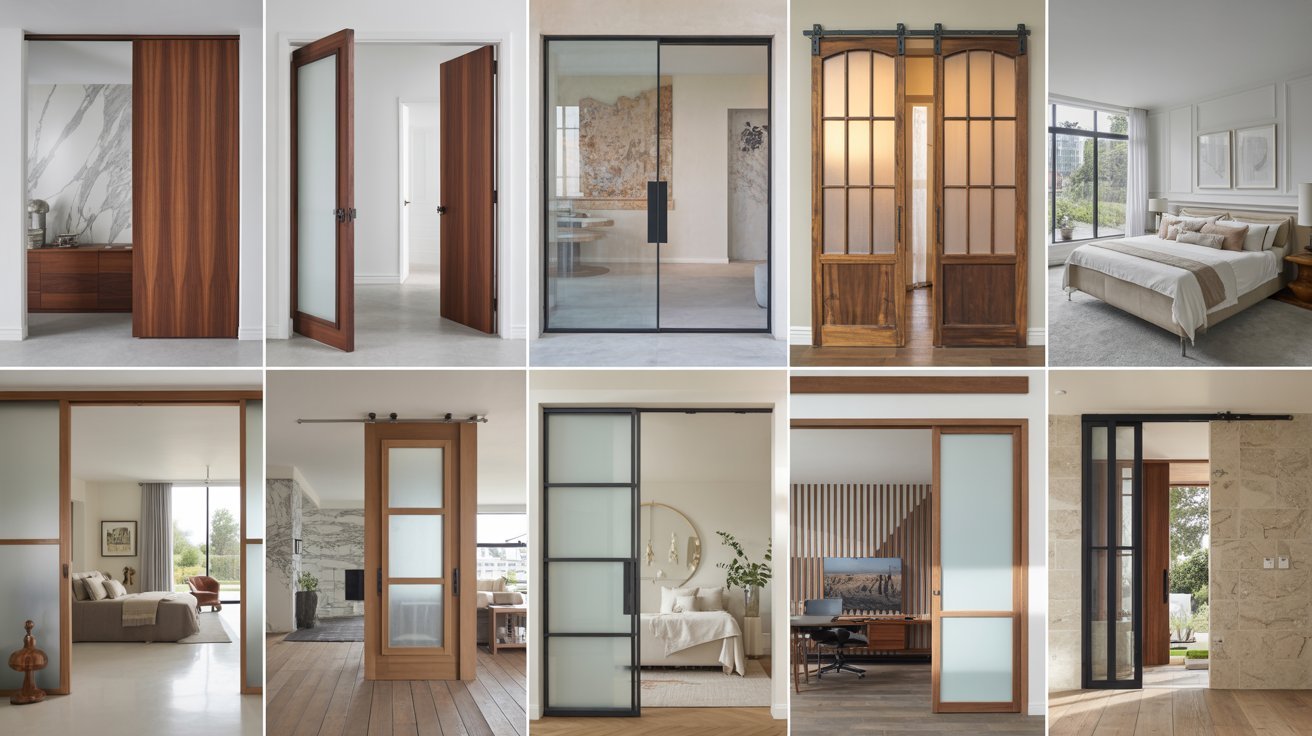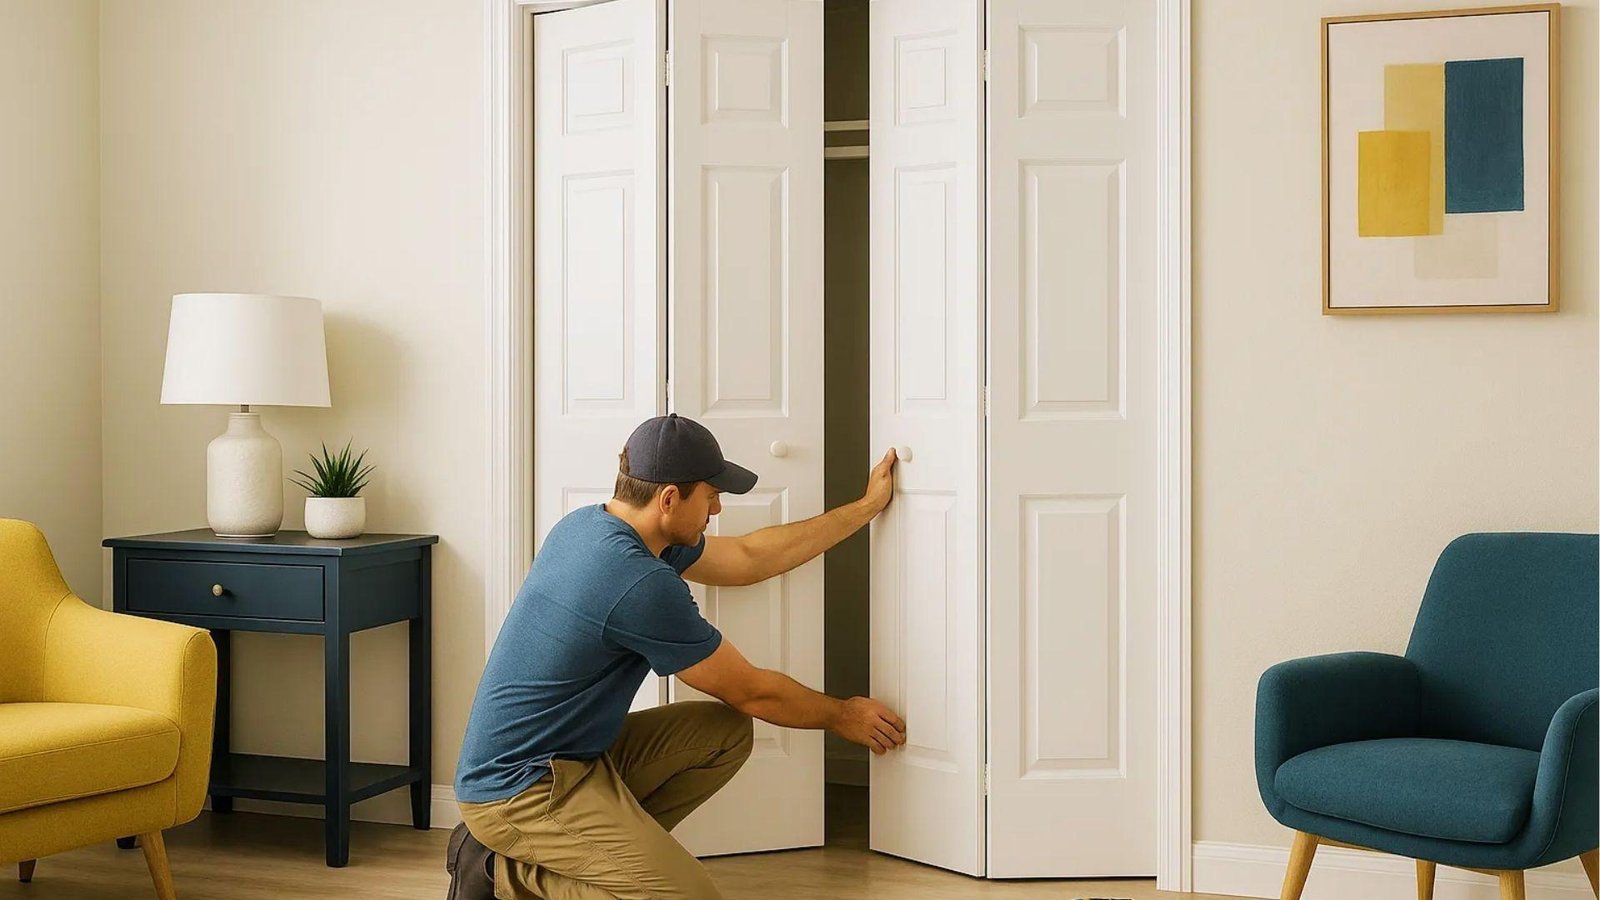
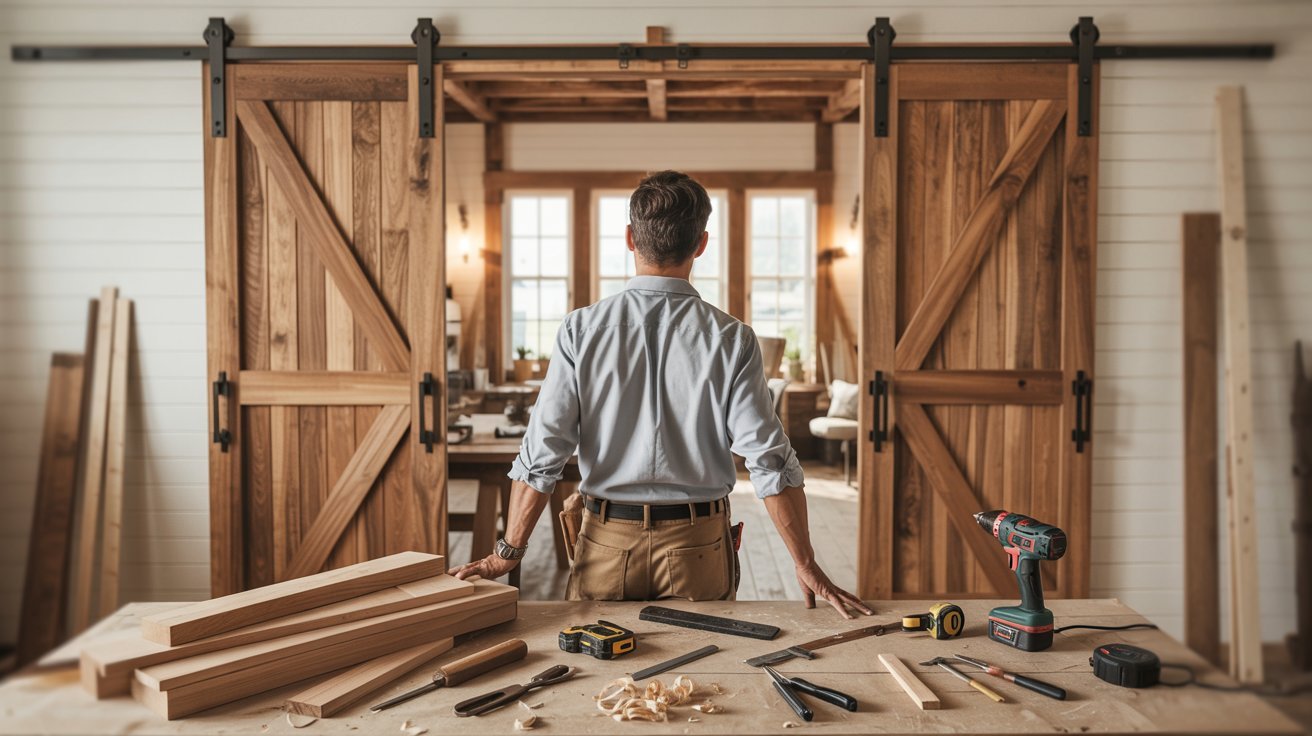

I've always loved the look of barn doors. There's something about them that makes a space feel warm and lived-in.
But sliding barn doors? They're not always the right fit.
Sometimes you need a door that actually swings open, one that works like a real door but still has that rustic charm.
That's where swinging barn doors come in. They open on hinges, just like a regular door, but they carry the same bold, farmhouse look everyone loves.
You can build one yourself without hiring anyone. And once you do, you'll wonder why you didn't try it sooner.
Things to Know Before Building Swinging Barn Doors
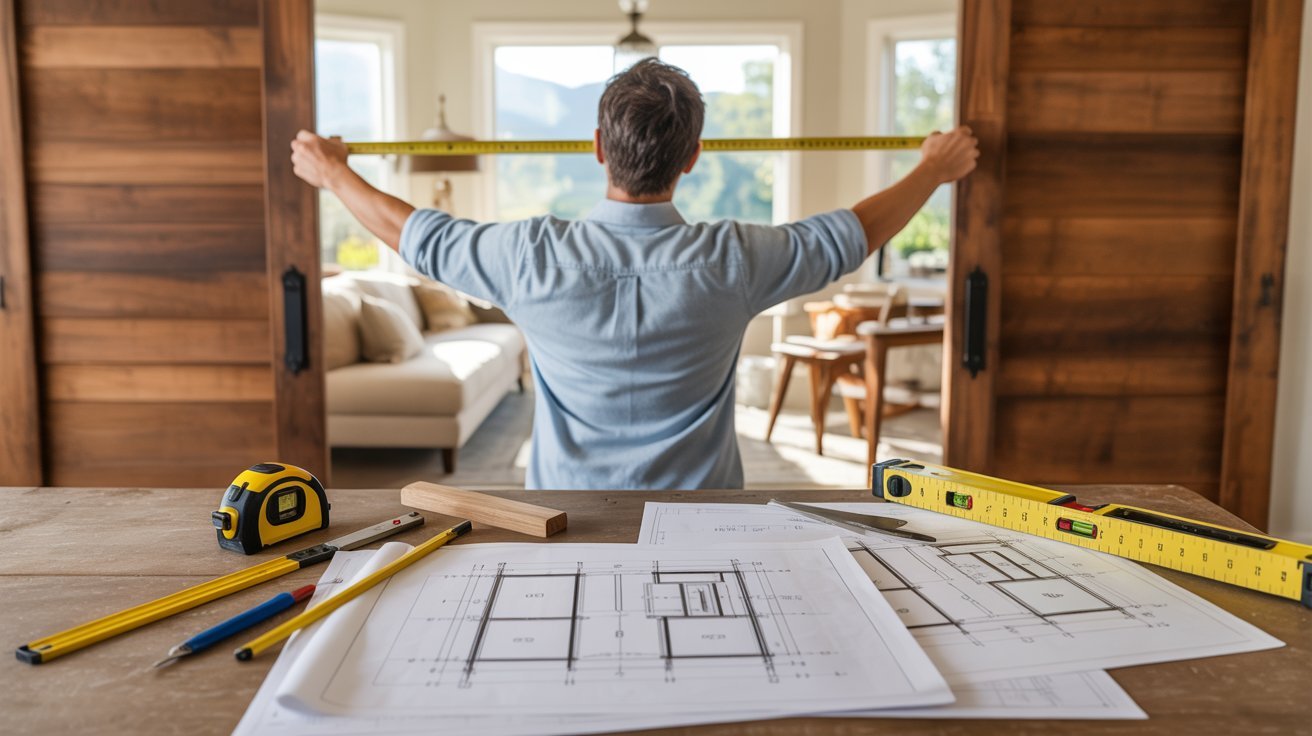
Before you start building, take some time to plan. Not every spot in your home works well for a swinging barn door.
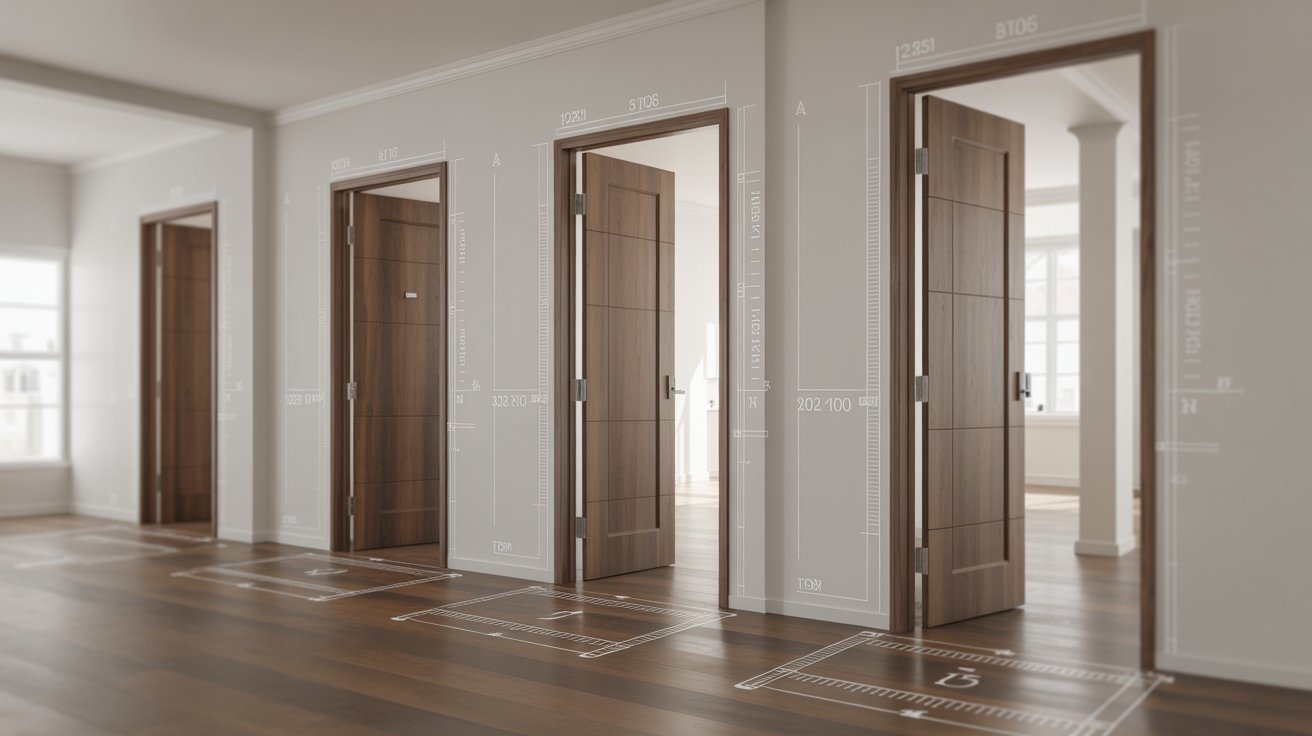
Check how much floor space you have in front of the opening. Measure the width and height of the door frame carefully.
A wrong measurement means a door that won't fit or close right. Also think about swing clearance. The door needs enough room to open fully without hitting furniture or walls.
Tools and Materials Needed to Build Swinging Barn Doors
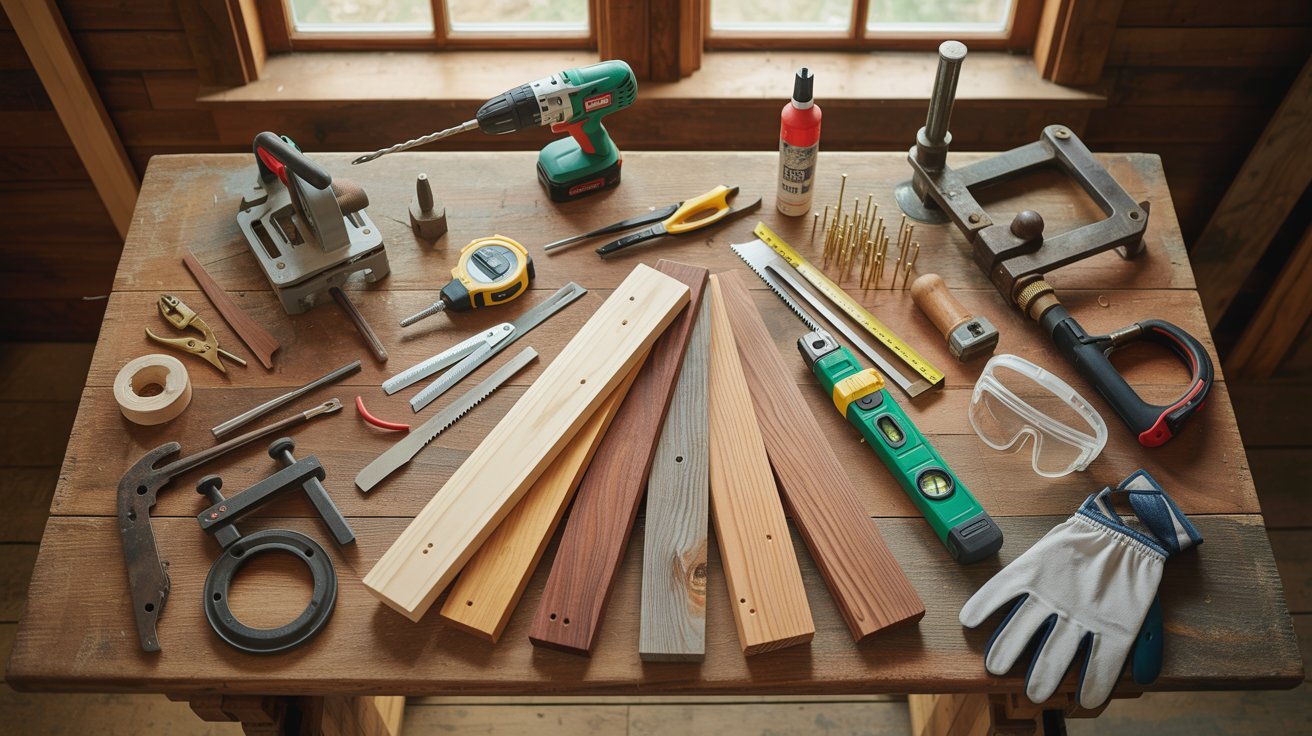
Tools and materials make or break a DIY project, so get these ready before you start.
Tools:
- Circular saw or miter saw
- Drill and drill bits
- Tape measure
- Level
- Chisel
- Sander or sandpaper
- Clamps
- Square
Lumber Options:
- Pine (affordable and easy to work with)
- Cedar (great for moisture resistance)
- Poplar (smooth finish, good for painting)
- Reclaimed wood (adds a rustic, old-school look)
Hardware:
- Heavy-duty hinges (at least 3 per door)
- Door handle or pull
- Latch or bolt
- Wood screws
- Wood glue
Safety Equipment:
- Safety goggles
- Work gloves
- Dust mask
- Ear protection (if using power tools)
How to Build a Single Swinging Barn Door
Building a single swinging barn door is a straightforward process. Follow these steps carefully and you'll have a solid, great-looking door ready to hang.
Step 1: Measure and Plan the Door Size

Measure the door opening width and height. Add a few inches to each side for overlap. Write everything down before cutting anything. A clear plan saves you from costly mistakes later.
Step 2: Cut the Rails and Stiles
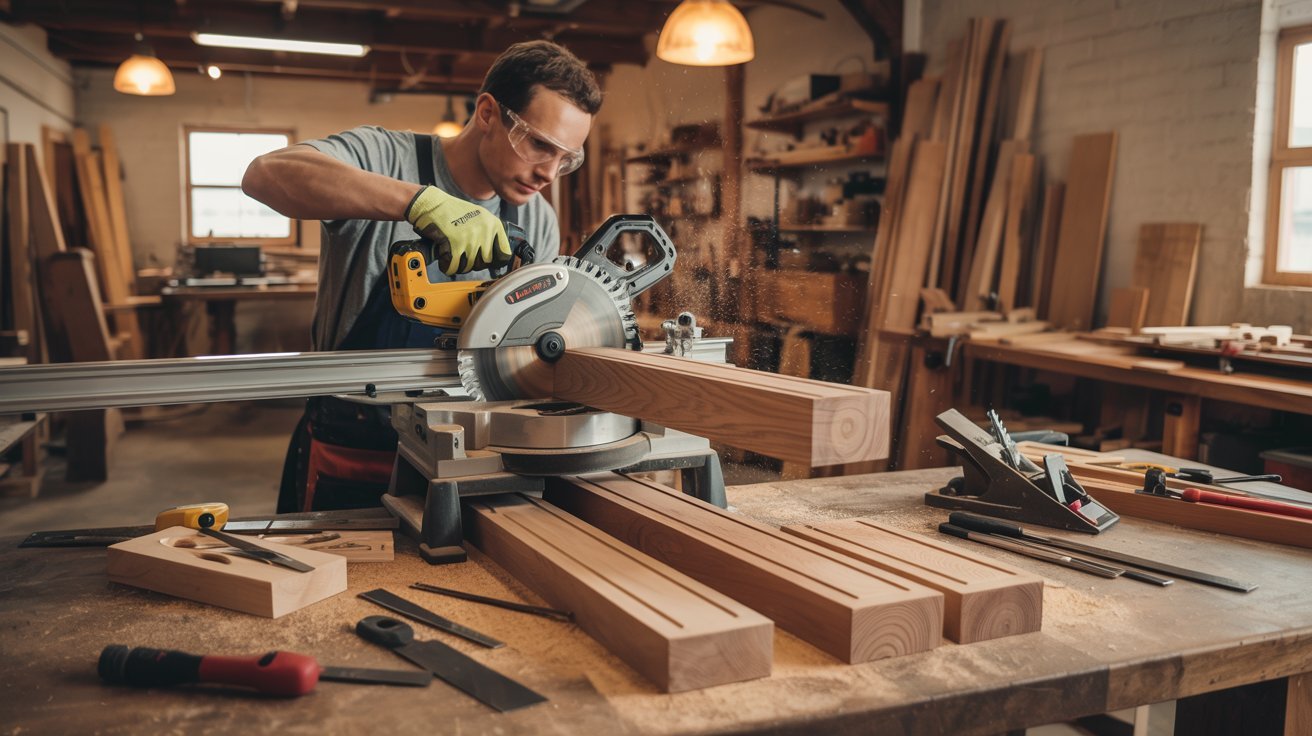
Rails run horizontally and stiles run vertically. Cut them to your planned measurements using a circular saw or miter saw. Keep your cuts straight and clean. Double-check each piece before moving on to the next step.
Step 3: Create the Door Frame
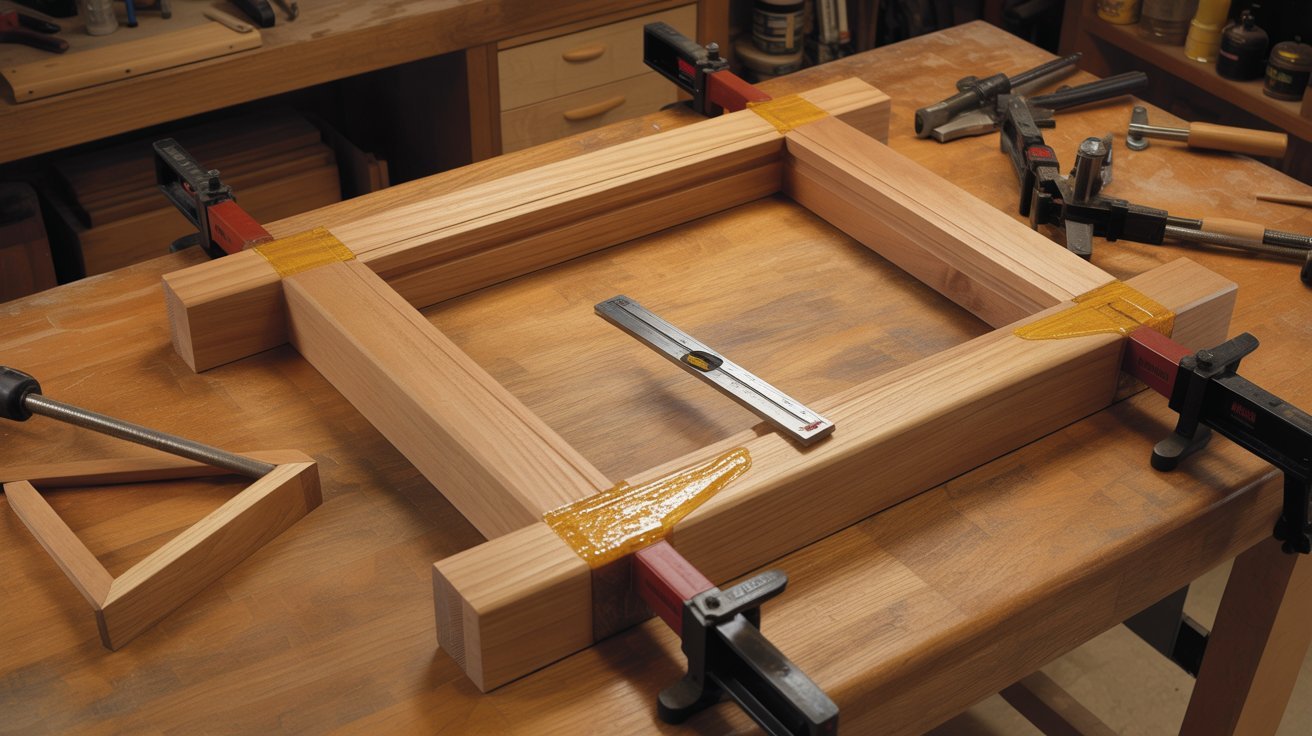
Lay the rails and stiles flat on your work surface. Apply wood glue at each joint, then clamp them together. Use a square to make sure the corners are perfectly straight. Let the glue dry fully before moving on.
Step 4: Install the Center Panels
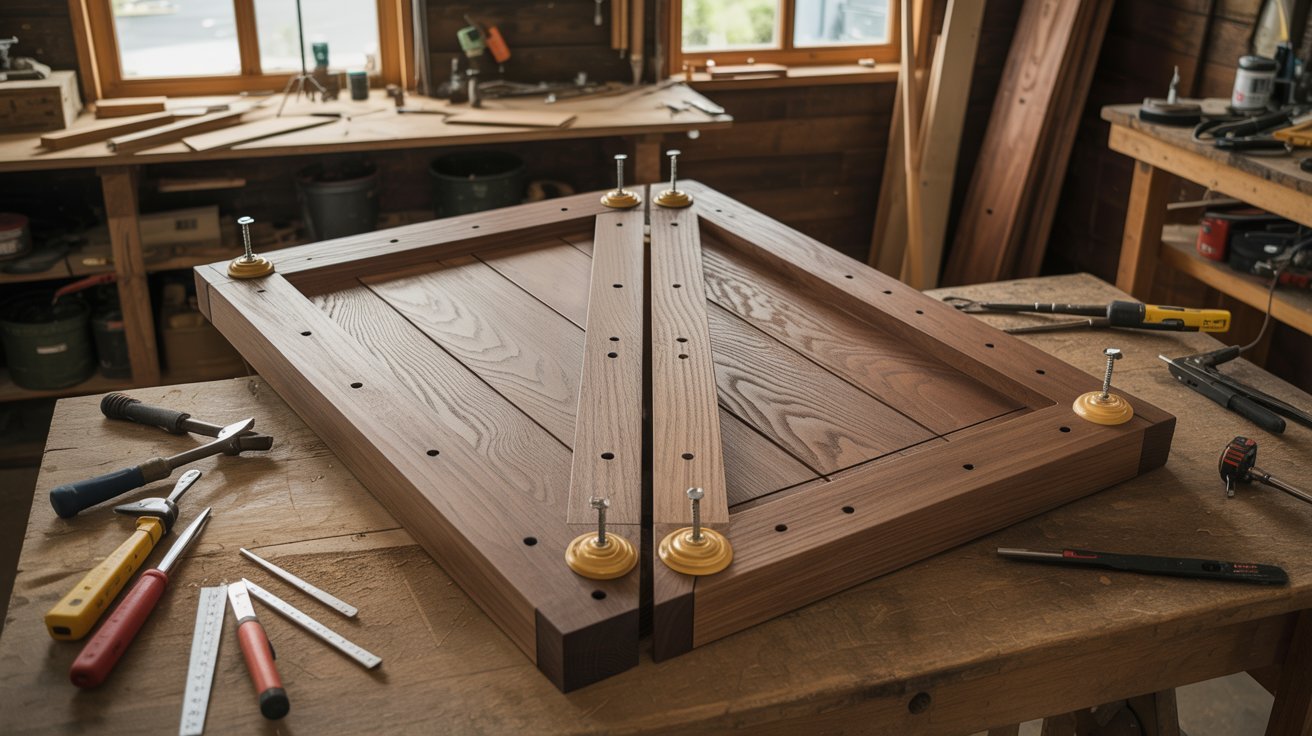
Cut your panels to fit inside the frame. Slide them into place and secure with wood glue or screws. Make sure each panel sits flush with the frame. Uneven panels will affect how the door looks and hangs.
Step 5: Add Decorative Cross Braces
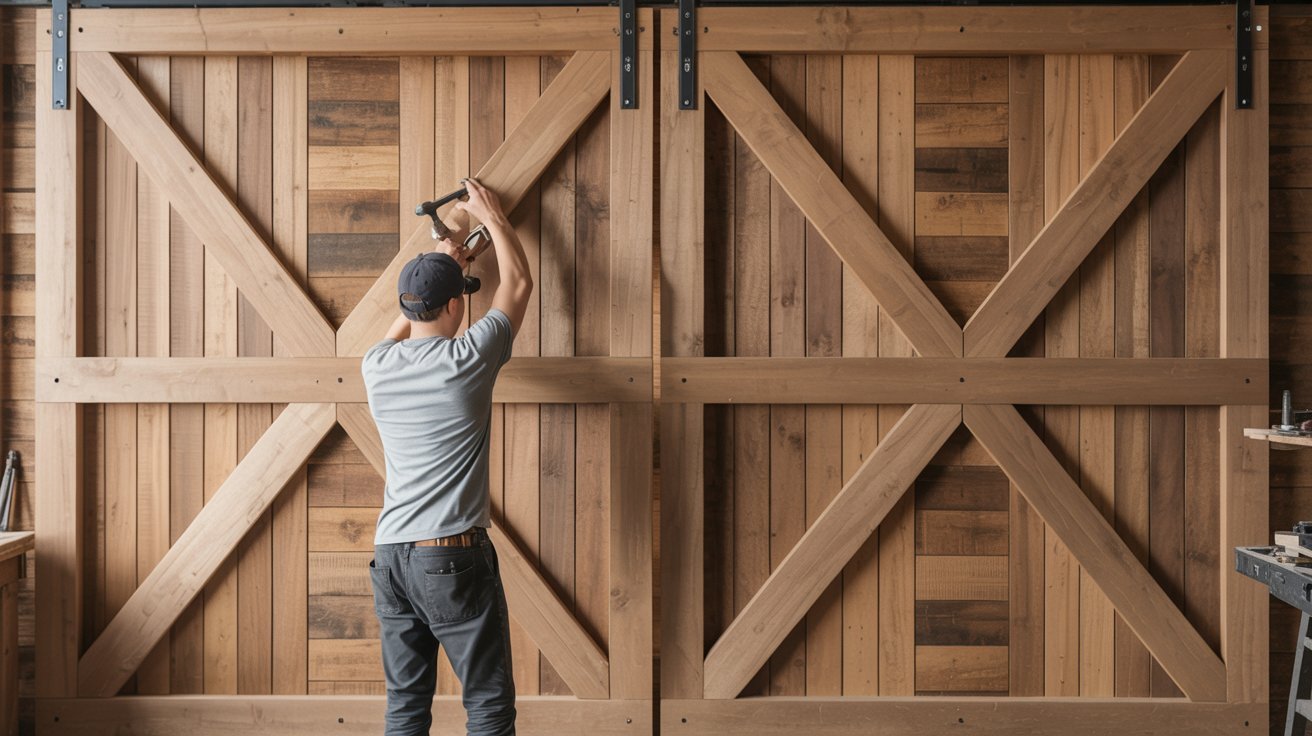
Cut two pieces of wood diagonally to form an X or Z pattern. Attach them to the front of the door using screws. This adds a classic barn door look. It also gives the door extra strength and support.
Step 6: Sand the Door Smooth
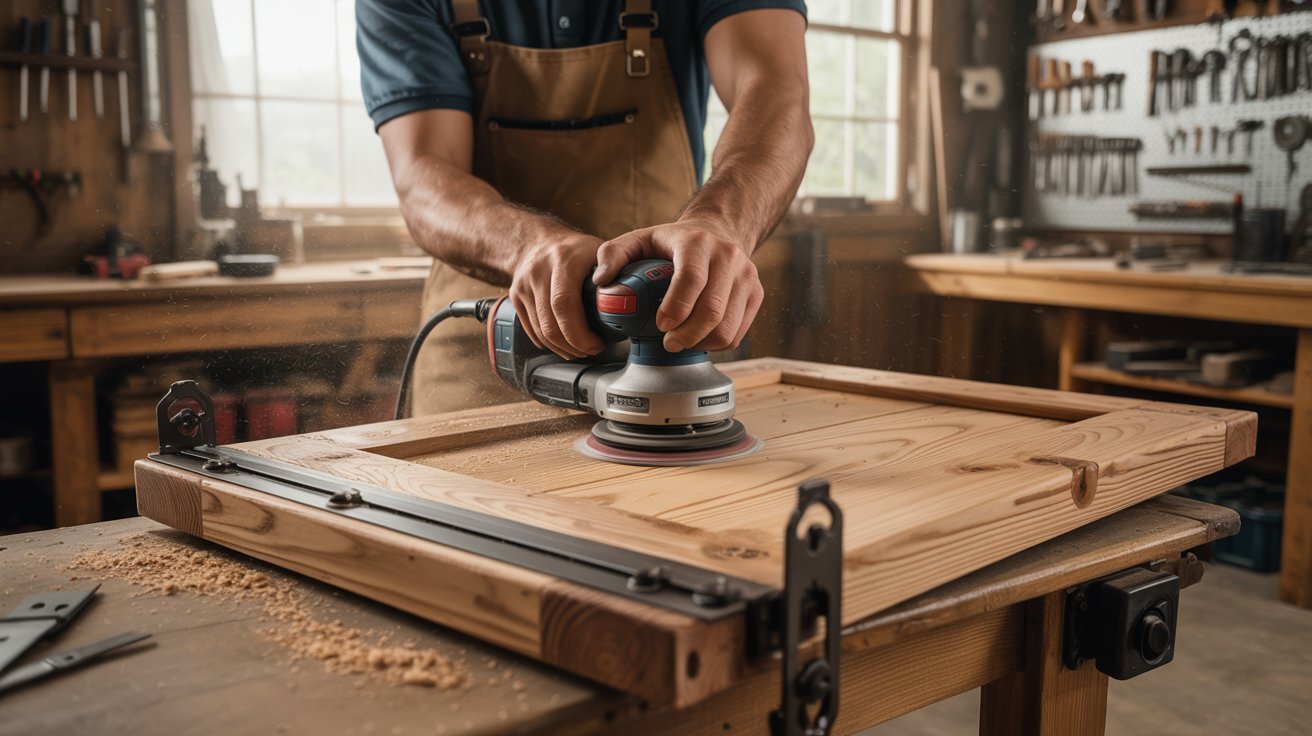
Start with coarse sandpaper to remove rough spots. Move to fine-grit sandpaper for a smooth finish. Sand in the direction of the wood grain. Wipe away all dust with a clean cloth before applying any finish.
Step 7: Apply Paint, Stain, or Protective Finish
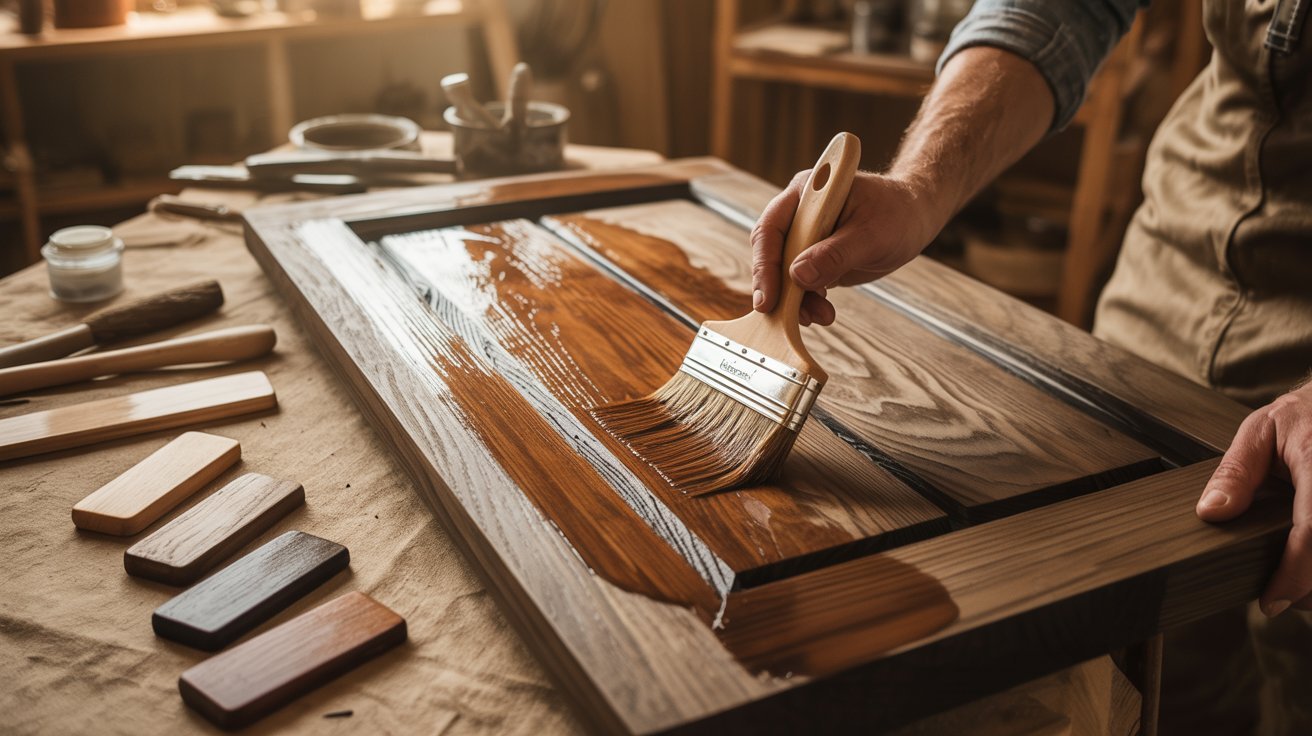
Choose a finish that matches your space. Apply paint or stain in thin, even coats. Let each coat dry fully before adding the next. A protective topcoat will help the door last longer and resist everyday wear
How to Build Double Swinging Barn Doors
Building double swinging barn doors takes a bit more planning, but the end result is worth every extra step.
Step 1: Measure the Opening for Two Doors
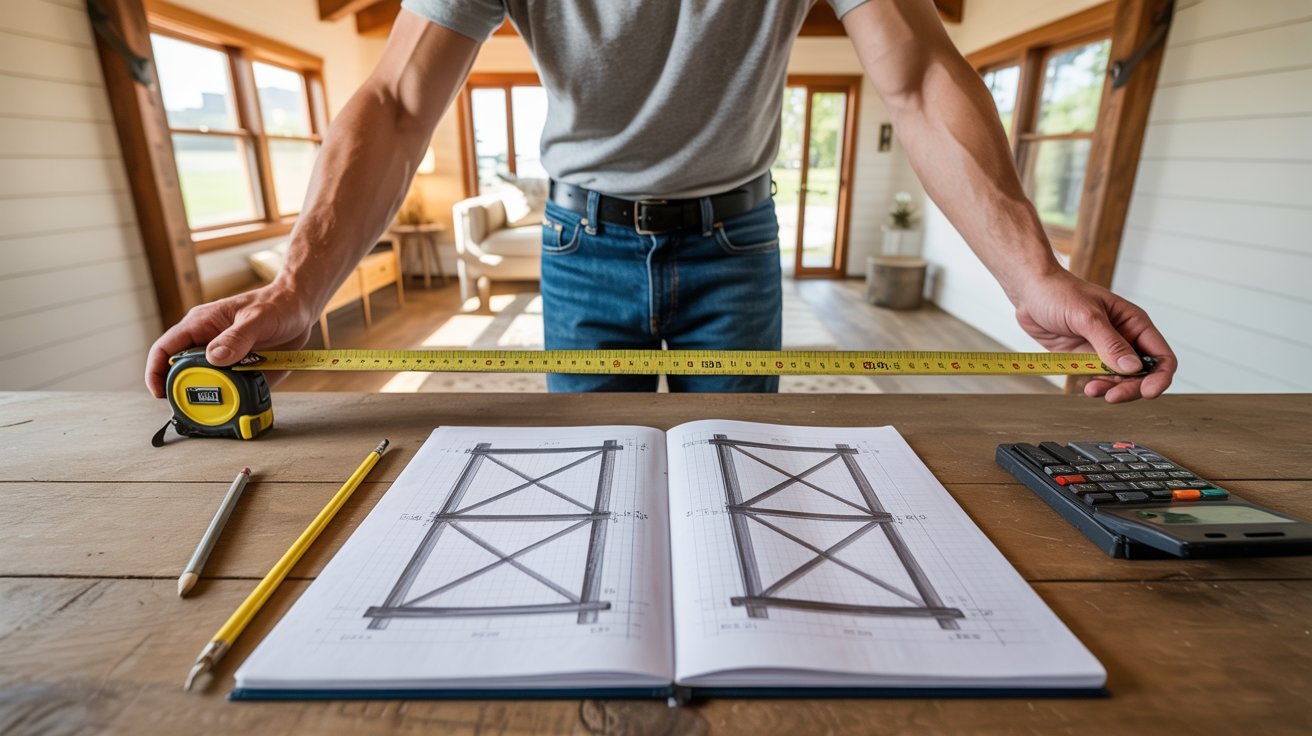
Measure the full width of the opening. Divide it in half to get the size of each door. Add a small overlap to the center of each door. Write down all measurements before you cut anything.
Step 2: Calculate Door Overlap and Gaps
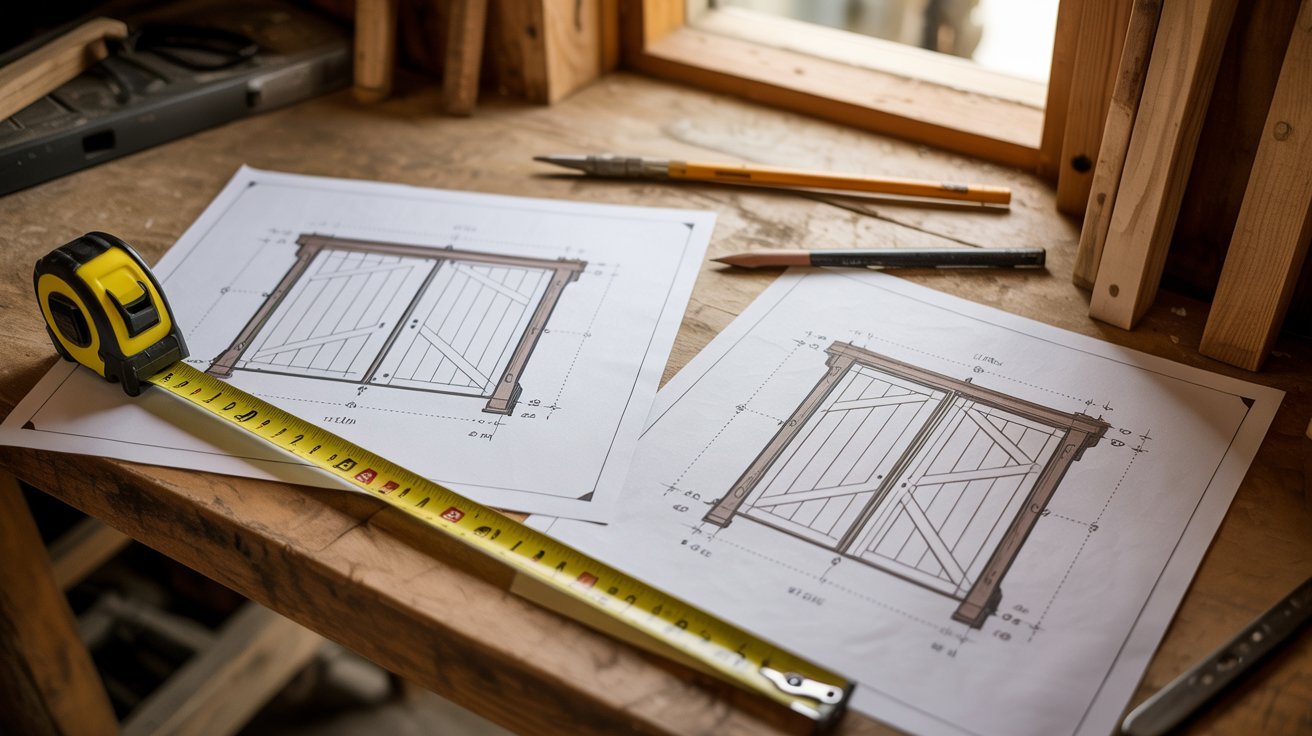
Each door should overlap slightly at the center when closed. Leave a small gap at the top, bottom, and sides. This allows the doors to swing freely without scraping the floor or frame. Even small gaps matter a lot here.
Step 3: Build Matching Door Frames
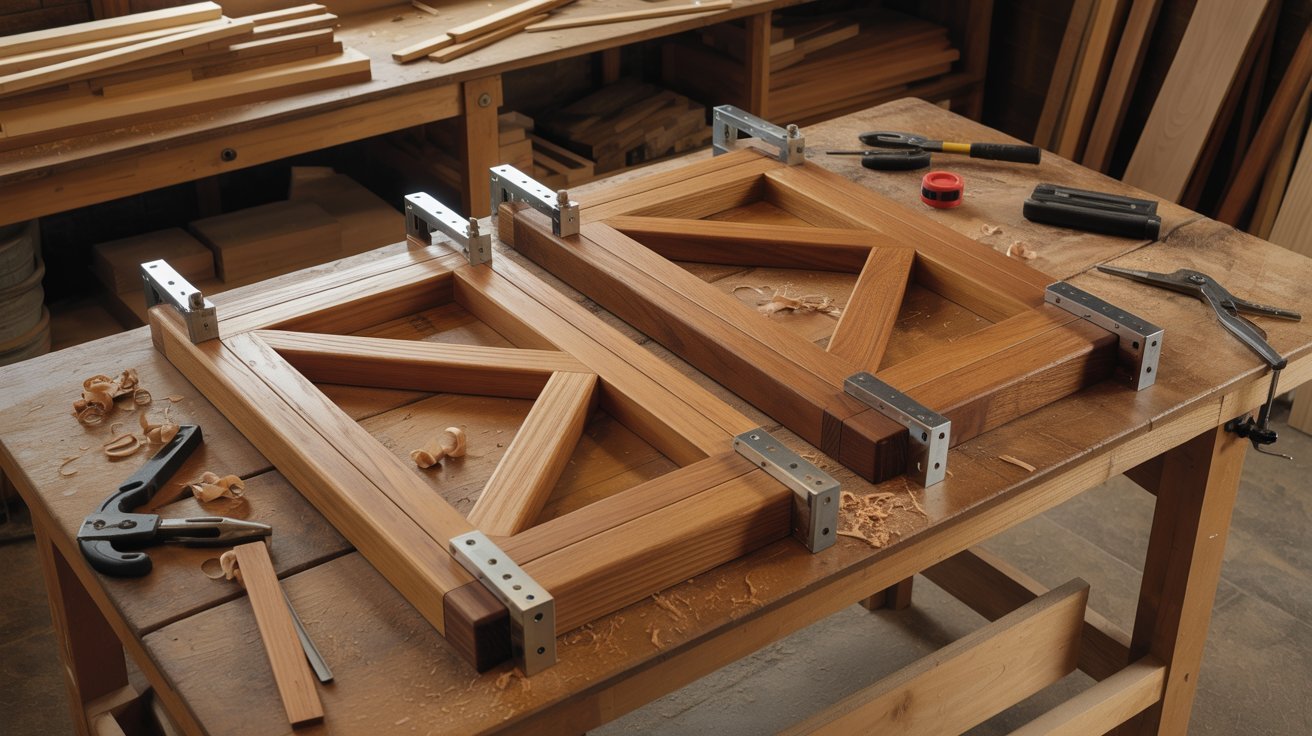
Build both frames using the same measurements. Cut rails and stiles for each door and assemble them the same way. Use a square to check alignment on both frames. Matching frames make the finished doors look clean and professional.
Step 4: Install Tongue-and-Groove or Solid Panels
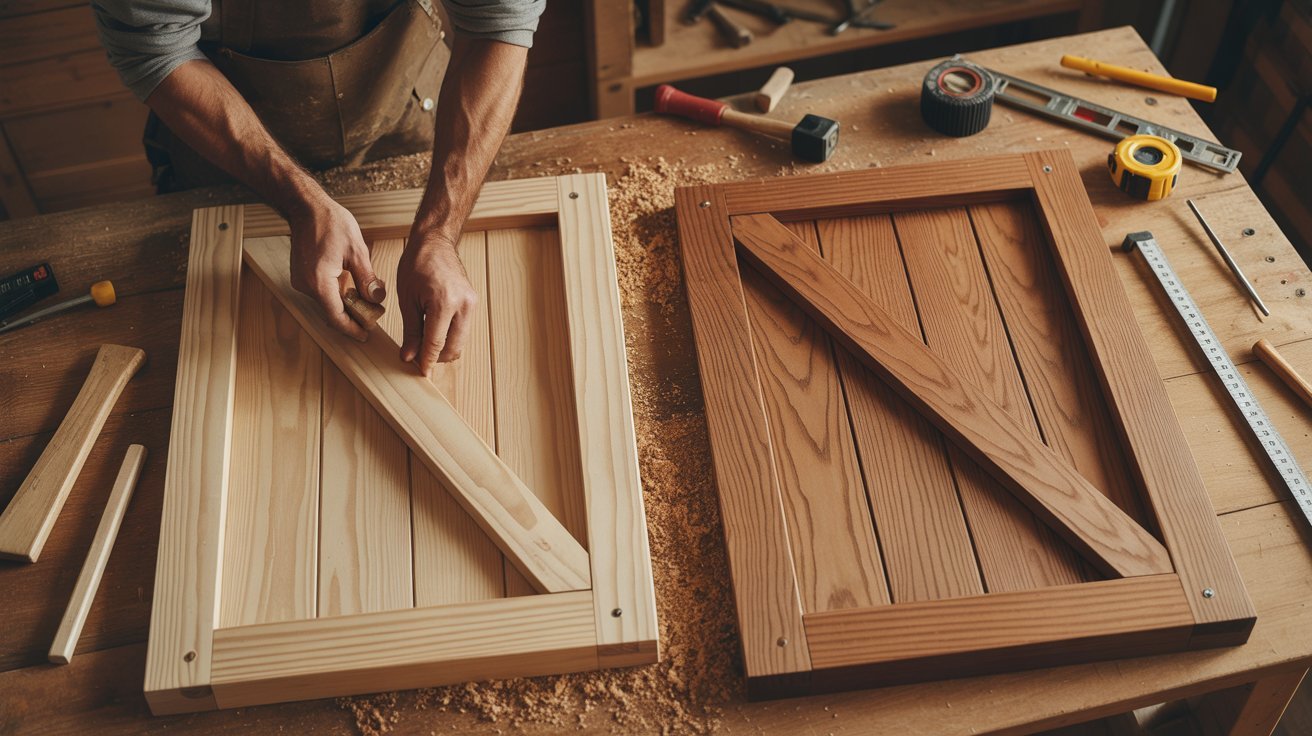
Tongue-and-groove panels give a classic look and fit tightly together. Solid panels are heavier but very sturdy. Fit the panels into each frame and secure them well. Check that both doors have panels installed the same way.
Step 5: Add Decorative Bracing on Both Doors
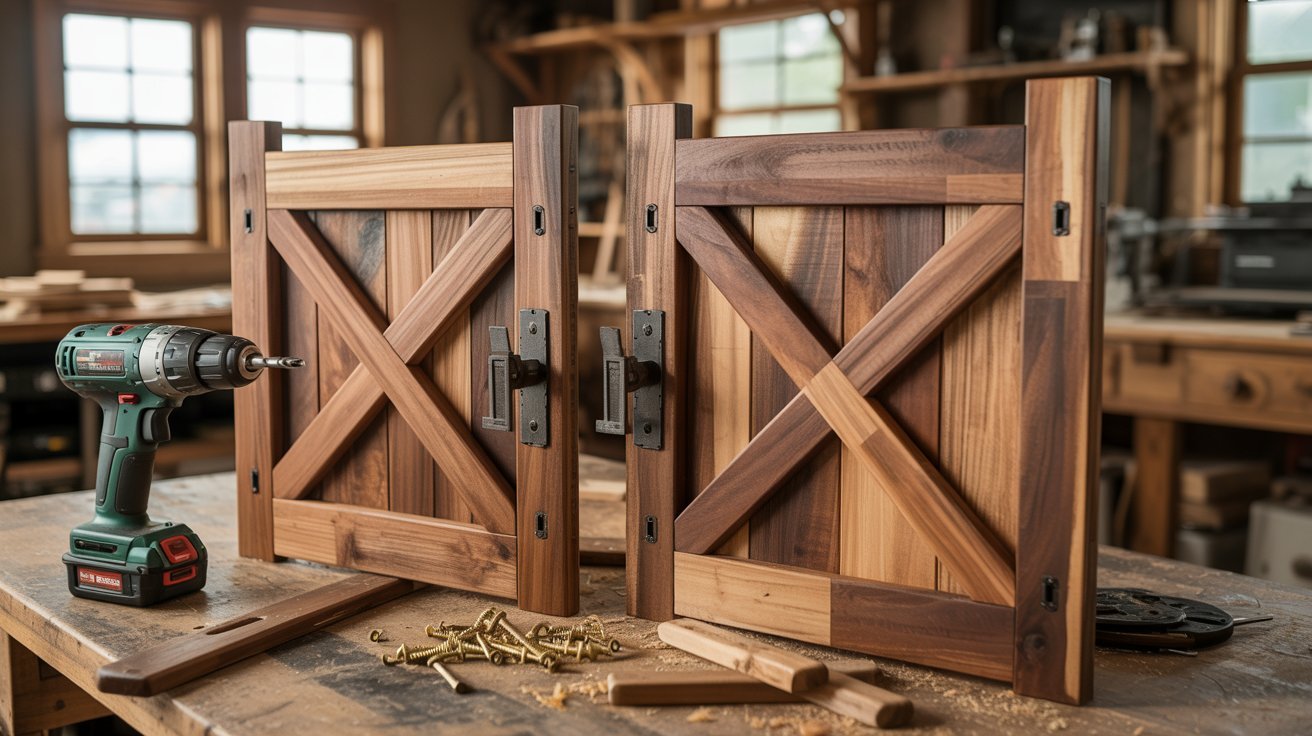
Add matching cross braces to both doors. Keep the pattern the same on each door so they look like a set. Attach the braces firmly with screws. Consistent bracing ties the whole double door look together nicely.
Step 6: Finish and Seal the Doors
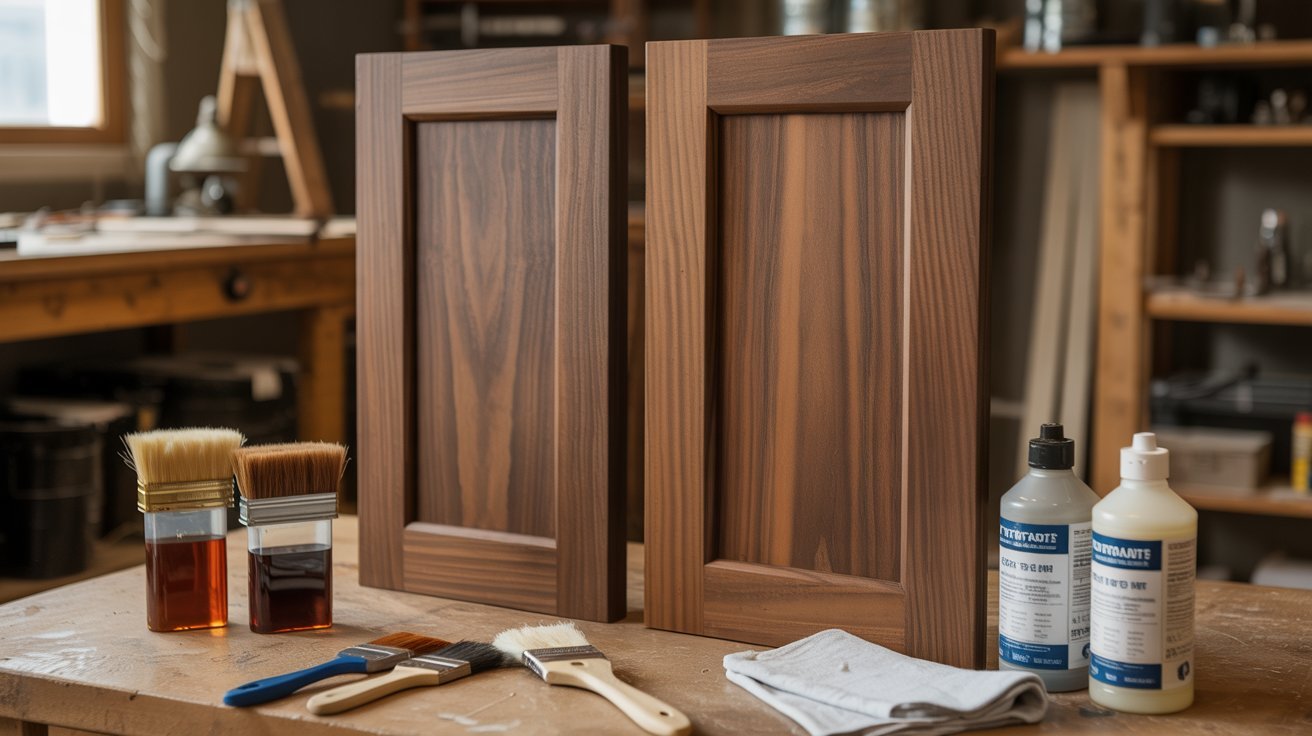
Sand both doors smooth before applying any finish. Use the same paint, stain, or sealant on both so they match. Apply at least two coats for a durable finish. Let everything dry completely before moving on to installation.
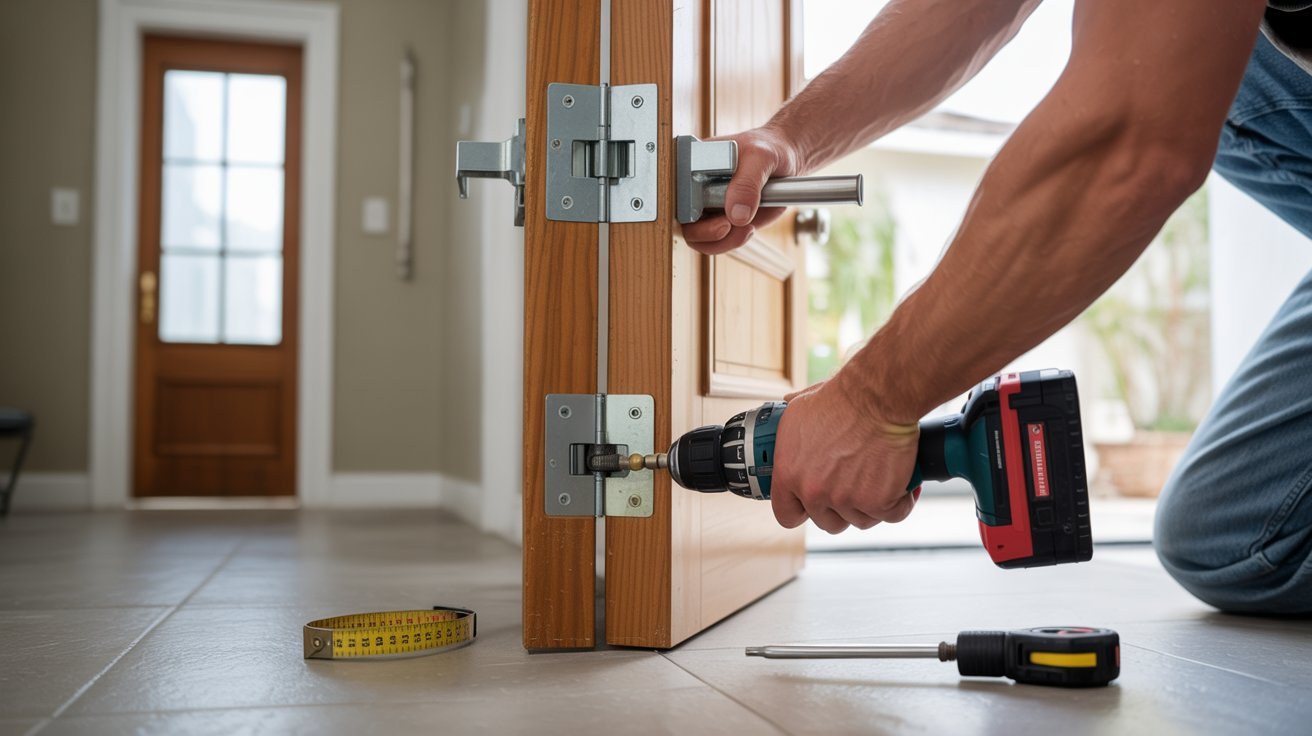
Installing Swinging Barn Door Hinges
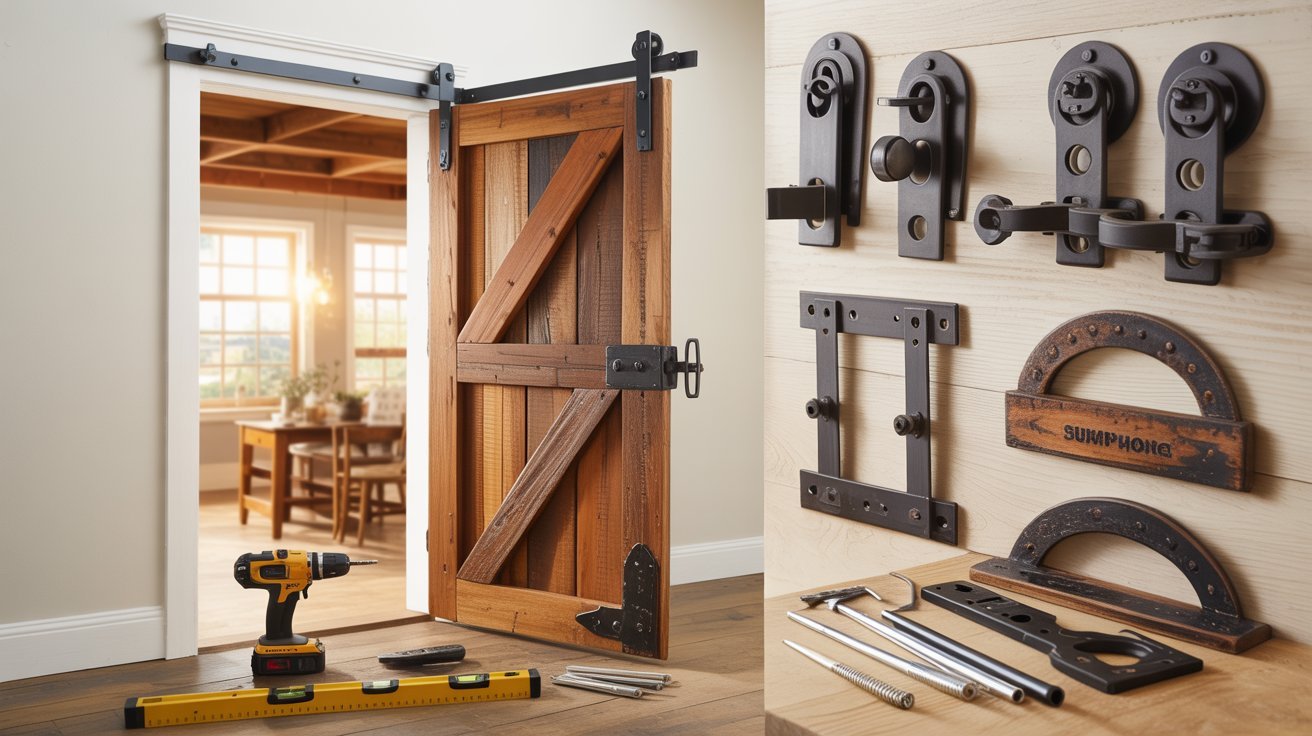
Hinges are what make your barn door actually work, so choose carefully. Standard swing hinges work well for lightweight doors.
Double-action hinges let the door swing both ways, which is great for high-traffic spots like kitchens. Heavy-duty strap hinges handle thicker, heavier doors and add a rustic look.
Always match the hinge to your door weight. A hinge that's too weak will sag over time and cause the door to hang unevenly.
Common Mistakes to Avoid When Building Swinging Barn Doors
- Getting measurements wrong is the most common mistake. Always measure twice and cut once before you start building.
- Undersized hinges will cause your door to sag or pull away from the frame. Match the hinge size and rating to your door's actual weight.
- Ignoring door weight leads to poor hinge choices and weak installation. Heavier doors need stronger hardware and more support at the frame.
- Skipping a dry fit before final installation is a mistake you'll regret. Always test the fit first before drilling or securing anything permanently.
- Poor surface prep leads to a finish that peels or looks uneven. Sand the wood properly and wipe it clean before applying any paint or stain.
How Much Does It Cost to Build Swinging Barn Doors?
Building your own swinging barn door is much cheaper than buying one pre-made. Lumber costs usually run between $50 and $150 depending on the wood type you pick.
Hardware like hinges, handles, and latches can add another $30 to $80. Finishing materials like paint, stain, or sealant cost around $20 to $40. In total, a DIY build runs $100 to $270.
A professional installation can cost $500 or more, so building it yourself saves a lot.
Maintenance Tips for Swinging Barn Doors
- Dust your barn door regularly with a dry cloth to keep it looking clean. For deeper cleaning, use a damp cloth with mild soap and dry it right away.
- Check all screws, hinges, and hardware every few months. Tighten anything that feels loose before it causes the door to sag or swing unevenly.
- Over time, the wood finish will wear down and need a refresh. Lightly sand the surface and apply a fresh coat of paint or stain to bring it back.
- Wood warps when it absorbs too much moisture. Keep your barn door away from direct water exposure and use a sealant to protect it from humidity.
- If you notice any cracks or splits forming, fix them early. Fill small gaps with wood filler, sand smooth, and refinish before the damage spreads further.
Conclusion
Building your own swinging barn door is one of those DIY projects that actually pays off.
You save money, you get the exact look you want, and you end up with something built to last.
Single doors work well for smaller openings, while double doors are better for wider spaces. Measure carefully, pick the right hinges, and never skip the dry fit.
Take your time with the finish too. Do it right once, and your barn door will hold up for years.
Frequently Asked Questions
Can I build a swinging barn door without any woodworking experience?
Yes, you can. Start with basic tools and simple lumber, and follow each step carefully.
What type of wood works best for swinging barn doors?
Pine is the most popular choice because it is affordable and easy to cut. Cedar works well if you need moisture resistance.
How many hinges does a swinging barn door need?
Most doors need at least three hinges for proper support. Heavier doors may need four to prevent sagging over time.
Can a swinging barn door be used as an exterior door?
Yes, but you need to use weather-resistant wood and an outdoor-grade sealant. Make sure the hinges are rust-proof as well.
How long does it take to build a swinging barn door from scratch?
A basic single door takes one to two days to build and finish. Double doors may take a full weekend depending on your skill level.