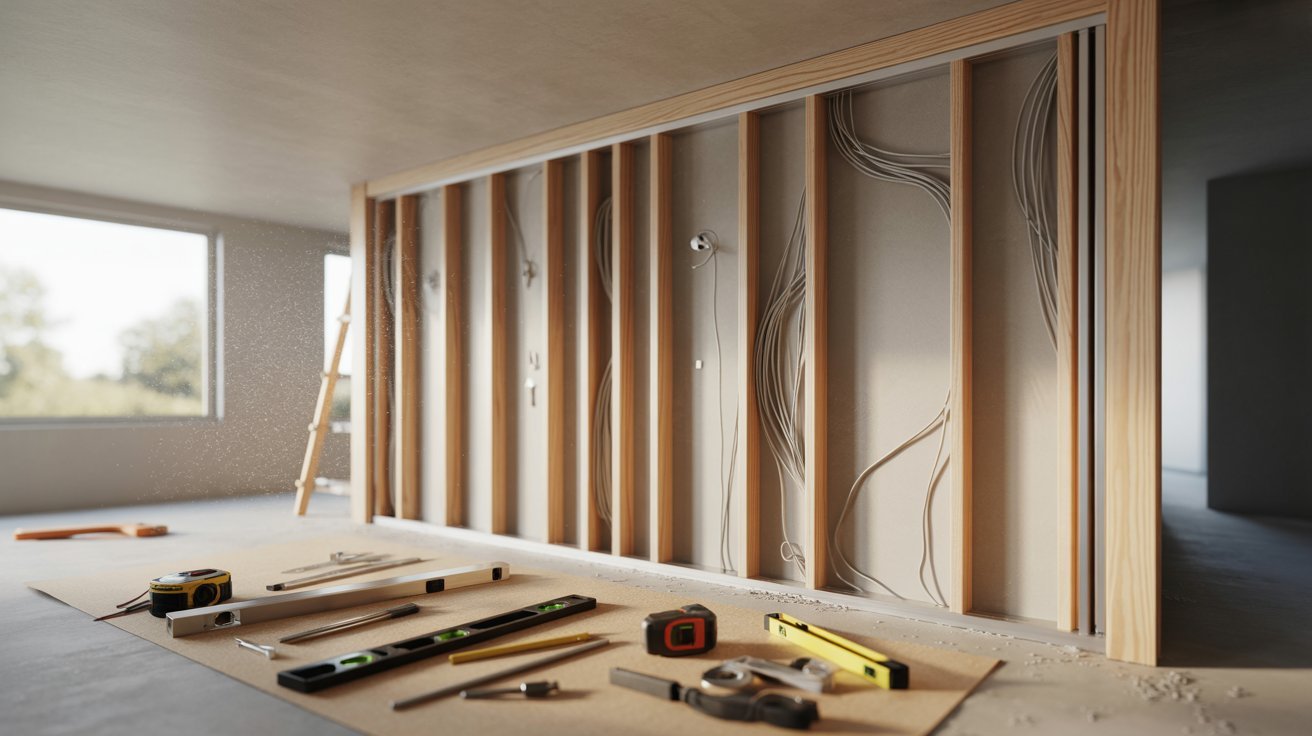

I never expected a single door to change how a room felt. But it did. The moment I figured out how to install a pocket door in existing wall, everything about that space shifted.
More room, cleaner lines, and none of that awkward door-swing problem I'd been living with for years.
What surprised me most was how much there was to know before even picking up a saw. The wall, the wiring, the framing. It all matters more than most guides let on.
So I put this together for you. Real tips, real mistakes, and the stuff nobody tells you until it's too late.
Is a Pocket Door the Right Choice for Your Space?
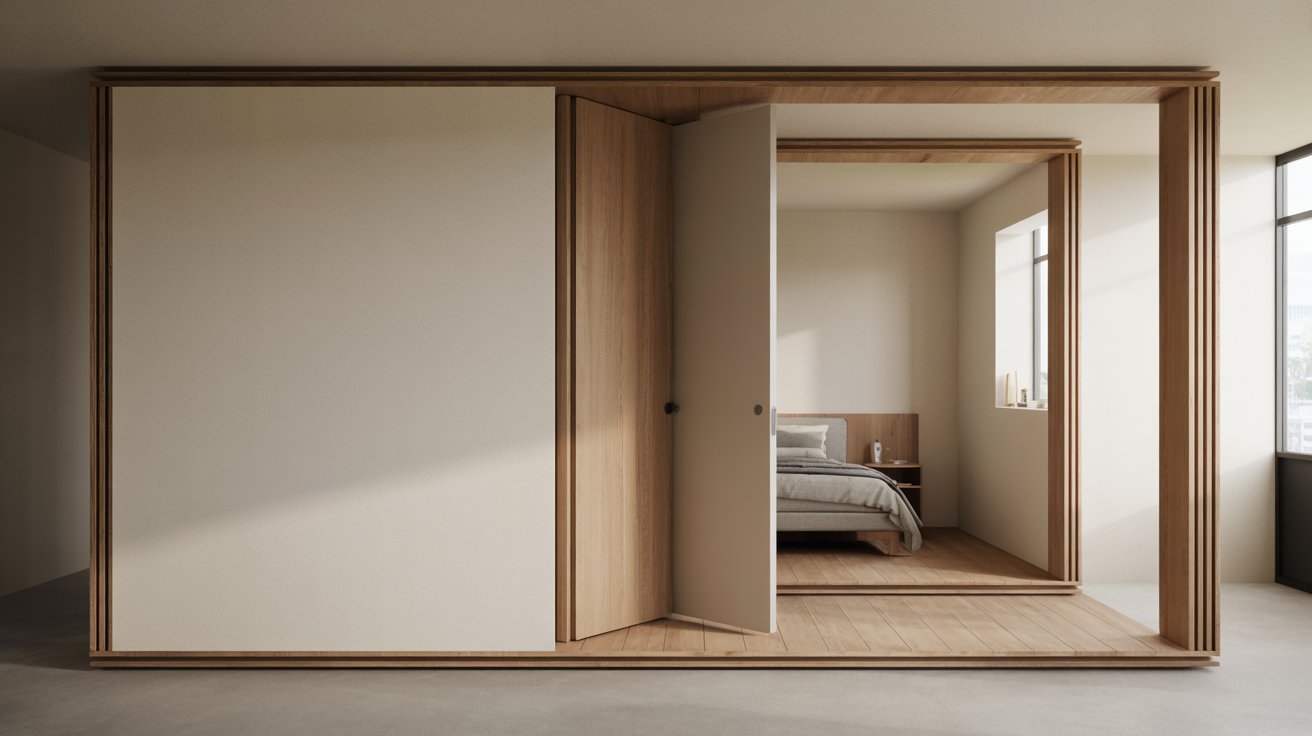
Homeowners usually look into pocket doors when a swinging door creates a problem.
Small bathrooms, tight hallways, and rooms where every square foot matters are the most common situations.
Pocket doors work best between a bedroom and bathroom, in a home office, or as a divide between two living spaces. They slide into the wall completely and give back all the floor space a regular door eats up.
Some people do regret the switch. If the wall has plumbing or electrical inside, the project gets complicated fast.
And once it's done, accessing anything hidden in that wall becomes much harder.
The space-saving benefit is real, but it comes with trade-offs around soundproofing, privacy, and long-term maintenance worth knowing upfront.
How to Install Pocket Door in Existing Wall
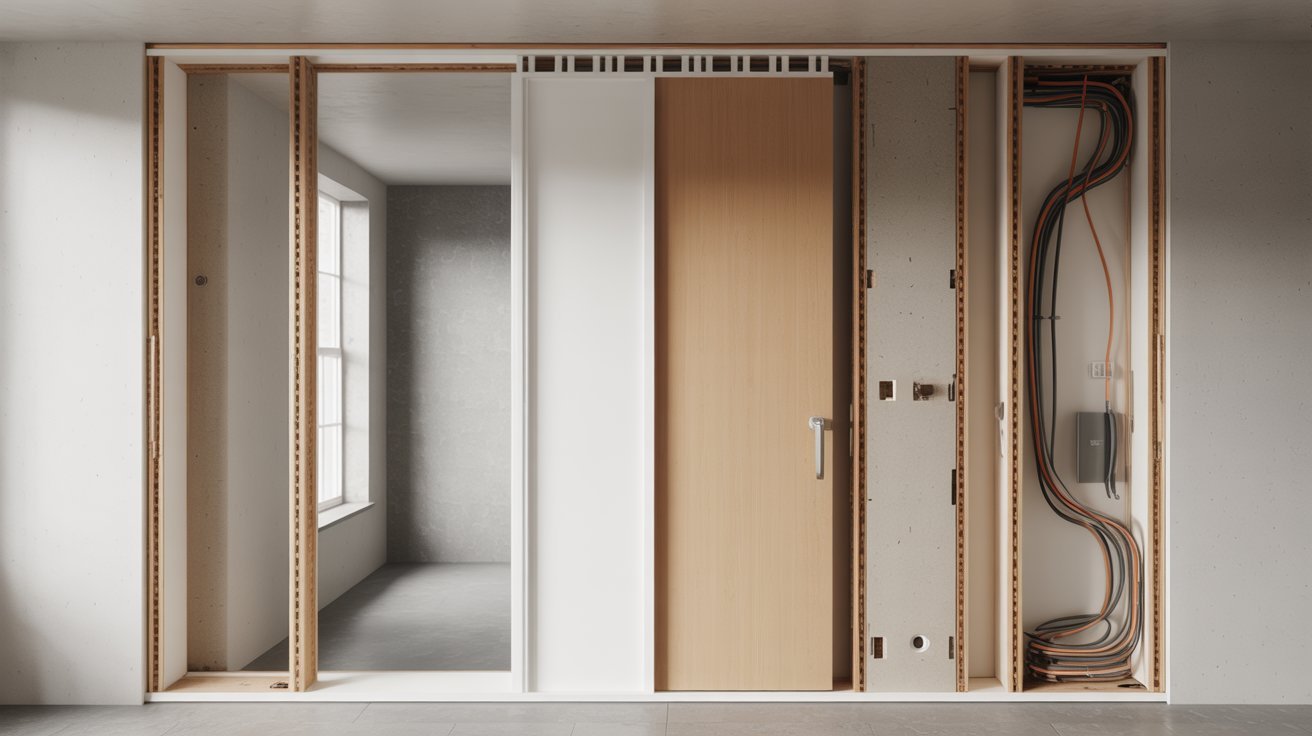
Learning how to install a pocket door in existing wall the right way starts with preparation. Rushing the early steps is where most projects go wrong. Here's the full process.
- Check if the wall can support a pocket door: It needs to be non-load-bearing. If it carries structural weight, get professional input first
- Scan for plumbing, electrical, and hidden obstacles: Use a stud finder and a wire/pipe detector before cutting anything
- Remove the old door and open the drywall safely: Take off the existing door and frame first, then cut drywall in sections to inspect what's inside
- Install the pocket door frame and track: Follow the kit instructions closely, especially for track alignment
- Test alignment before closing the wall: Slide the door fully open and closed several times. Fix any wobble or drag now, not after drywall goes back up
- Finish drywall, trim, and hardware: Once alignment is confirmed, close the wall, tape, mud, sand, paint, then install trim and hardware
- Run final checks: Test the latch, confirm the door sits flush when closed, and make sure the floor guide is secured
Take your time between each step. A pocket door done right is nearly invisible when open and solid when closed.
Biggest Mistakes Homeowners Make During Installation
Most pocket door problems don't happen by accident. They happen because someone skipped a step or moved too fast. Here's what goes wrong most often.
- Not scanning the wall first: Cutting into live electrical or active plumbing is dangerous and expensive
- Choosing the wrong wall: Load-bearing walls need structural support before any modification
- Buying the wrong kit size: The frame needs to match both the door width and wall thickness
- Skipping the alignment test: Installing drywall before testing the door is one of the most frustrating and common mistakes
- Under-framing the opening: A weak header leads to sagging, sticking, and structural problems over time
- Rushing the drywall finish: Uneven drywall around a pocket door is very visible and hard to fix after the fact
- Ignoring the floor guide: Skip this and the door will wobble with every use
Every one of these is avoidable. Homeowners who end up happy with their pocket door almost always slowed down and followed the process.
Problems People Commonly Face After Installing Pocket Doors
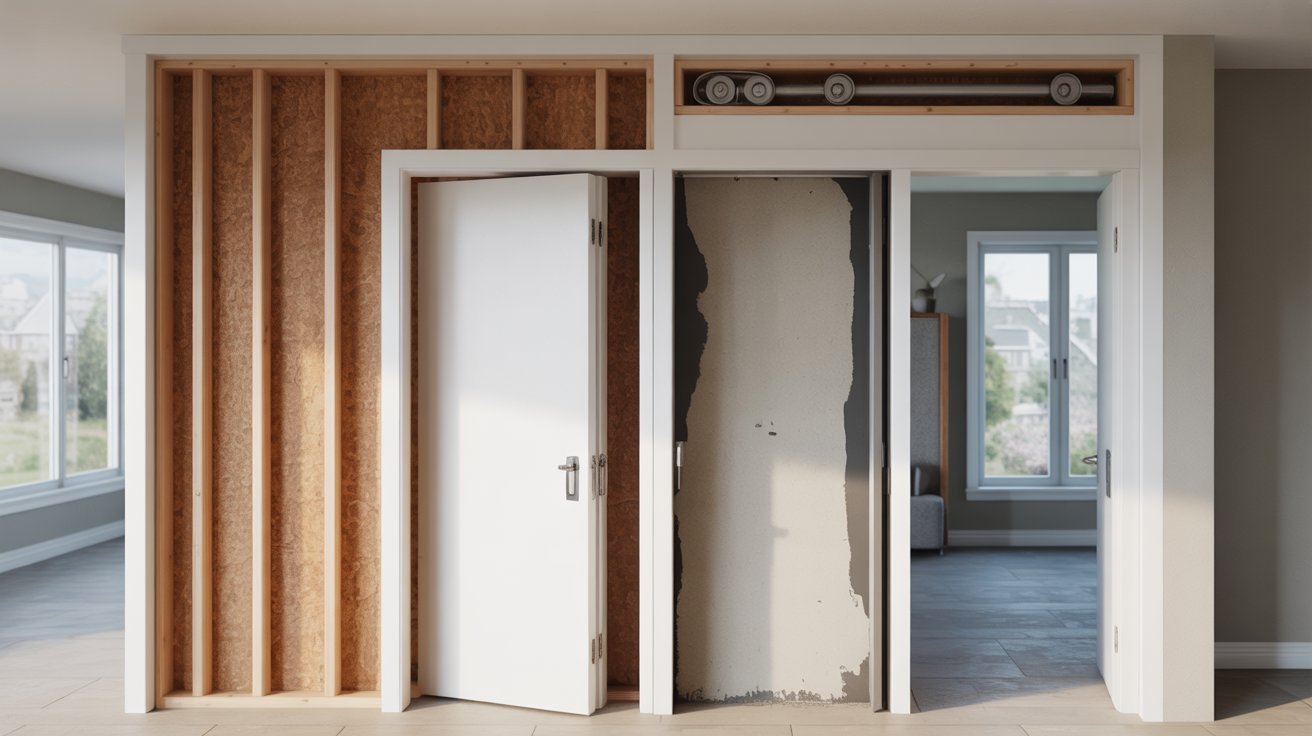
The most common complaint is a door that sticks or drags. This usually comes from a track that wasn't leveled properly or a frame that shifted during drywall work.
Noise is another issue. Pocket doors don't seal like hinged doors do. Sound travels through the gap, which surprises people expecting more privacy.
Hardware wear is also real. The rollers inside the track take constant use and cheaper kits show that wear within a few years.
Pull handles can also frustrate people. Without a knob to grip, you need a recessed or finger pull built into the door edge. If it's not installed well, daily use becomes annoying fast.
What Experienced DIYers Recommend Before Starting
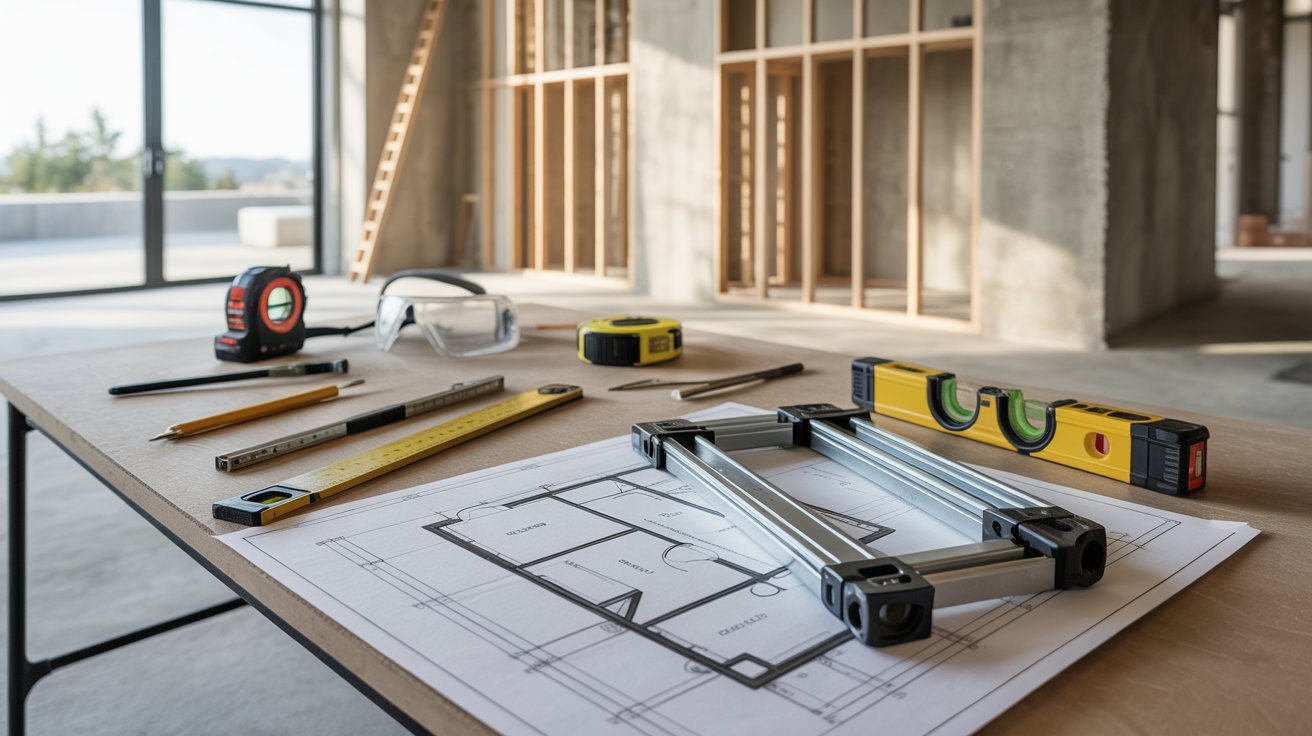
Everyone who has done this project more than once says the same thing: spend more time planning than you think you need to.
Pull the permit if your local area requires one. It protects you during resale and ensures an inspection catches anything missed.
Buy a quality pocket door kit. The hardware inside the wall is not easy to replace later. Spending more upfront saves frustration down the line.
Watch video walkthroughs specific to your wall type before cutting. A wood-framed wall and a steel-stud wall are handled differently, and knowing that before you start matters.
DIY vs Hiring a Professional: What Most Homeowners End Up Choosing
Most homeowners plan to DIY this project and a fair number call a professional somewhere in the middle.
The work isn't impossible but it does require confidence with framing, drywall, and basic electrical awareness.
| Factor | DIY | Professional |
| Cost | $200 to $500 in materials | $800 to $2,500+ including labor |
| Time | 2 to 4 days | 1 day for experienced installer |
| Skill needed | Intermediate to advanced | Handled for you |
| Risk level | Higher if obstacles are found | Lower, surprises managed professionally |
| Best for | Confident DIYers with framing experience | Complex walls or first-time projects |
| Finish quality | Depends on skill level | Generally more consistent |
If you've done framing and drywall before, DIY is very manageable. If this is your first time opening a wall, having a professional handle the framing and track is worth the cost.
Tools and Materials That Actually Matter
You don't need a truckload of tools for this project, but you do need the right ones. Going in underprepared adds time and mistakes to every step.
- Stud finder with electrical and pipe detection: Non-negotiable before cutting into any wall
- Reciprocating saw: For removing drywall and cutting the existing frame cleanly
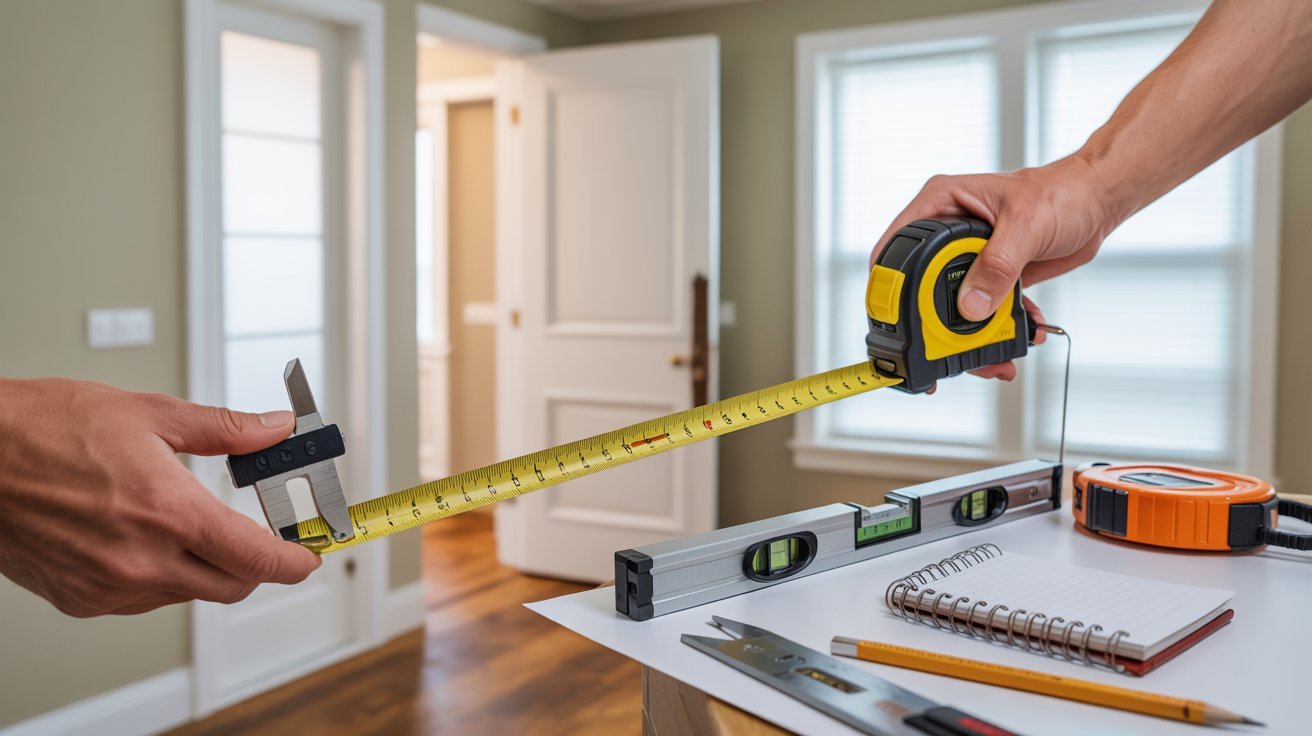
- Level: The track must be perfectly level or the door will drift on its own
- Pocket door kit: Choose one rated for your door weight and wall thickness
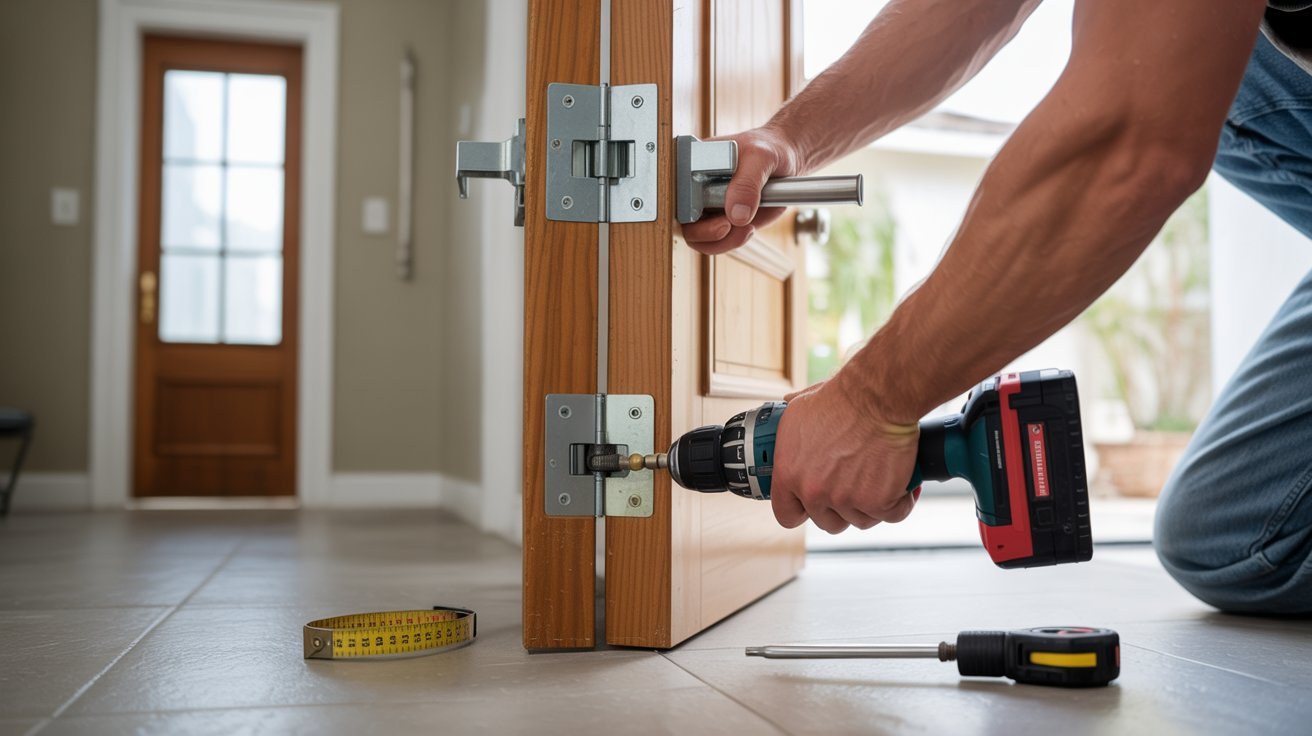
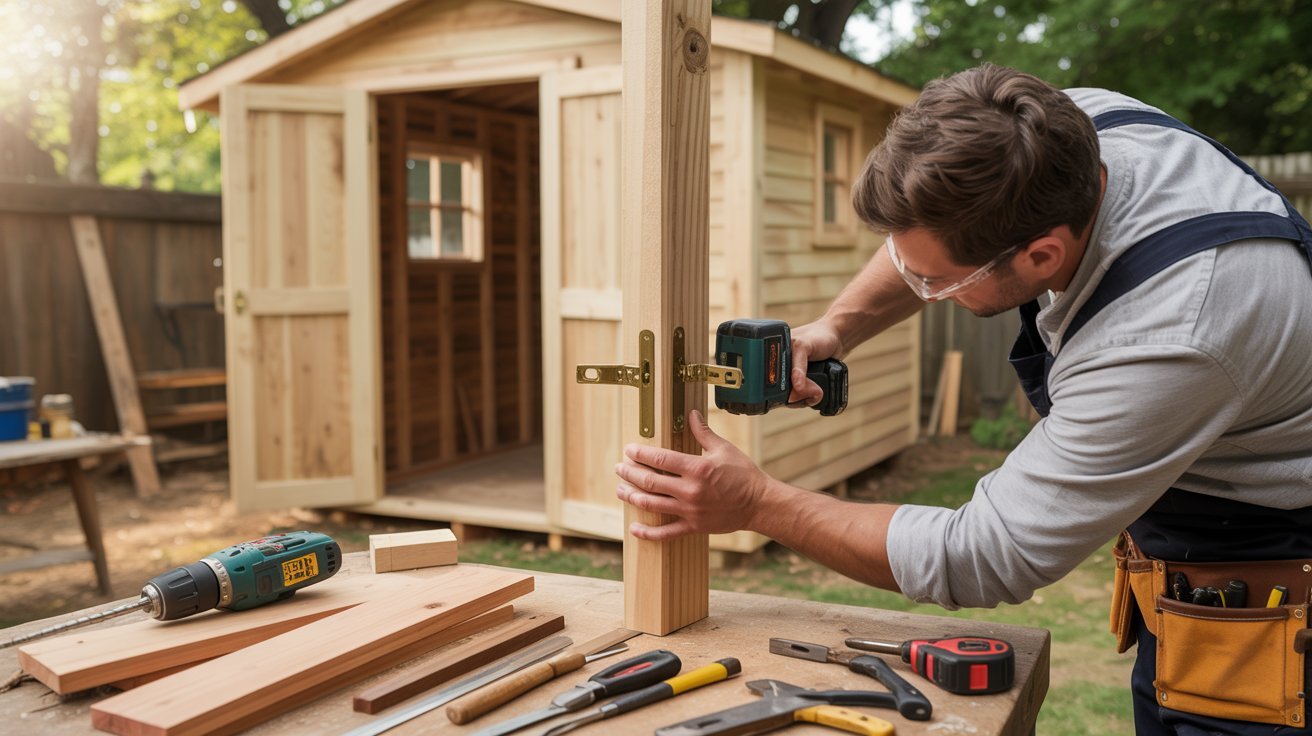
- Drill and bits: For attaching the frame, track, and hardware
- Drywall tools: Joint compound, tape, corner bead, and sanding block
- Utility knife and pry bar: For scoring drywall and removing trim cleanly
- Floor guide: Often left out of cheaper kits. Buy one separately if needed
Having everything ready before you start means no mid-project hardware runs. That alone keeps the job cleaner and faster.
Conclusion
Most people overthink this project before they start and rush it once they do. Don't be that person.
If you plan carefully and respect each step, how to install a pocket door in existing wall goes from intimidating to completely doable.
I've watched homeowners pull this off with no prior experience. Patience was the only thing that separated the ones who succeeded from the ones who didn't.
Ready to start? Save this guide, gather your tools, and take it one step at a time. Got questions? Drop them in the comments. I read every single one.
Frequently Asked Questions
What Is the Hardest Part of Installing a Pocket Door in an Existing Wall?
Opening the wall and dealing with what's inside is where most projects hit unexpected complications. Finding electrical or plumbing in the cavity is the most common reason a simple project becomes complex.
Can You Install a Pocket Door Without Removing Much Drywall?
No, you'll need to open a significant wall section to fit the frame and track properly. There's no reliable shortcut for this step.
Do Pocket Doors Cause Problems Over Time?
They can, especially with low-quality track or rollers at installation. Regular hardware checks every year or two prevent most issues from growing.
How Much Wall Space Do You Actually Need for a Pocket Door?
You need clear wall space equal to at least the door width plus a few inches for the frame. A 32-inch door needs roughly 34 to 36 inches of open wall beside the opening.
Is Installing a Pocket Door a Realistic DIY Project for Beginners?
It's manageable with basic carpentry and drywall experience, but not ideal as a first home improvement project. Having a professional handle the framing portion is a smart move if you're new to this kind of work.