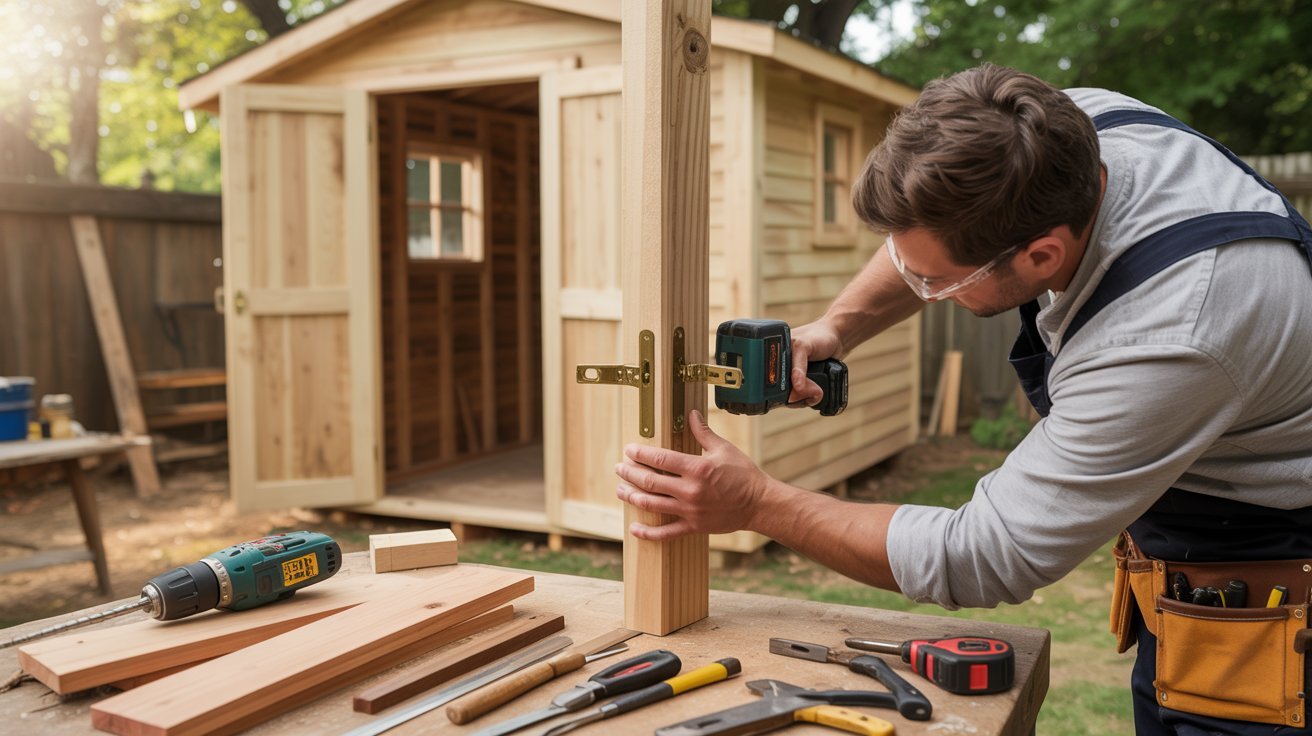

Building your own double shed doors is one of those DIY projects that actually pays off.
Pre-made doors cost a lot, and they rarely fit your shed the way you want. When I built mine, I saved money and got doors that worked perfectly for my space.
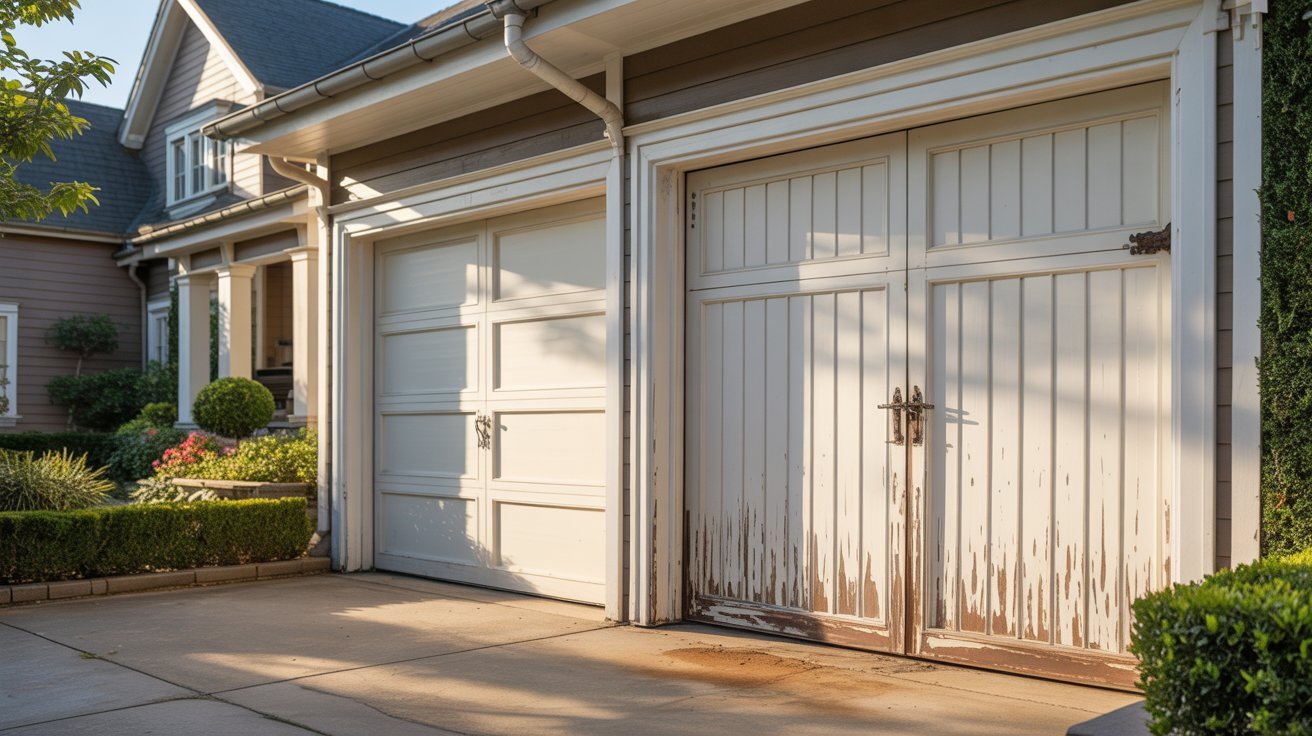
Double doors give you wide, easy access for lawn equipment, large tools, and bulky storage items. No more squeezing things through a narrow opening.
In this guide, I'll walk you through the full process, from framing and cutting to assembling and installing. I'll also share some pro tips to help your doors last longer and operate smoothly.
Let’s get started.
Planning Before You Start Building
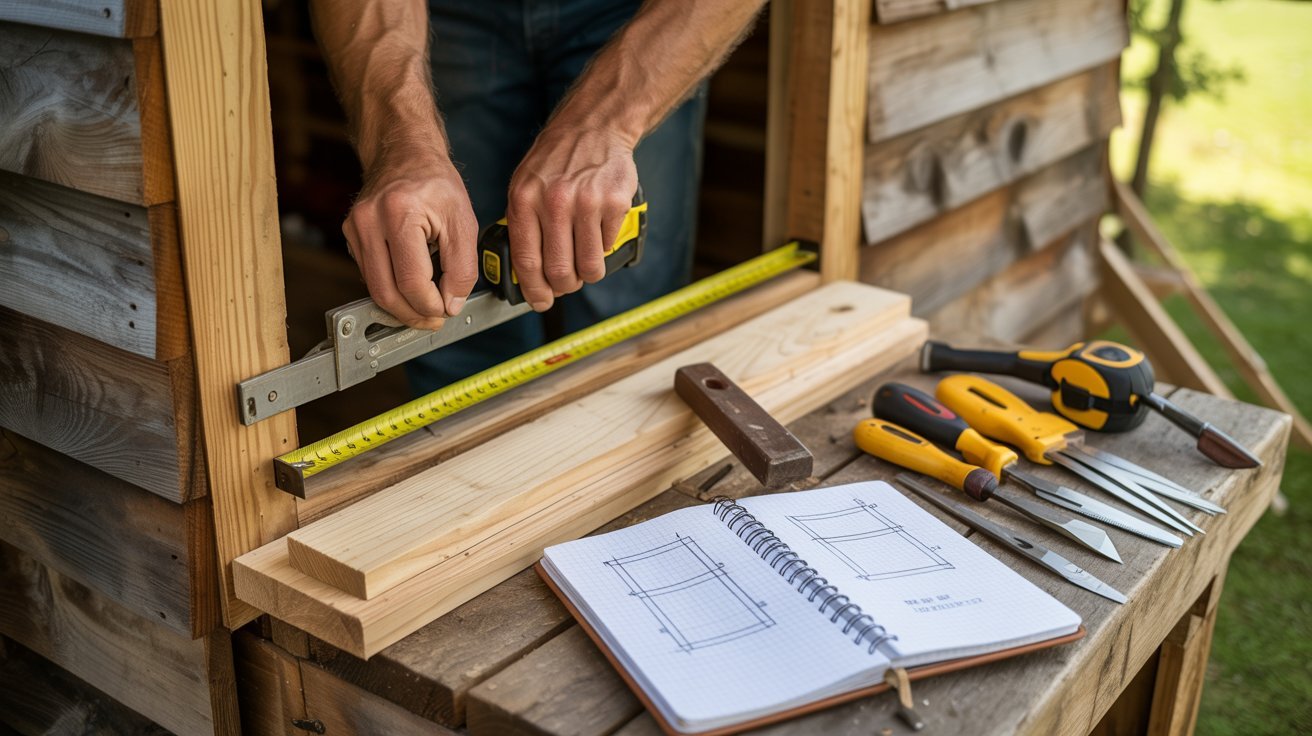
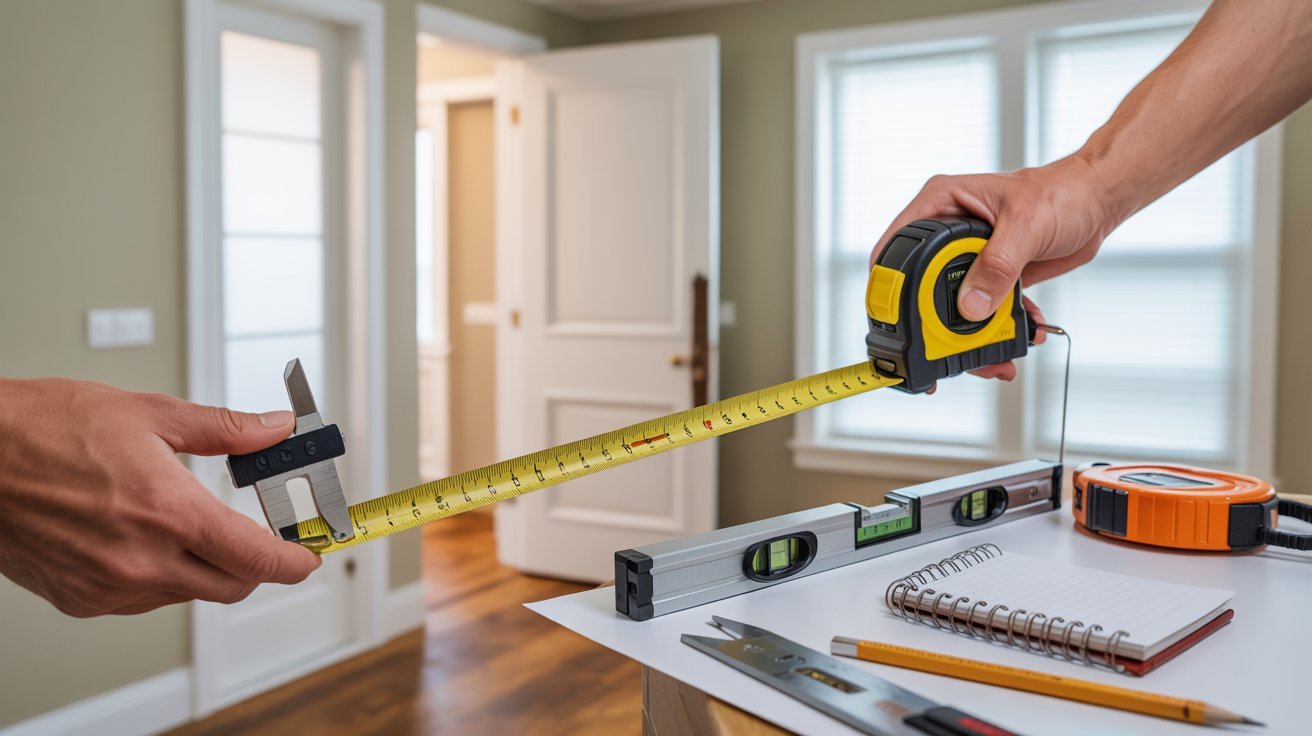
Start by measuring your shed opening carefully. Get the exact width and height, then subtract ¼ inch on each side for clearance. This small gap keeps the doors from sticking.
Most double shed doors run between 5 and 6 feet wide. Think about which way you want them to swing and whether you have enough clearance in front.
If you use a ramp, factor that into your door height. Getting these numbers right before you cut anything saves a lot of time later.
Tools and Materials You Will Need
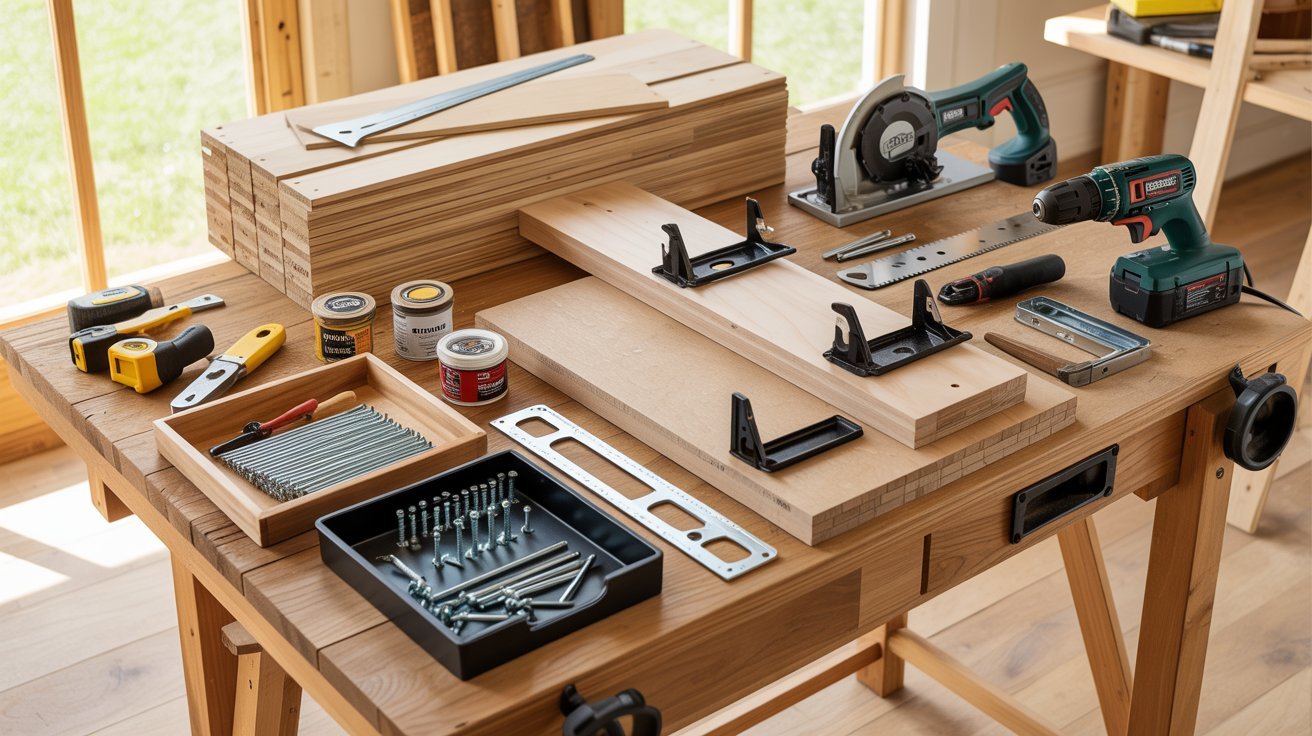
Getting your tools and materials ready before you start makes the whole build go smoother. Here is everything you need.
Materials:
- LP SmartSide or plywood panels for the door faces
- 2×3 or 2×4 lumber for the door frame
- Exterior screws and nails to hold it all together
- Door hinges, latch pins, and other hardware
- Exterior paint and trim boards for the finished look
Tools:
- Circular saw or table saw for clean cuts
- Drill or impact driver for fastening
- Measuring tape and speed square for accuracy
- Clamps and a level to keep everything straight
Step-by-Step Guide to Build Double Shed Doors
Building double shed doors is easier than it looks. Follow these steps and you will have sturdy, well-fitted doors without spending a fortune on pre-made ones.
Step 1 – Cutting Door Panels
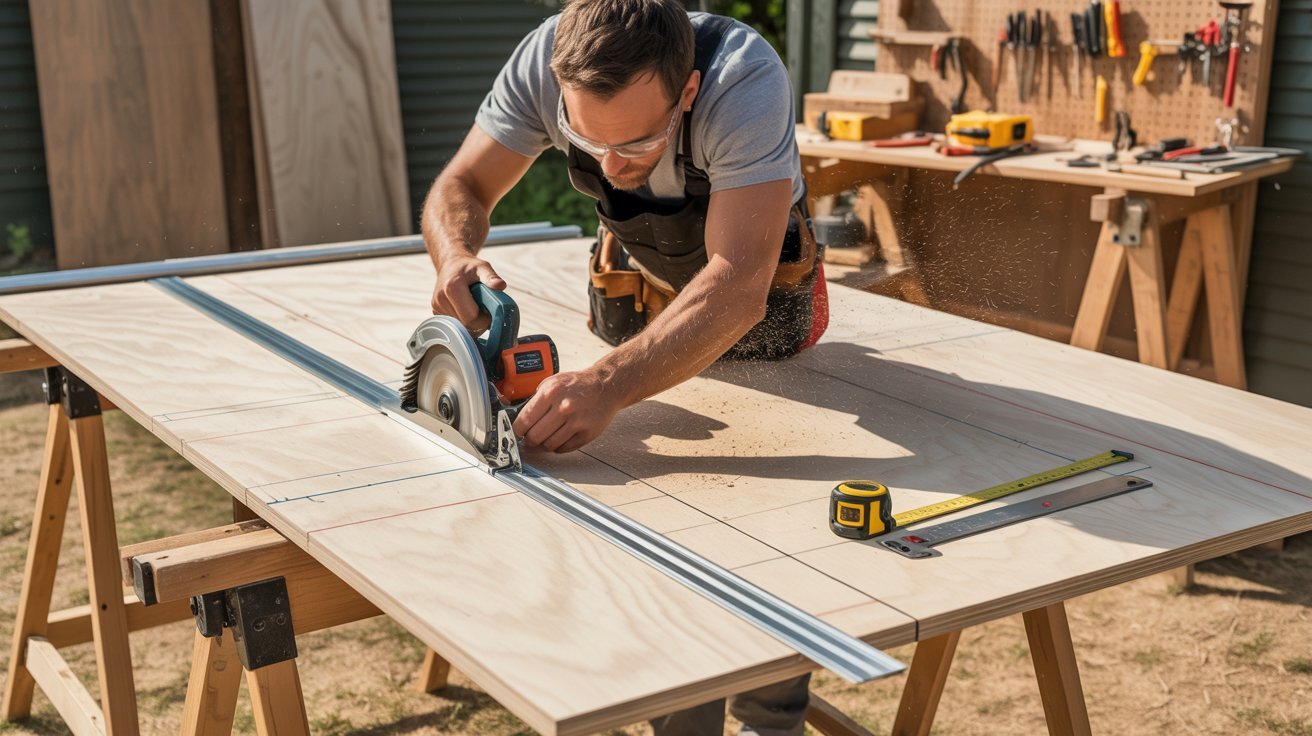
Start by transferring your shed door dimensions onto the siding panels. Use a speed square to mark clean, straight lines.
Cut your LP SmartSide or plywood sheets carefully. Take your time here. Clean, straight edges make everything fit better in the next steps.
Step 2 – Building the Door Frame
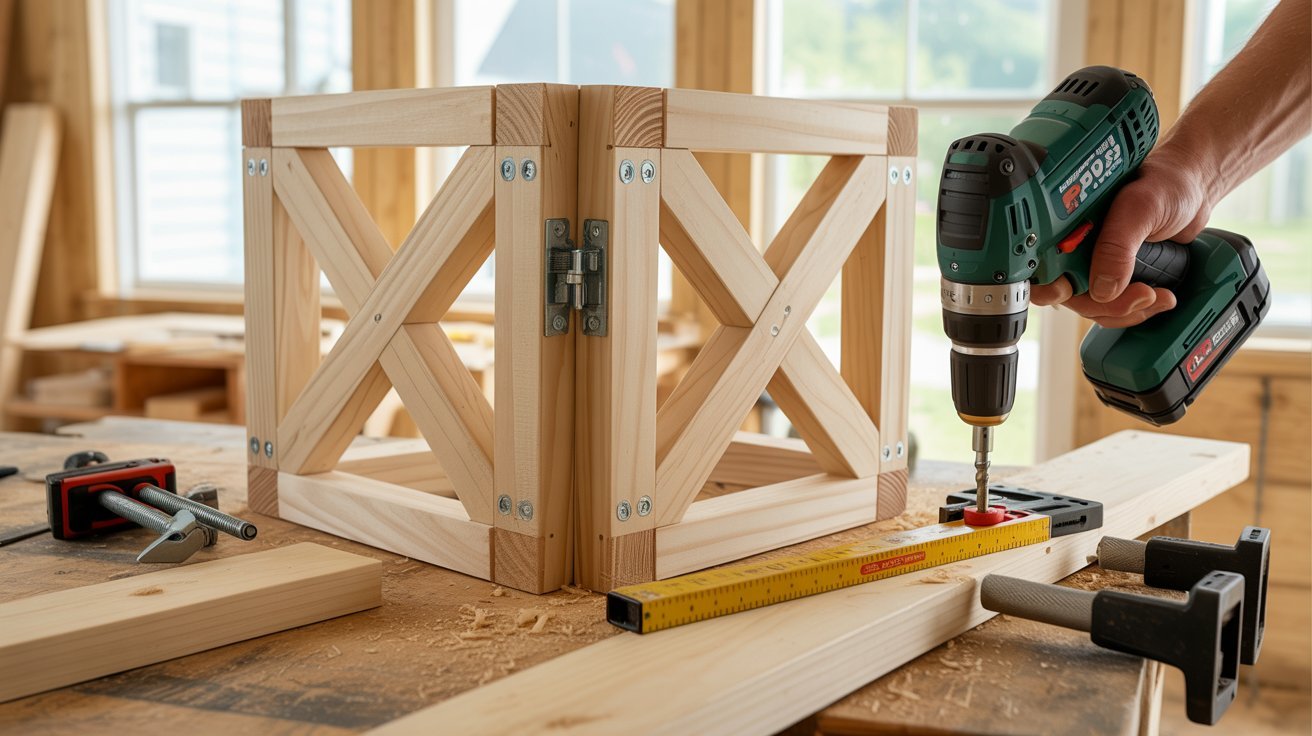
Cut your 2×3 or 2×4 lumber to size and build an "E" or "8-style" internal frame. This adds strength and stops the doors from warping over time.
Pre-drill all holes before screwing joints together. Use exterior-grade screws and check for square alignment as you go.
Step 3 – Attaching Door Panels
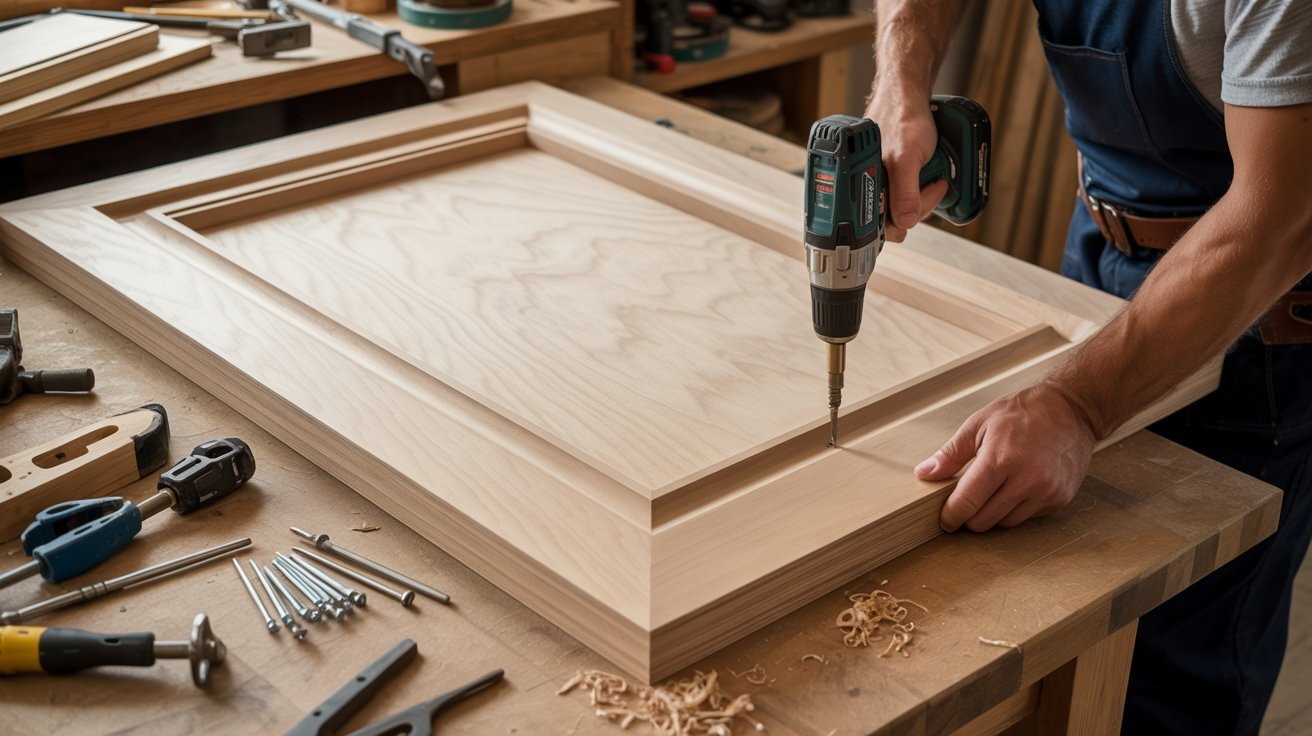
Lay your frame flat and place the cut panel on top. Align the edges carefully on all sides.
Fasten the panel to the frame by nailing or screwing from the back side. Keep everything flush as you work across the panel.
Step 4 – Adding Trim for Finishing
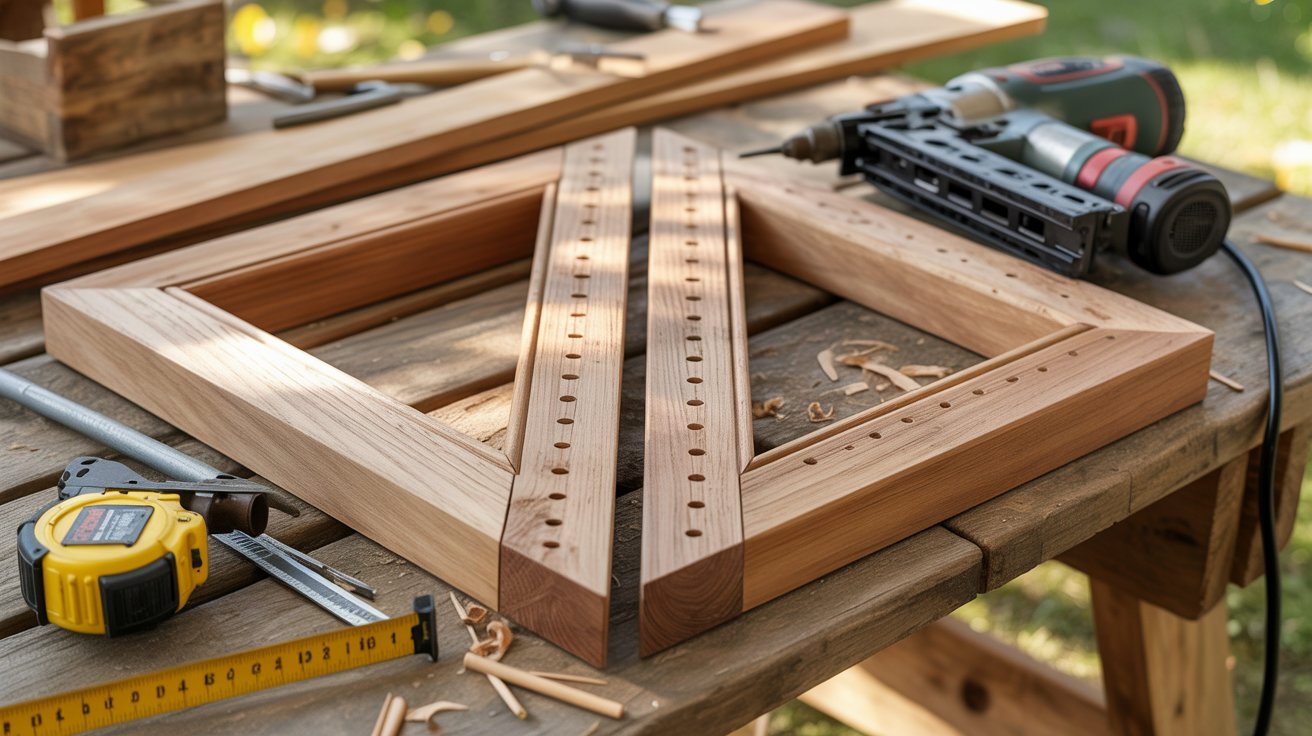
Measure and cut your vertical and horizontal trim pieces. Let them overlap slightly for a clean, framed look.
Attach trim using nails or screws and make sure the fit is tight and even. If you plan to use multiple colors, pre-paint the trim before installing.
Step 5 – Painting and Weatherproofing
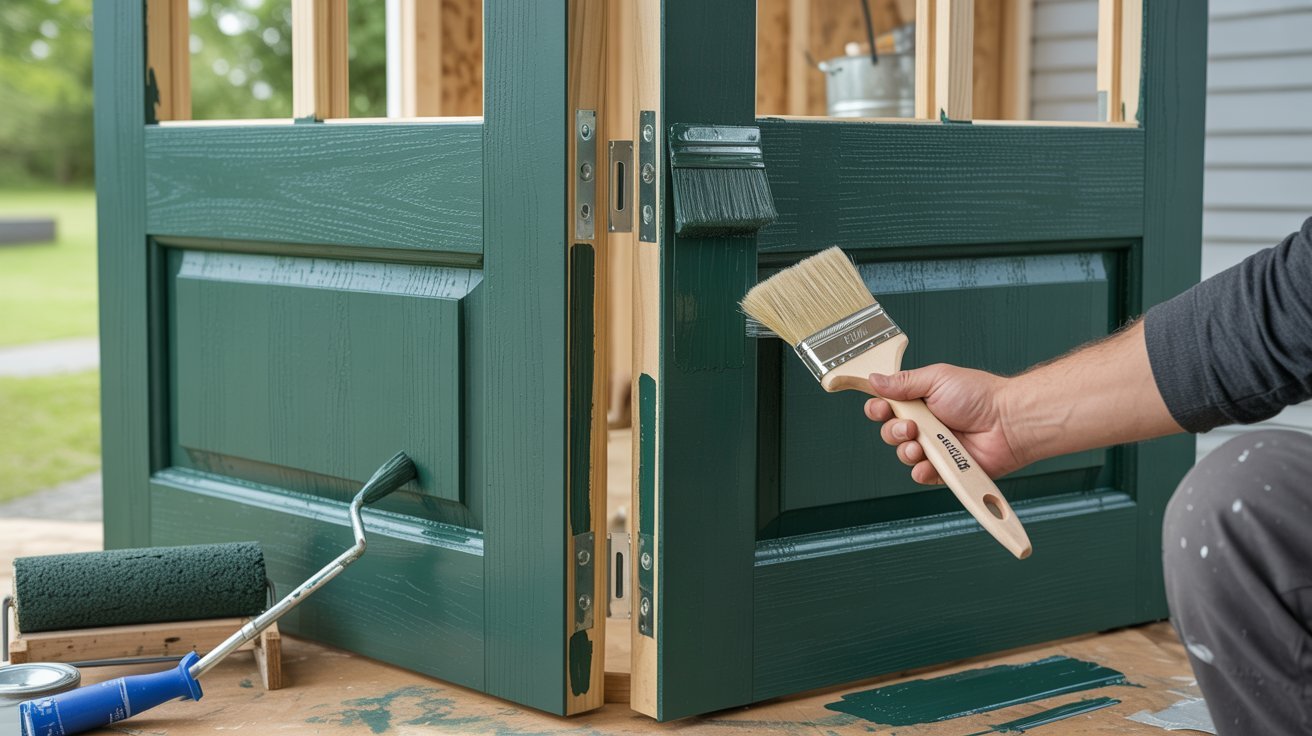
Use a weather-resistant exterior paint and apply one to two coats for solid coverage. Once dry, run caulk along all edges and joints.
This keeps moisture and air from getting in and helps your doors hold up through all seasons.
Step 6 – Installing Hardware
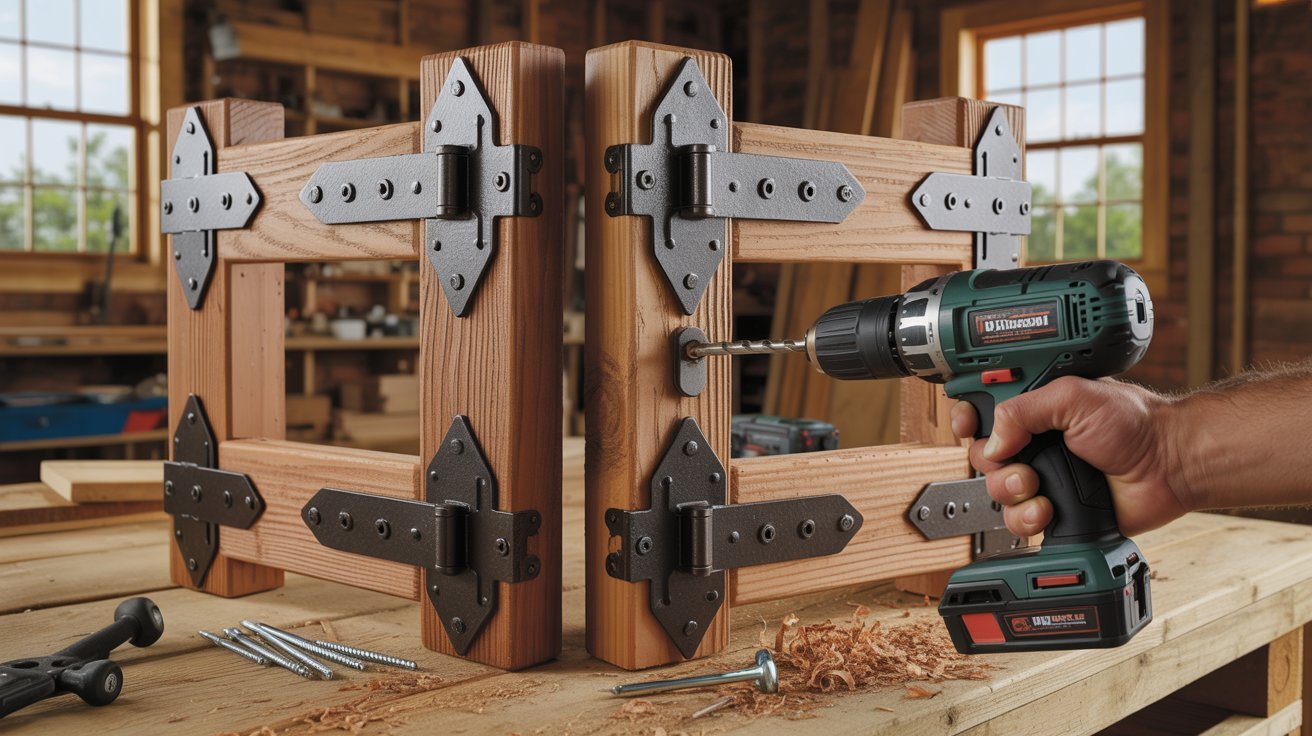
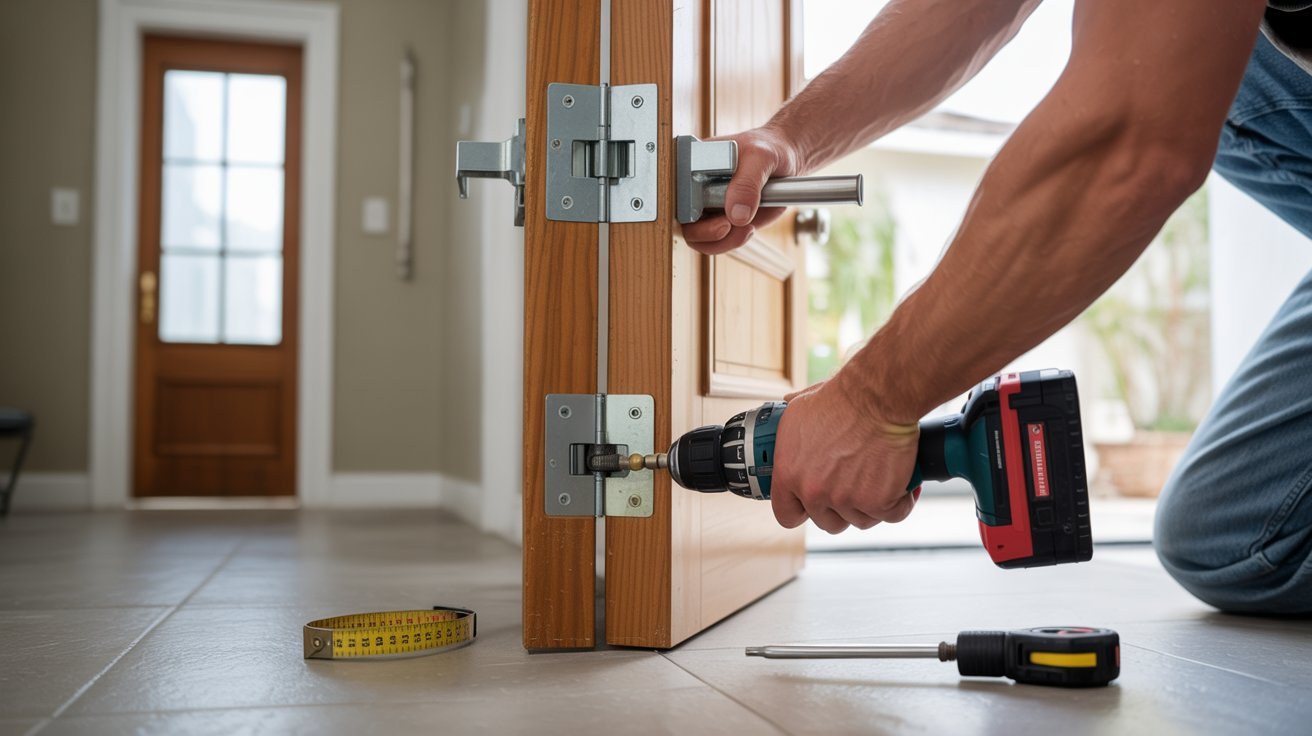
Mount heavy-duty hinges on both doors. Add latch pins so the doors close securely. Install straightening rods or braces to keep the doors from sagging or twisting.
Good hardware makes a big difference in how long your doors stay straight and functional.
Step 7 – Installing Doors on Shed
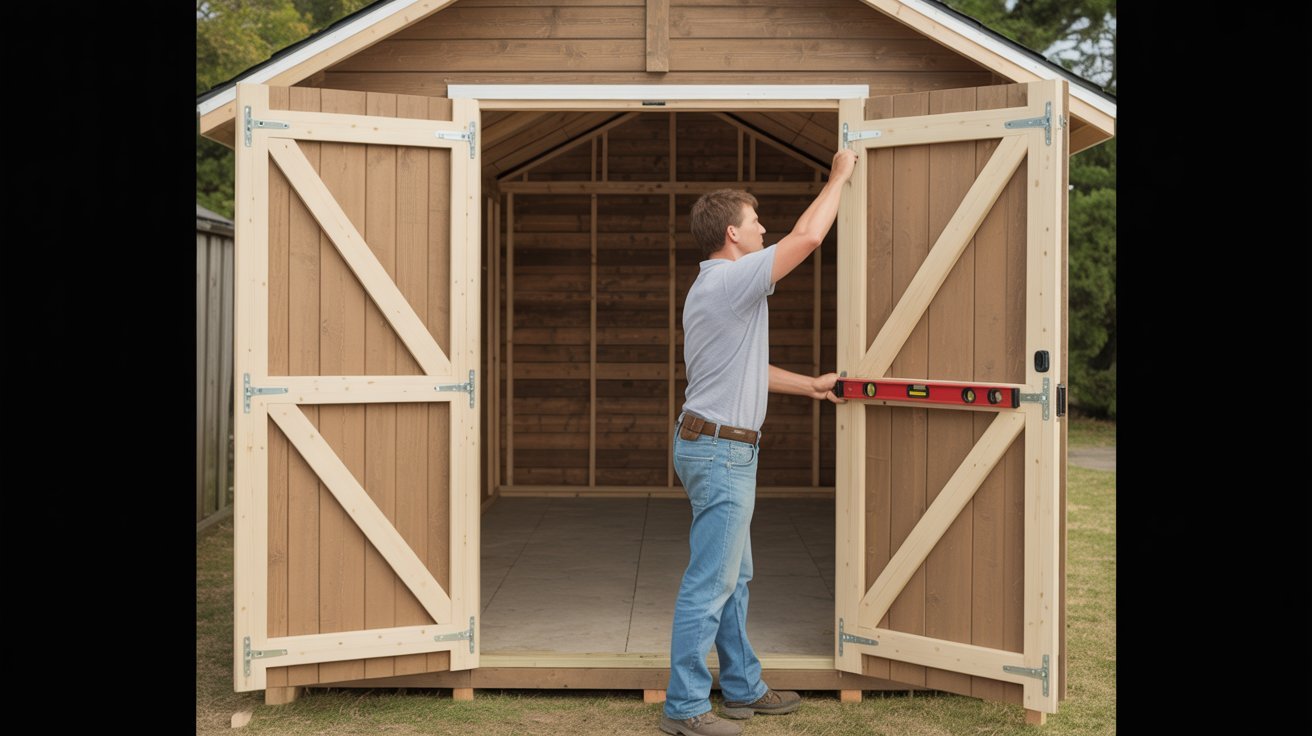
Lift the doors into the opening with a ¼ inch clearance gap on all sides. Secure the top hinge first to get the alignment right before fastening the rest.
Once hung, add interior trim stops to prevent the doors from swinging too far and stressing the hinges.
Step 8 – Final Adjustments and Finishing Touches
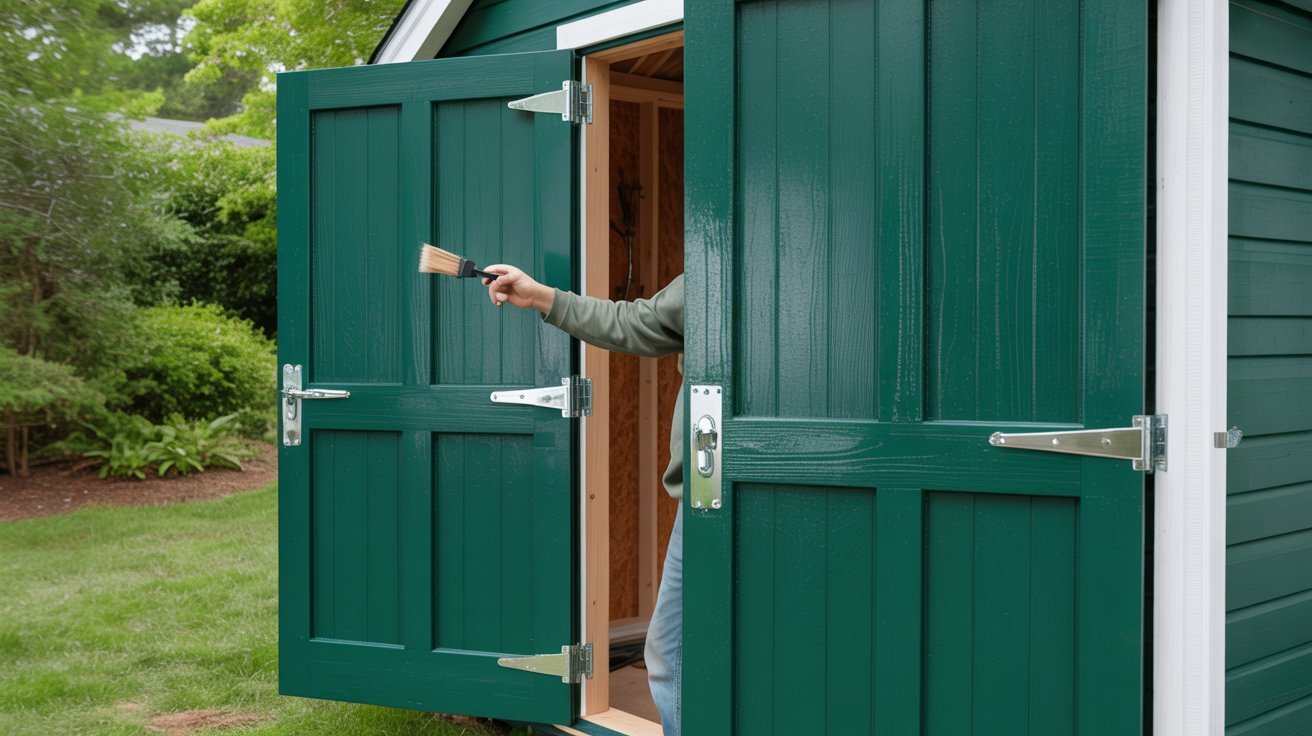
Mark where the latch pins hit the floor or frame, then drill slightly larger holes for a smooth fit. Do a final paint touch-up over nail holes and any scratches.
Open and close the doors a few times to check alignment and make sure everything moves cleanly.
Pro Tips for Strong and Long-Lasting Shed Doors
- Always leave a ¼ inch clearance gap around the doors. Skipping this step causes sticking and swelling over time.
- Reinforce the internal frame properly. A weak frame leads to sagging and warping within months.
- Use galvanized screws and hinges for all hardware. They hold up much better against moisture and rust.
- Add threshold protection along the floor edge. It keeps the bottom of your doors from wearing out fast.
- Double-check your frame for square before fastening anything. Small alignment issues cause big problems later.
Conclusion
Building double shed doors is totally doable when you follow each step carefully. From measuring the opening to hanging the final door, every part of the process matters.
I have seen small mistakes in framing and measuring cause big headaches later. Take your time, get the sizing right, and use quality materials from the start.
Do it properly once and your doors will last for years.
If this guide helped you, share it with someone planning their own shed build.
Frequently Asked Questions
What is the best wood to use for double shed doors?
Plywood and LP SmartSide are both solid choices for shed doors. They hold up well against weather and are easy to cut and frame.
How wide should double shed doors be?
Most double shed doors work best between 5 and 6 feet wide. This gives you enough room for lawn equipment, wheelbarrows, and large storage items.
Do I need special hinges for double shed doors?
Yes, always use heavy-duty exterior hinges for double shed doors. Standard hinges are not strong enough to support the weight and will bend or loosen over time.
How do I stop my shed doors from warping?
Build a strong internal frame using 2×3 or 2×4 lumber and use an "E" or "8-style" reinforcement structure. Sealing and painting all sides of the door also helps prevent moisture from getting in.
Can I build double shed doors without professional help?
Absolutely. With the right tools, accurate measurements, and a clear plan, this is a very manageable DIY project. Take your time with each step and you will get great results.