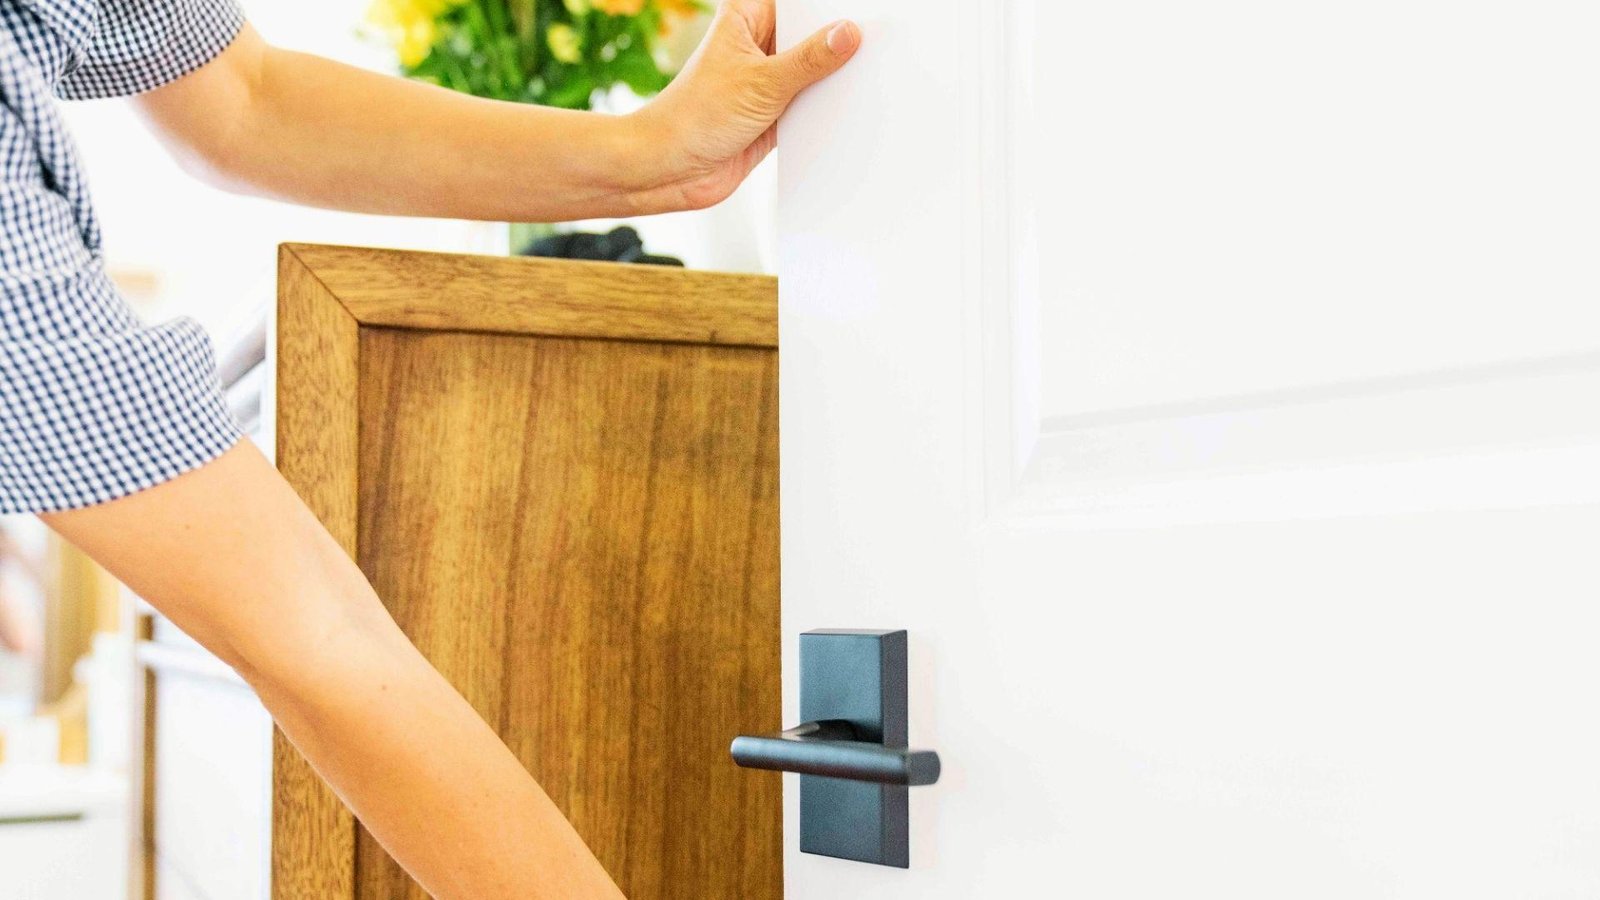
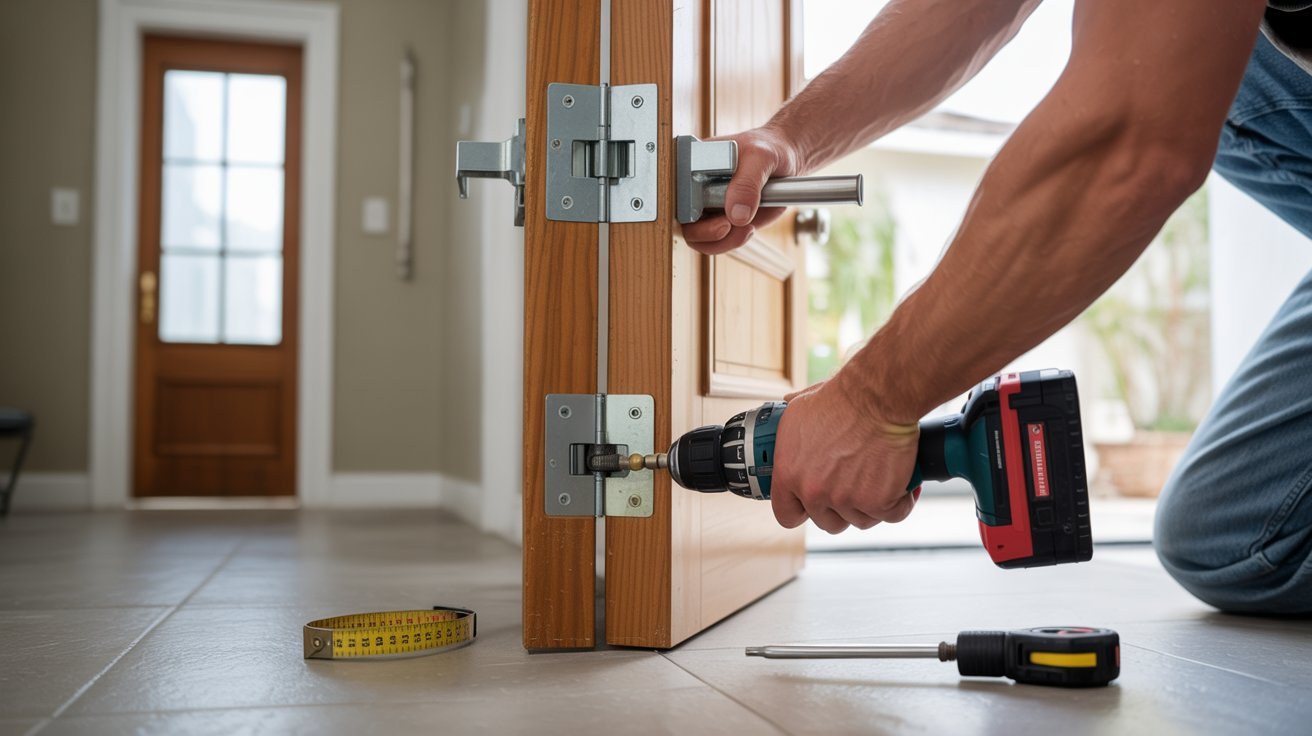

I never thought a door could be that annoying until I lived with one that slammed every single time.
Then I started looking into door closer installation and realized how simple the fix actually was.
What surprised me most was how little most guides explain before telling you to start drilling. The tool list, the template, the arm position. It all matters more than people let on.
So I put this together from real experience. Every step, every common mistake, and every adjustment tip you'll actually need.
If your door is giving you grief, keep reading. The solution is closer than you think.
Why Installing a Door Closer Is Worth It
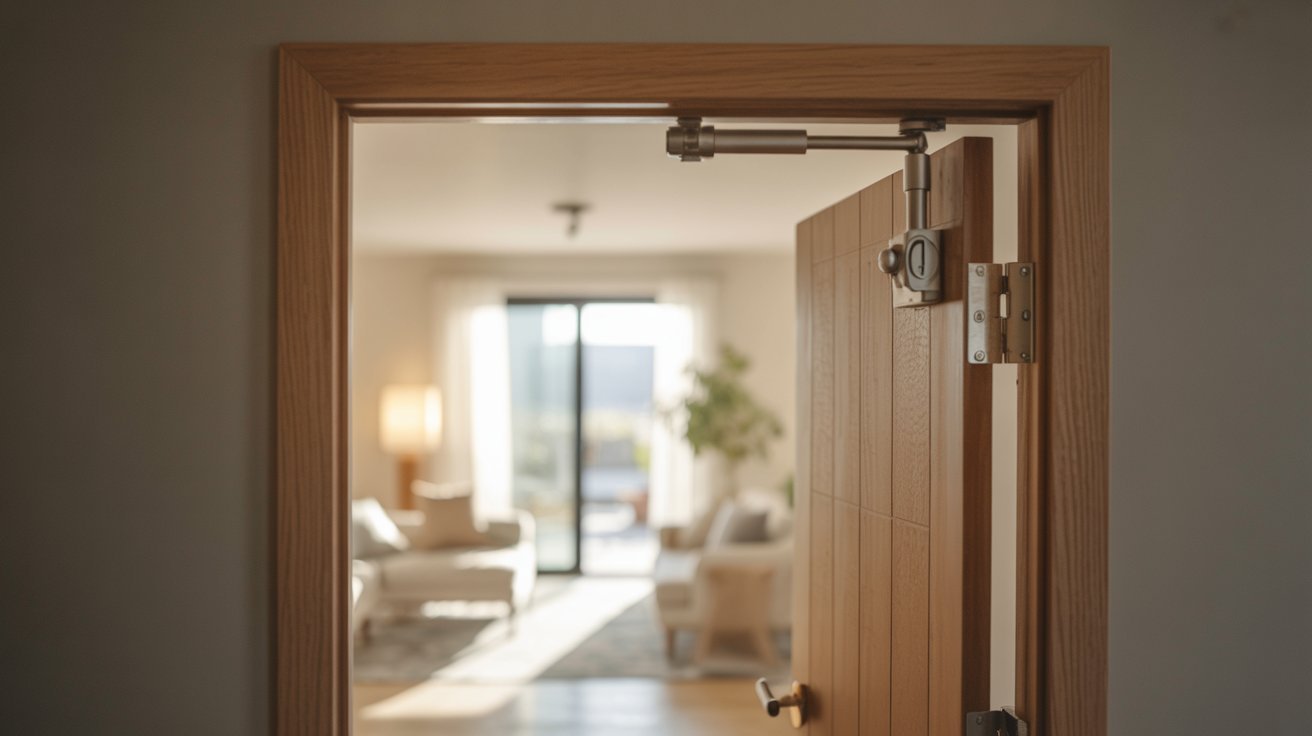
The most obvious reason is the slamming. A door closer controls how fast a door shuts, which means no more loud bangs and no more startled pets or sleeping kids.
It also improves safety. A self-closing door reduces the chance of it being left open accidentally, which matters in homes with young children and commercial spaces with fire safety requirements.
There's an energy angle too. A properly closing door helps maintain indoor temperature, so your heating and cooling systems don't have to work as hard.
Consistent controlled closing also puts less stress on hinges and the door frame over time, genuinely extending the life of your door hardware.
How to Install a Door Closer Step by Step
Door closer installation is more straightforward than most people expect. The key is taking it one step at a time and not skipping the alignment checks.
Step 1: Gather the Right Tools and Read the Instructions
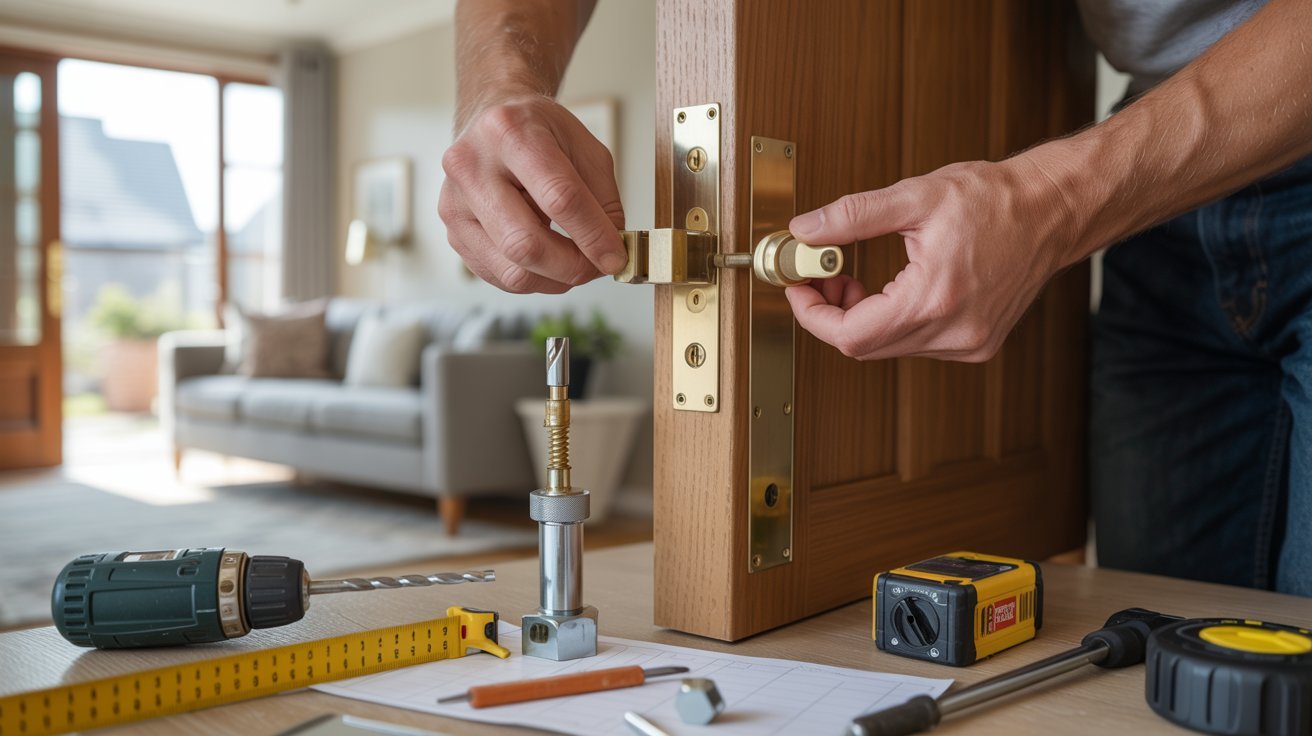
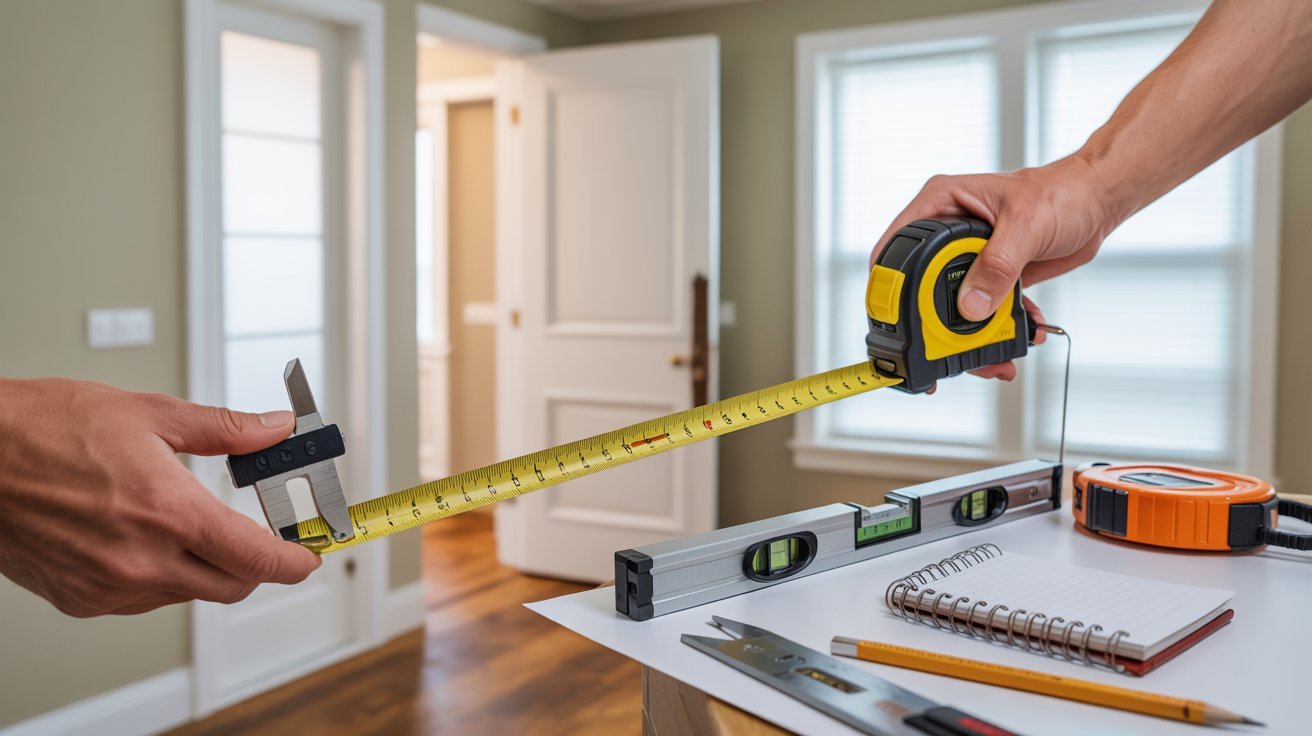
You'll need a drill, screwdriver, measuring tape, pencil, and the hardware from your closer kit. Read the manual before anything touches the door.
Every brand has its own mounting positions and screw patterns. The template included in the kit is there for a reason. Use it.
Choose the correct mounting position for your door type. Regular arm, top jamb, or parallel arm all serve different situations. Taking ten minutes here saves thirty minutes of troubleshooting later.
Step 2: Mark and Drill the Mounting Holes
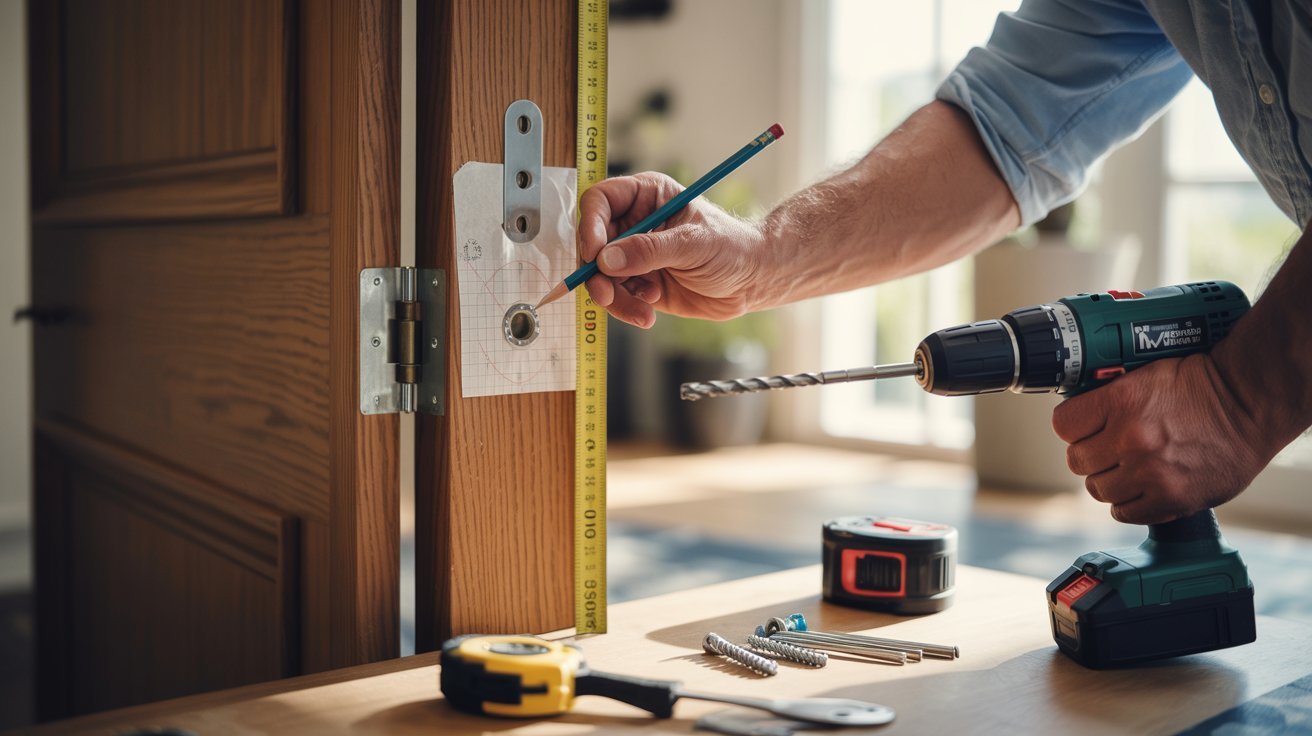
Tape the template against the door exactly as the instructions show so it doesn't shift while you mark.
The most common beginner mistake is measuring from the wrong edge. Always measure from the hinge side unless the instructions say otherwise.
For wood doors, use a sharp bit slightly smaller than the screw size. For metal doors, go slow with a metal bit to avoid stripping. Mark before you drill, always.
Step 3: Attach the Door Closer Body
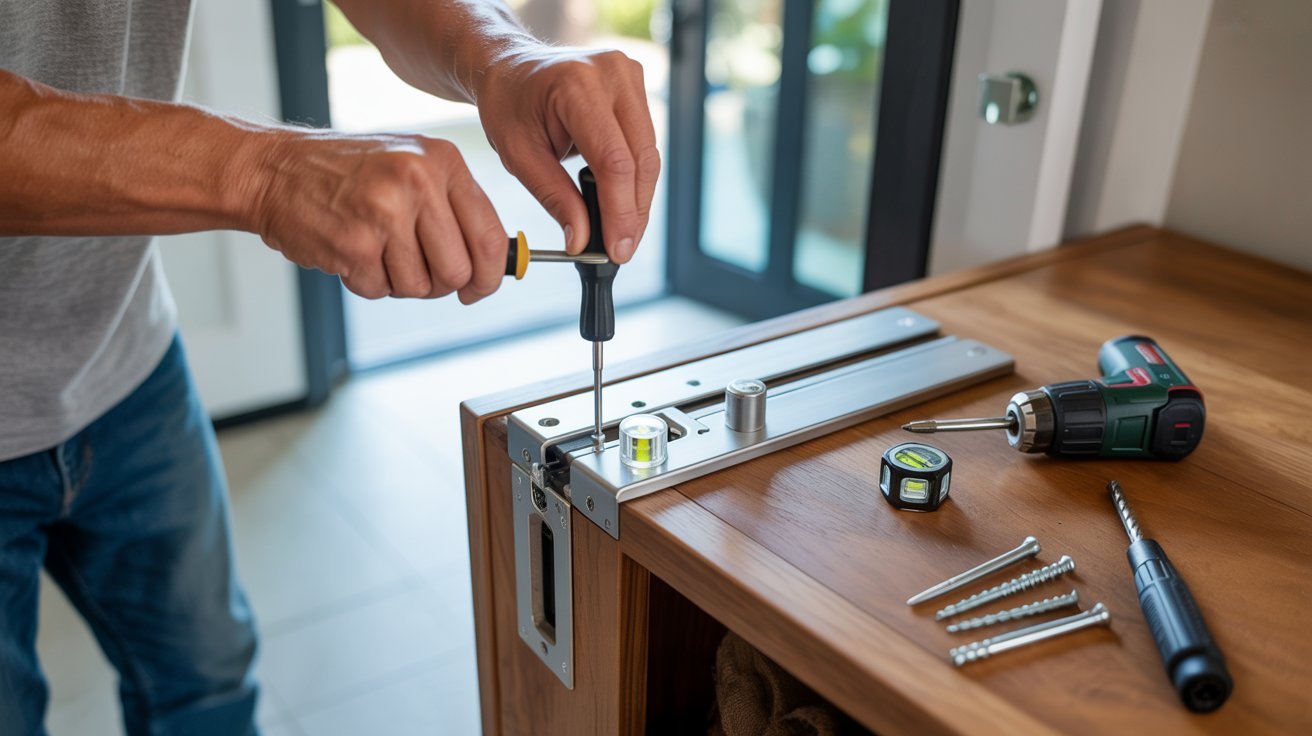
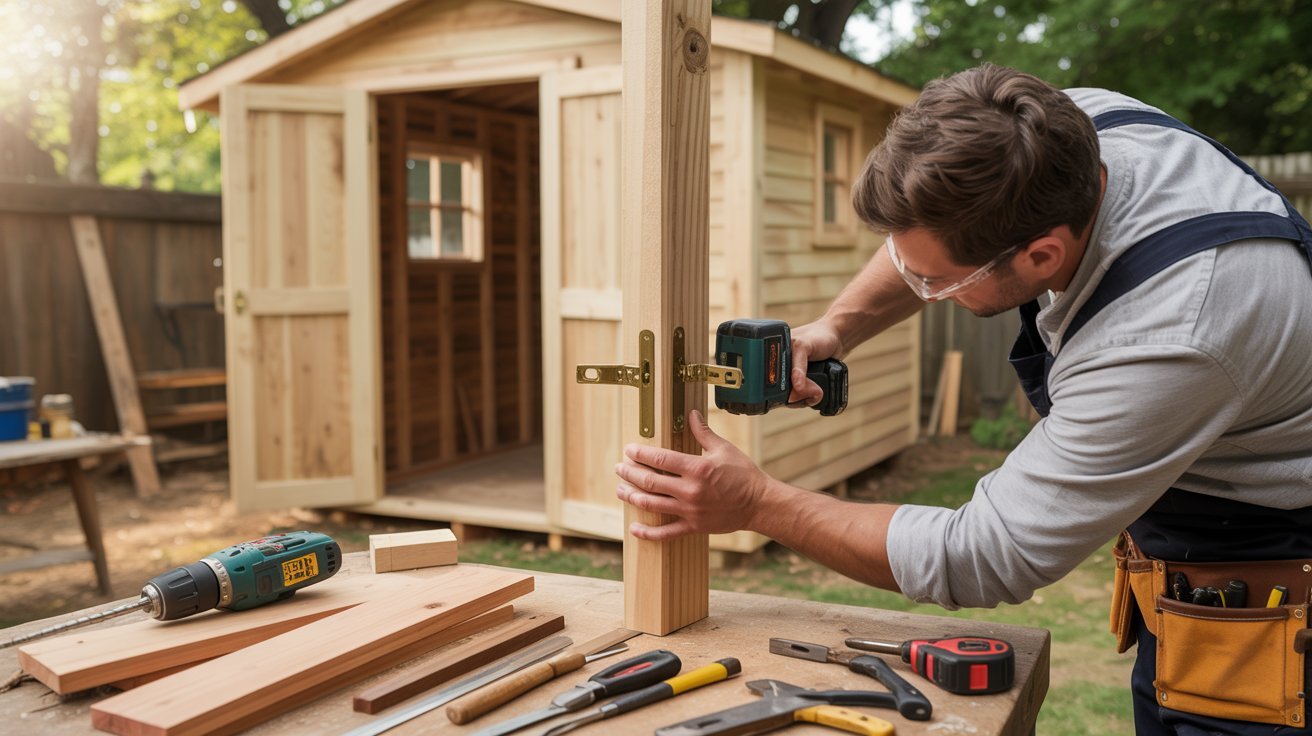
Drive the screws in firmly but don't overtighten. Hand-tight plus a quarter turn is usually enough. The closer should sit flush with no rocking or gap.
Check that the body is level before moving on. Even a slight angle will cause the arm to bind and the door to close unevenly.
Step 4: Install and Adjust the Arm
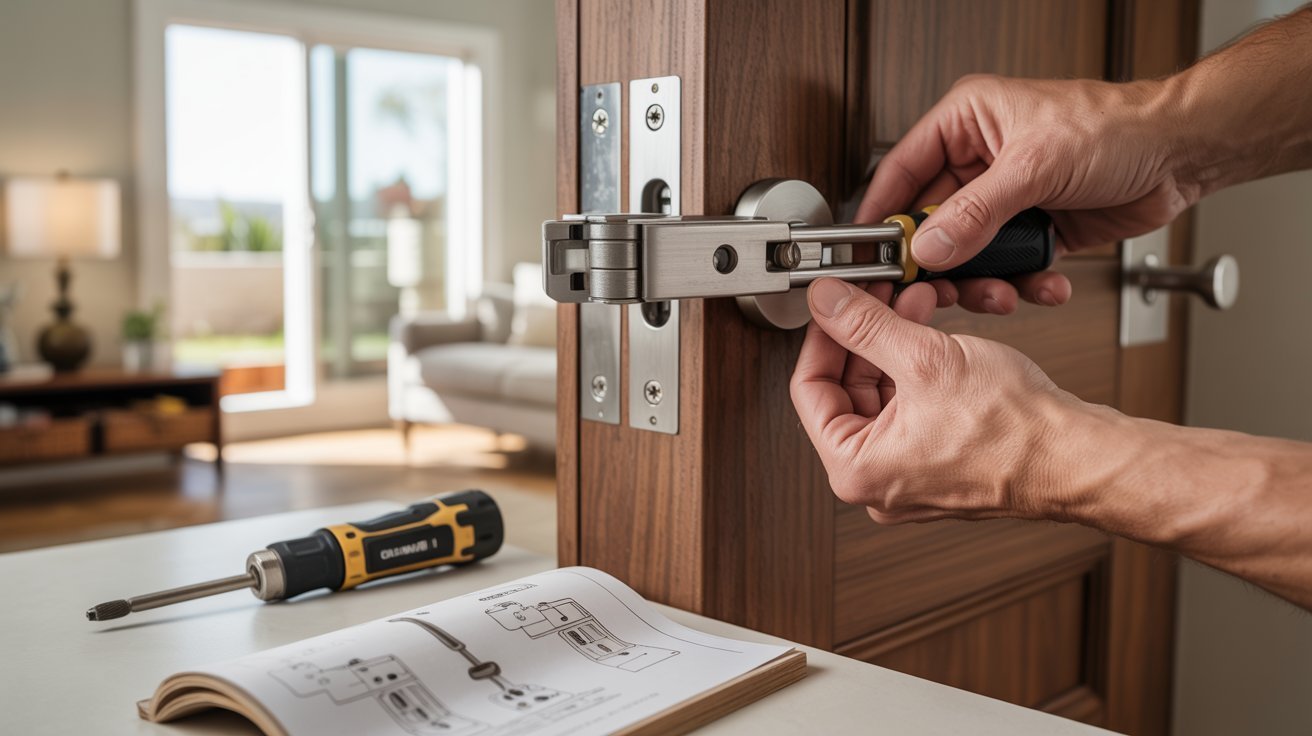
Attach the arm according to your manual's diagram. Position it so it sits at the correct angle when the door is fully closed.
Don't over-tighten the arm joints at this stage. Leave enough room to fine-tune once you test the door.
Getting the arm right is where door closer installation either works well or causes ongoing frustration.
Step 5: Test and Fine-Tune the Door Closer
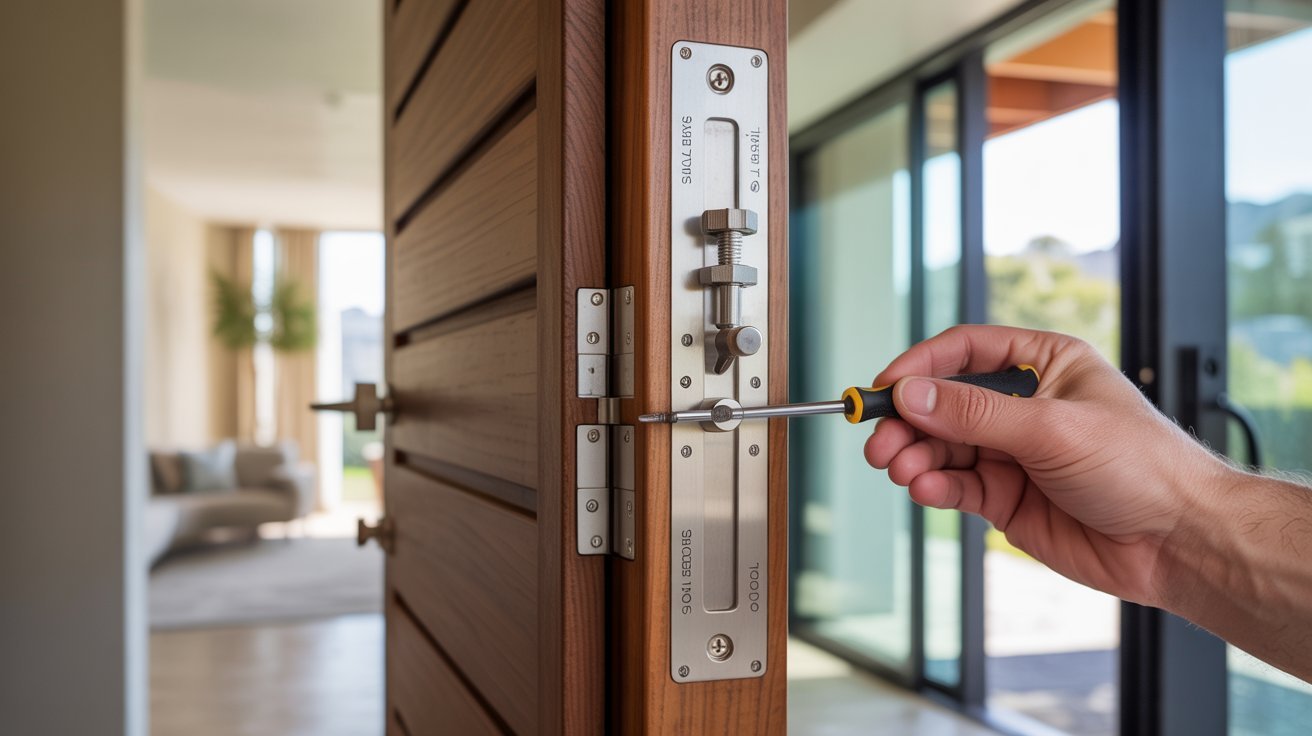
Open the door fully and let it close on its own. It should close steadily, latch cleanly, and not bounce back open.
Most closers have adjustment screws labeled S for sweep speed, L for latch speed, and BC for back check. Turn in small quarter-turn increments and test after each one.
If it slams, sweep speed is too fast. If it drifts open, increase latch speed. Open and close the door ten times. Consistent performance means you're done.
Door Closer Maintenance Tips for Long-Term Performance
A well-installed closer can last many years, but only with basic attention. Most people install it and forget it, then wonder why it stops working smoothly.
- Check screws every few months: Daily use vibration loosens screws over time
- Clean around moving parts: Dust builds up in arm joints and slows movement. A dry cloth is enough
- Lubricate correctly: Use light machine oil or silicone spray on arm pivot points once or twice a year
- Don't lubricate the body: The hydraulic fluid inside is sealed. Adding oil outside does nothing useful
- Know when to replace: Leaking hydraulic fluid or loss of consistent speed means it's time for a new unit
Maintenance takes ten minutes a year and is the difference between a closer that lasts a decade and one that fails in two.
When You Should Call a Professional
Fire-rated doors are not a DIY job. The closer must meet specific code requirements, and getting this wrong has serious safety and legal consequences.
Glass and aluminum storefront doors require specialist hardware and precise calibration. The wrong closer can crack the frame or damage the glass over time.
If the door frame is damaged or warped, fix the frame first. A closer mounted to a bad frame will never work properly.
Persistent alignment issues after multiple adjustment attempts signal a bigger problem that needs professional assessment.
Conclusion
Here's the truth. Most people put off door closer installation because it sounds technical. It really isn't.
Give it an hour, follow the steps, and you'll have a door that works the way it should every single time. No more slamming. No more drifting open. Just a clean, controlled close.
You've got everything you need right here. So stop putting it off.
Try it this weekend and let me know how it goes in the comments. And if this guide helped you, share it with someone who's been dealing with the same problem.
Frequently Asked Questions
How Long Does Door Closer Installation Take?
Most DIY installations take between 30 minutes and 1 hour depending on door type and experience level. Having all tools ready before starting keeps the process moving.
Can I Install a Door Closer Without Professional Help?
Yes, most modern kits are beginner-friendly and include a detailed installation manual with templates. Professional help is only needed if the door or frame has existing damage.
Why Does My Door Closer Slam Shut?
The closing speed is set too high and needs adjustment using the sweep speed control screw. Turn it in small increments and test after each adjustment.
Do Door Closers Work on Residential Doors?
Yes, door closers work well on front doors, garage entry doors, and interior doors. They are practical wherever controlled closing adds convenience or safety.
What Size Door Closer Do I Need?
The correct size depends on your door's width, weight, and frequency of use. Most manufacturers provide a sizing chart in the product documentation to help match the right closer to your door.