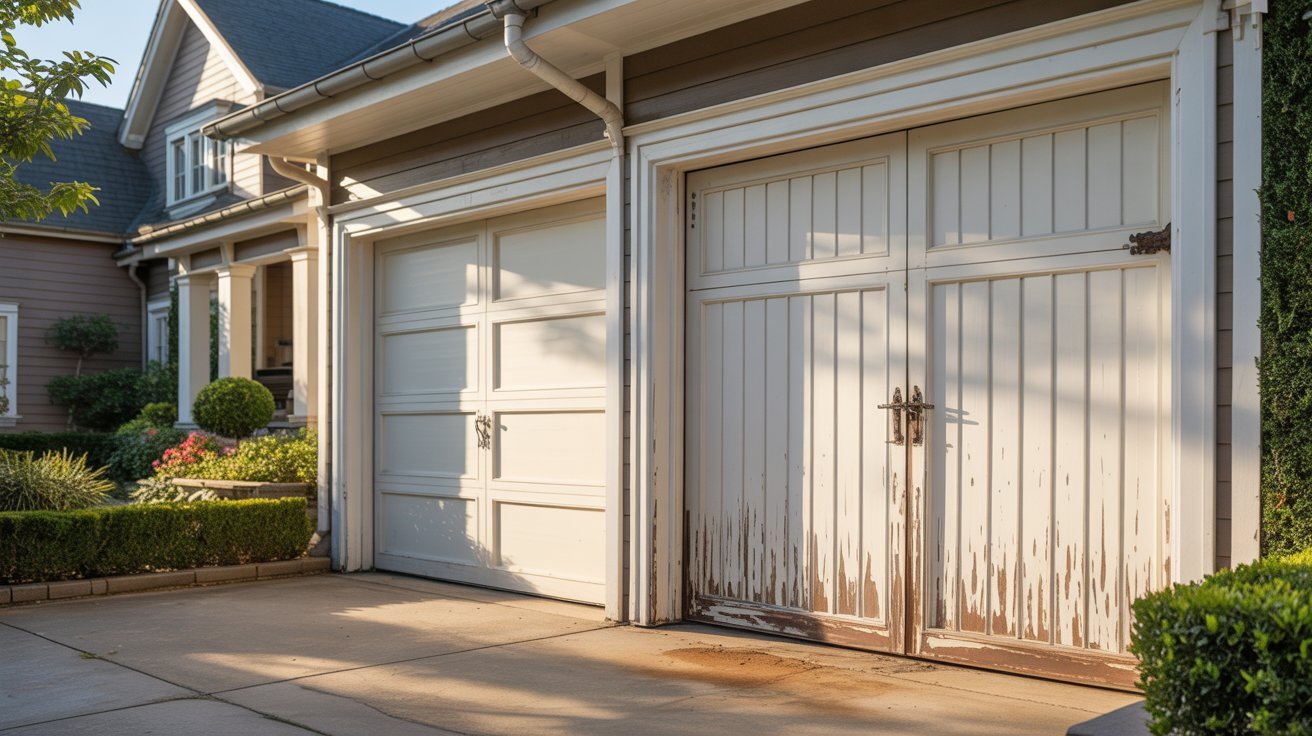
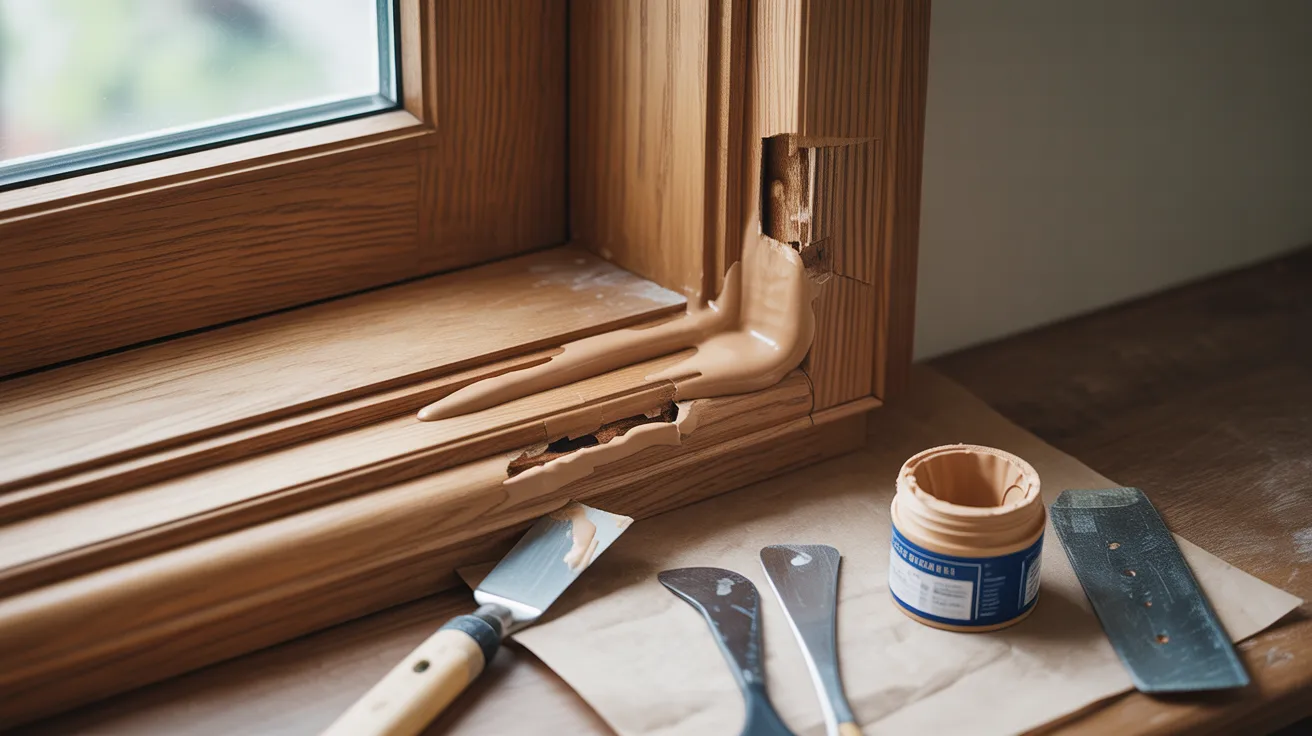

A damaged door frame is more than an eyesore. It can weaken your door's security and make your home look worn out. The good news? You don't always need to call a professional.
This guide walks you through how to repair a door frame with wood filler from start to finish. You'll learn what causes the damage, what materials you need, and how to fix it the right way.
I've helped many homeowners tackle this exact problem with simple tools and a little patience. Whether it's a small crack or a rotting section, this article has you covered.
What Causes Door Frame Damage?
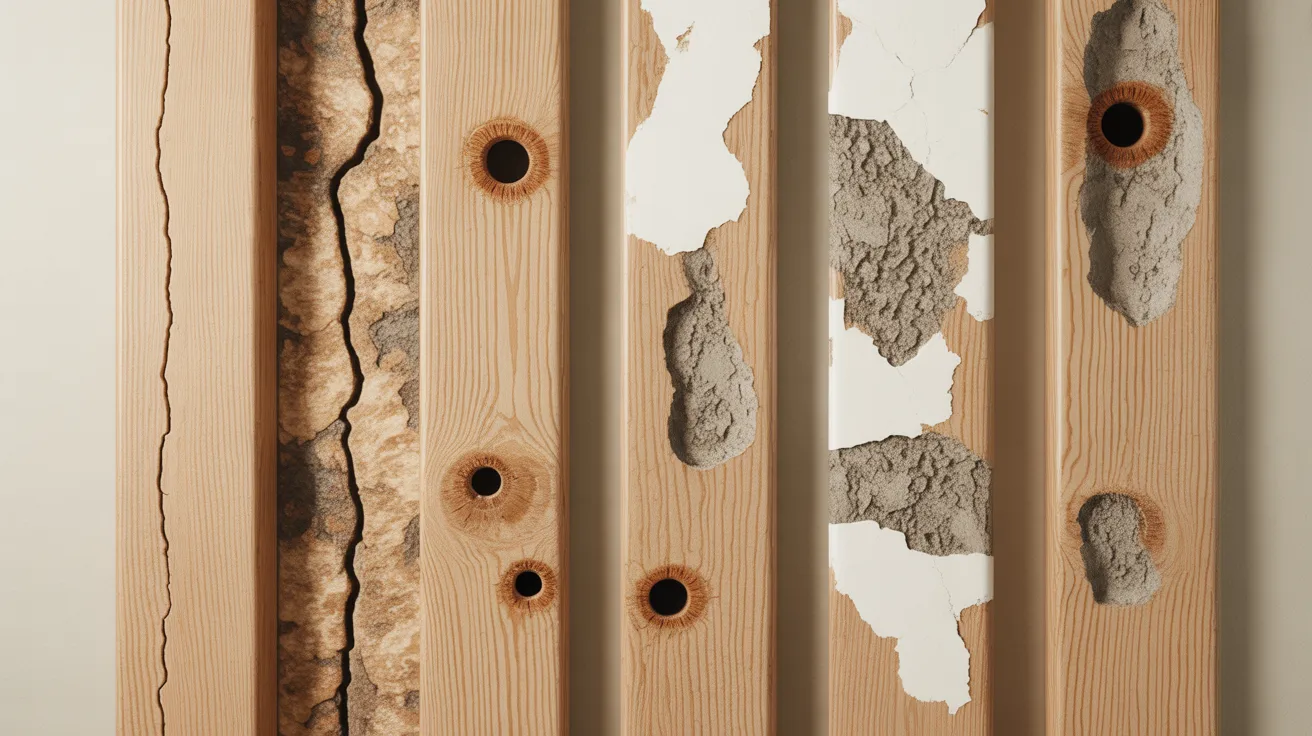
Door frames take a beating every day. Over time, different things can break them down. Knowing the cause helps you pick the right fix.
Cracks usually start small. They form from wood shrinking in dry weather or expanding in humidity. Small holes often come from nails, screws, or accidental impact. These are the easiest problems to fix with standard wood filler.
Moisture is the biggest enemy of wood door frames. If water gets in through gaps, the wood starts to soften and rot. You'll notice it feels spongy or crumbles when you press on it. Caught early, rot can be treated with wood filler or epoxy.
Hinges pull away from the frame over time, leaving large screw holes. A forced entry can split or crack the frame badly. These repairs need more filler and sometimes reinforcement before finishing.
Tools and Materials Needed

Before you start any repair, gather everything you need. Stopping mid-repair to find a tool wastes time and can ruin your work.
Best Wood Filler for Door Frames
Not all fillers are the same. For small cracks and holes, a standard latex wood filler works well. It dries fast and sands easily. For outdoor frames or rotted areas, use a two-part epoxy wood filler. It's harder, waterproof, and holds up longer under tough conditions.
Basic DIY Tools You Will Need
You don't need a full workshop for this job.
Here's what to grab:
- Putty knife or scraper
- Sandpaper (80-grit and 120-grit)
- Wood filler or epoxy filler
- Primer and paint
- Clean cloth or rag
- Gloves
How to Repair a Door Frame with Wood Filler Step-by-Step
This is the core of the repair process. Follow each step carefully for a clean, lasting result.
Step 1: Remove Loose or Damaged Wood
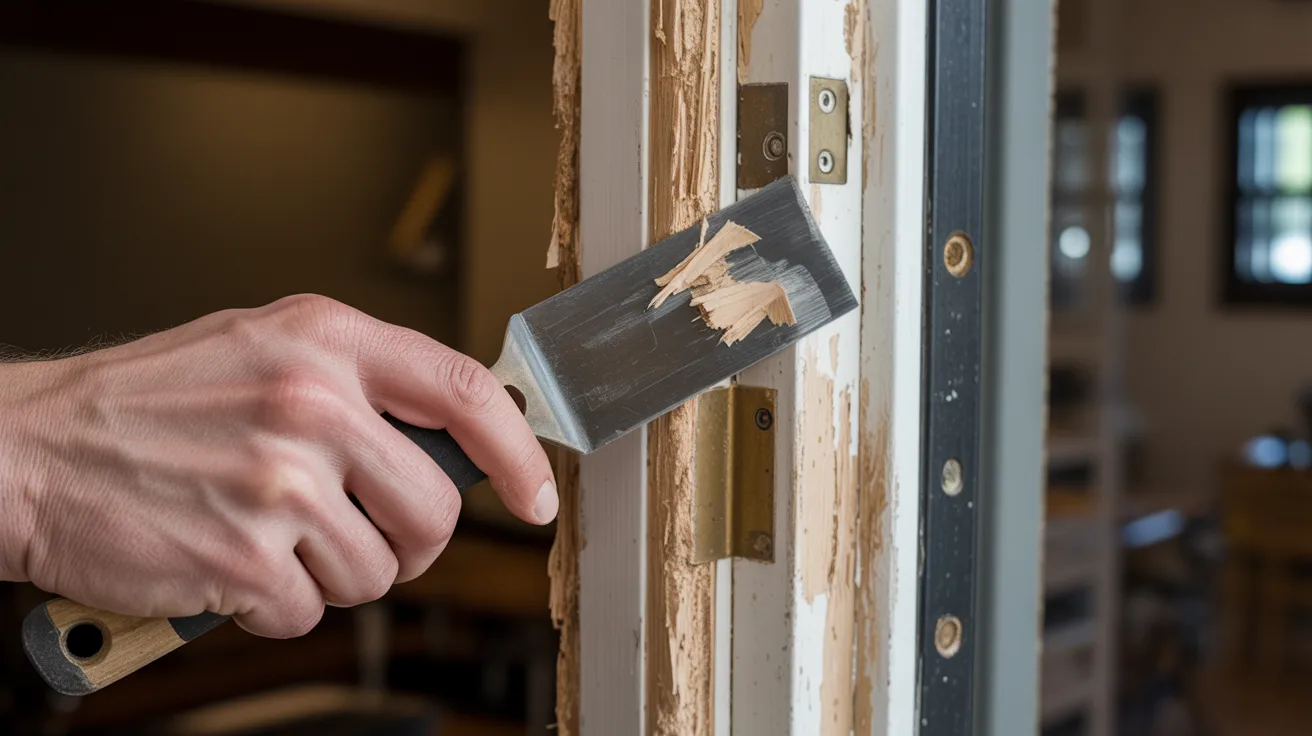
Start by scraping away any loose, soft, or peeling wood. Use a putty knife or chisel to clear out the damaged section. Don't skip this step.
Applying filler over weak wood means the repair won't hold. The area needs to be solid before anything else goes on.
Step 2: Sand and Clean the Area
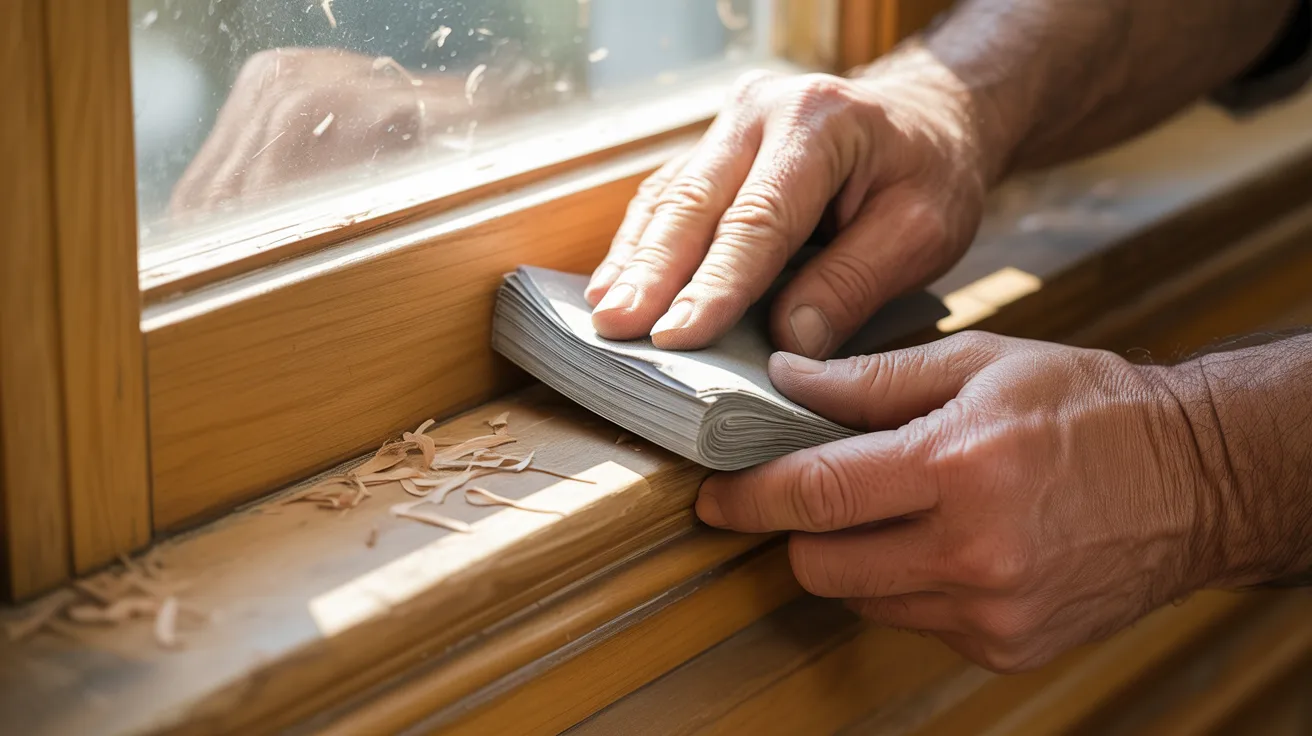
Once the loose material is gone, sand the area lightly with 80-grit sandpaper. This roughens the surface so the filler bonds better.
After sanding, wipe the area clean with a damp cloth. Let it dry fully. Any dust or moisture left behind can stop the filler from sticking properly.
Step 3: Apply the Wood Filler Correctly
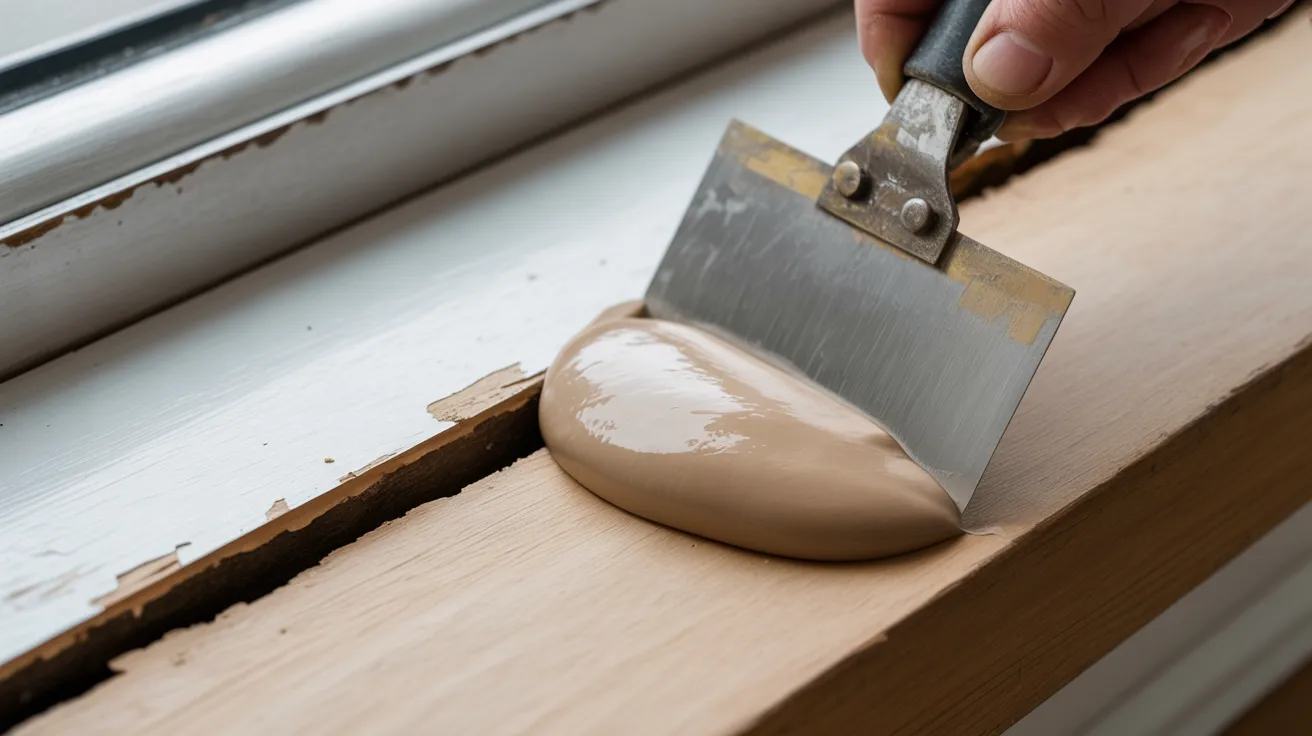
Scoop out the wood filler with a putty knife. Press it firmly into the damaged area. Work it into cracks and holes so there are no air gaps. Overfill the area slightly.
The filler shrinks a little as it dries, so a small mound on top is fine. Smooth it roughly with the knife but don't worry about perfection yet.
Step 4: Let the Filler Dry
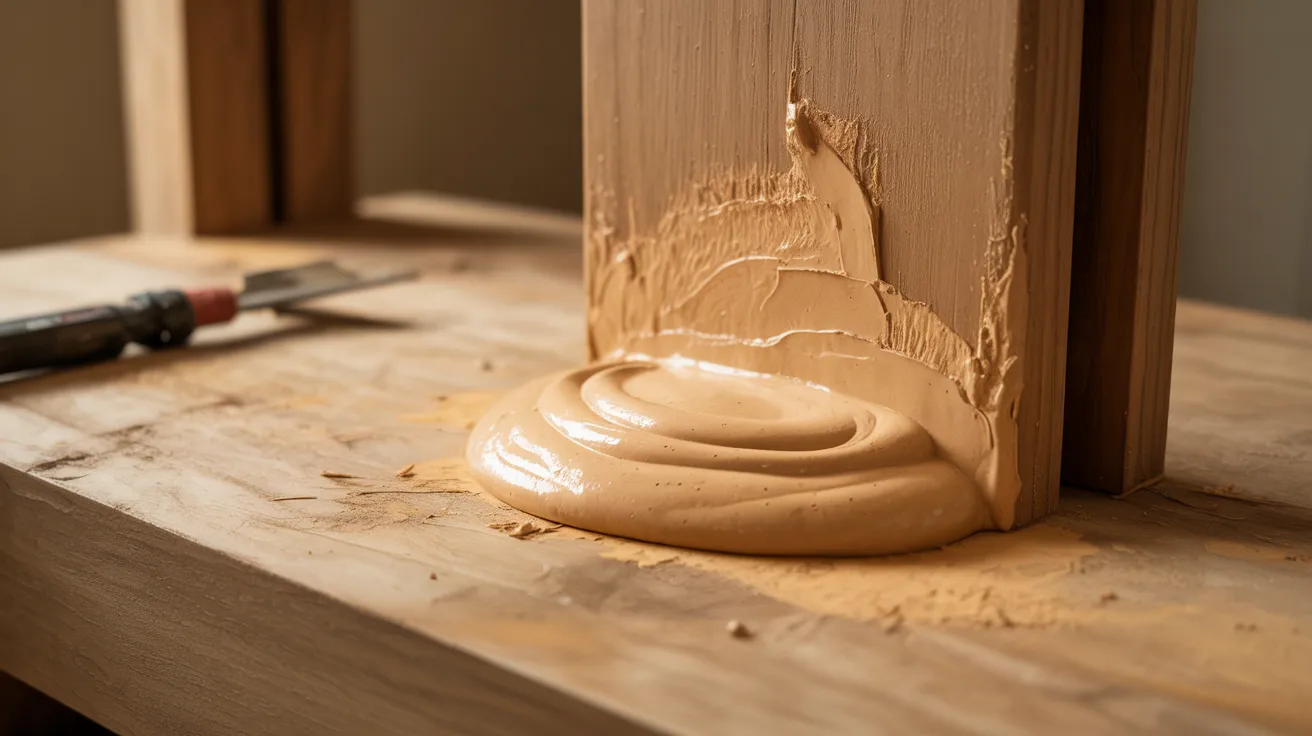
Check the drying time on your product label. Most latex fillers dry in 2 to 4 hours. Epoxy fillers may take longer. Don't rush this step.
Touching or sanding too early can pull the filler out. Let it cure fully before moving on.
Step 5: Sand the Surface Smooth
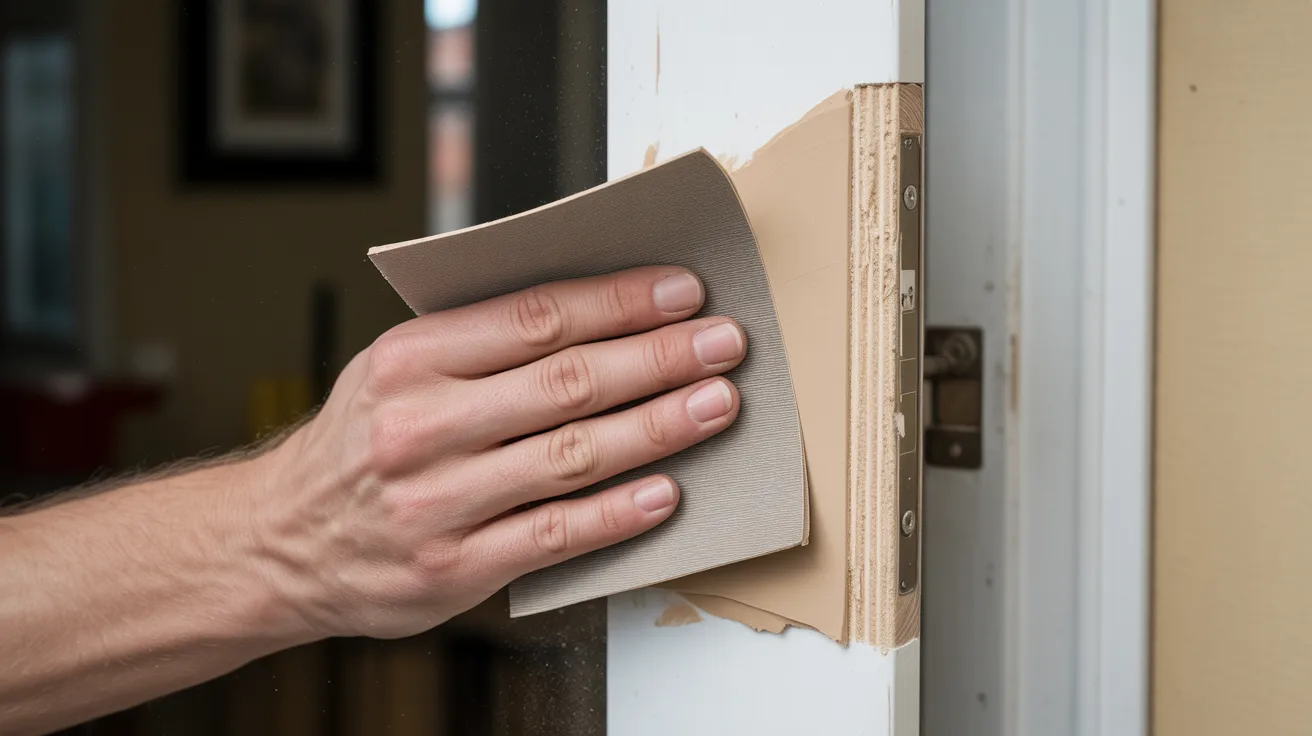
Once dry, sand the filled area starting with 80-grit paper. Work in the direction of the wood grain. Switch to 120-grit for a finer finish.
The goal is a flat, smooth surface that blends in with the surrounding frame. Run your hand over it to check for bumps.
Step 6: Paint or Finish the Door Frame
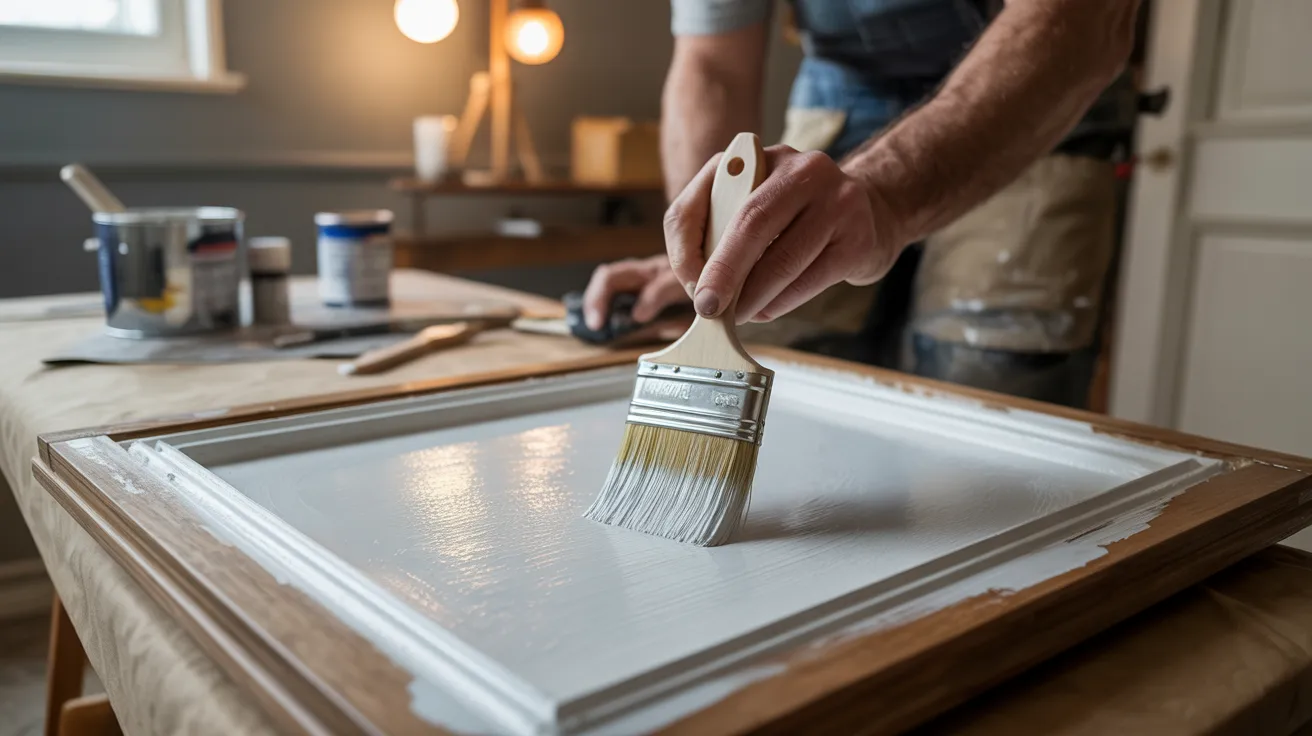
Apply a coat of primer first. This helps the paint stick and hides the filler. Once the primer dries, paint over it with a color that matches your frame.
Two thin coats work better than one thick coat. Let each coat dry fully before adding the next.
Quick Fix Tips for Small Door Frame Damage
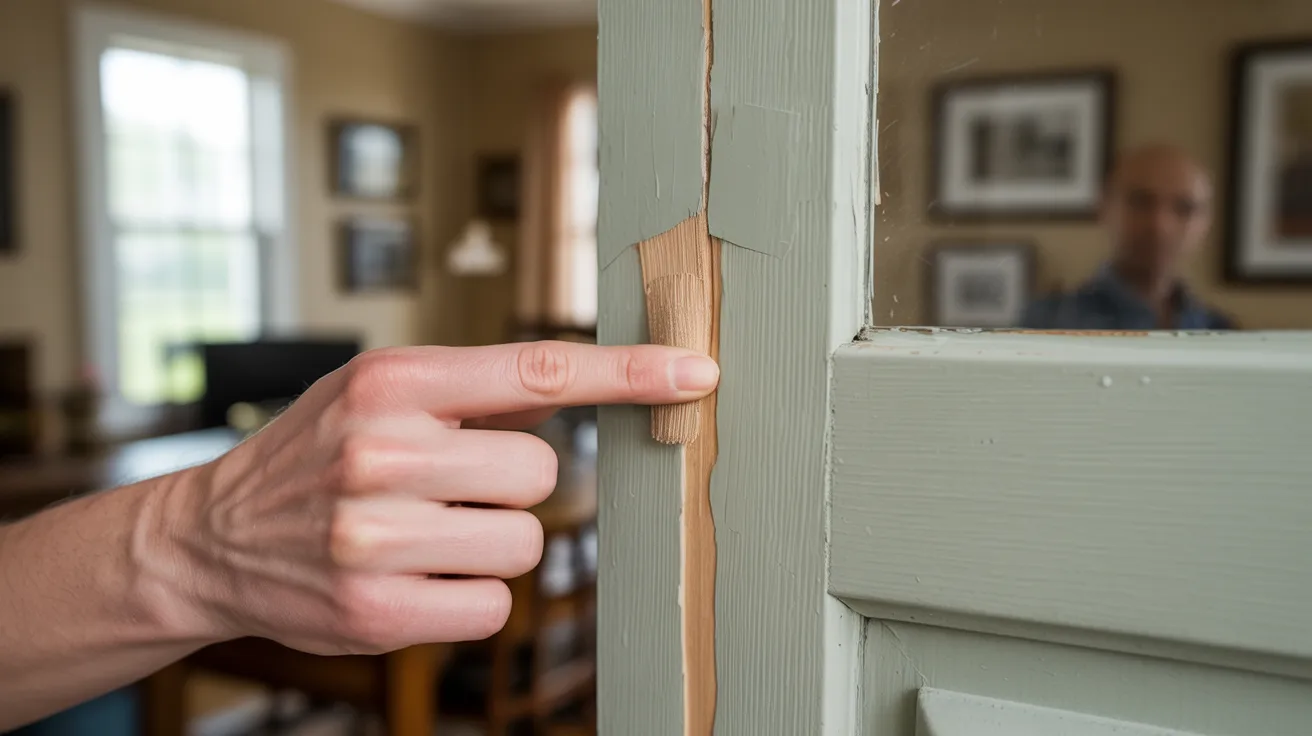
Not every repair needs a full process. Small damage has simpler solutions.
Fixing Minor Cracks Fast
For hairline cracks, you can use a lightweight spackle or a thin layer of wood filler. Apply it with your finger or a small knife, smooth it flat, and let it dry. Sand lightly and paint.
The whole job can take under an hour.
Repairing Screw Holes Near Hinges
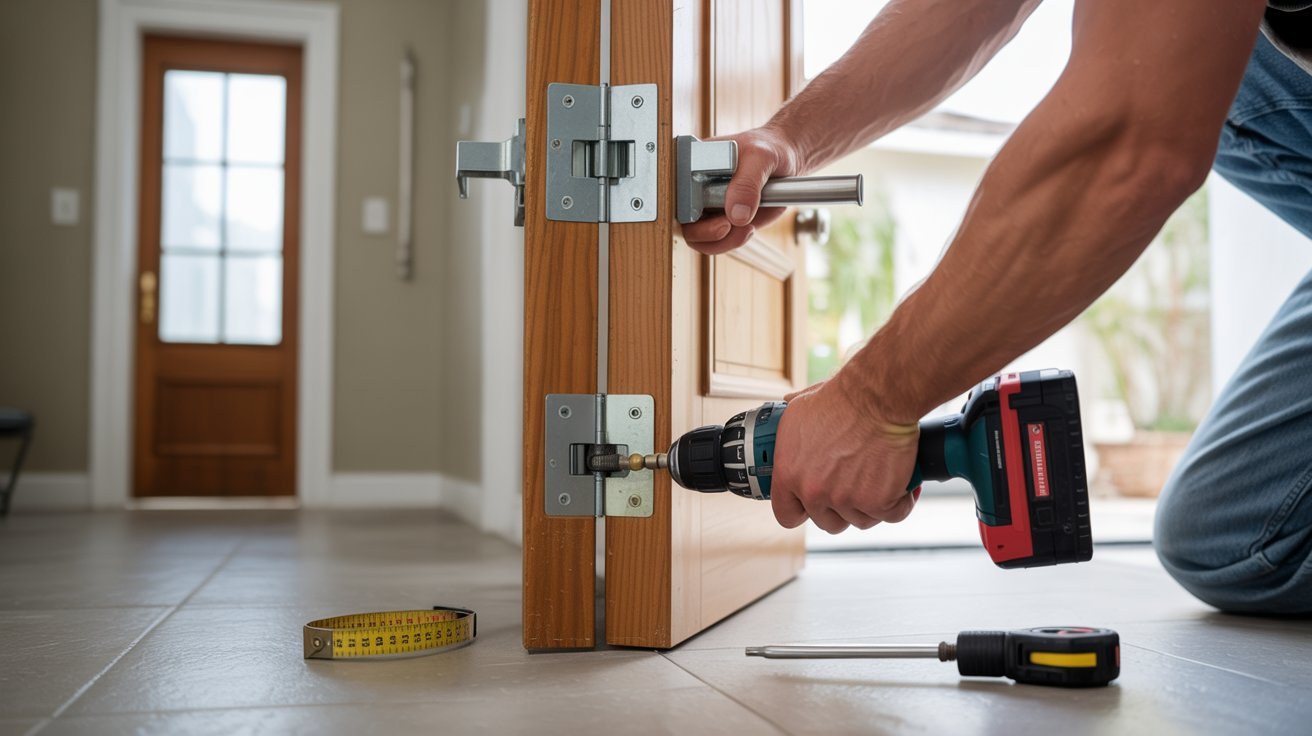
Stripped or oversized screw holes are common near hinges. Fill the hole with wood filler and let it dry fully. Once hard, you can re-drill a pilot hole and reinstall the screw.
The filler gives the screw something solid to grip again.
Smoothing Uneven Filler
If your filler dried with bumps or ridges, don't panic. Sand it down with 80-grit paper first, then finish with 120-grit.
If the area is too low after sanding, apply a second thin layer of filler and repeat the process.
How to Repair a Rotten Door Frame with Wood Filler
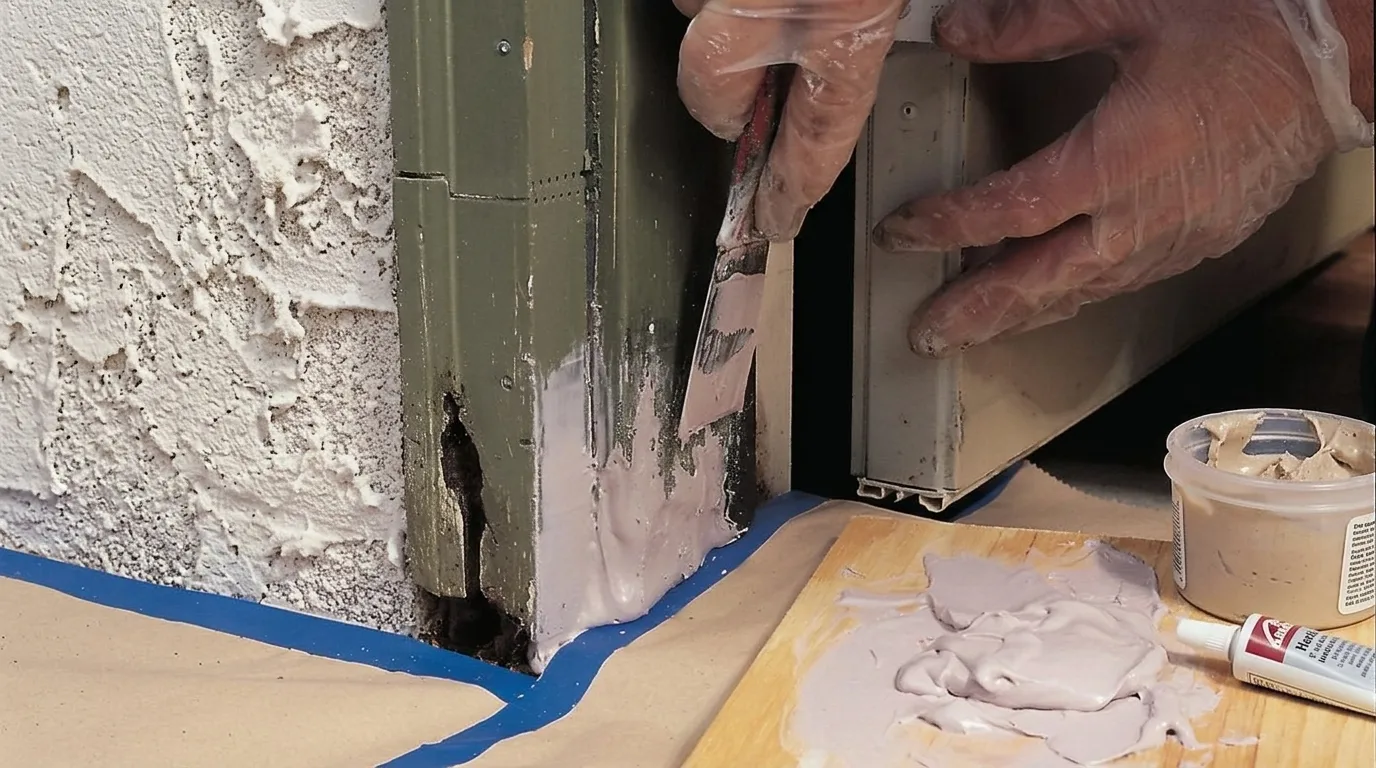
Rot needs a different approach than cracks or holes. Getting this wrong means the damage comes back fast.
When Wood Filler Works
If the rot is caught early and the wood is still mostly firm, a two-part epoxy wood filler can work well.
It bonds into the wood fibers and hardens to a tough, waterproof surface. Clean out all the soft wood first, then pack in the epoxy filler and let it cure.
When You Need Epoxy or Replacement
If the rot has spread deep into the frame or across a large section, filler alone won't save it. At that point, you either need to cut out the rotten section and splice in new wood, or replace the full frame.
Using filler on badly rotted wood just delays the problem.
Common Mistakes to Avoid
Even simple repairs go wrong when a few key steps are skipped.
- Using Too Much Filler: Applying excessive filler in one layer, which can cause cracking and longer drying times.
- Skipping Sanding: Failing to smooth the surface before or after applying filler, leading to a rough finish.
- Painting Before Full Drying: Applying paint before the filler has completely cured, which can result in peeling or cracks.
Conclusion
Fixing a door frame with wood filler is one of those jobs that feels intimidating at first but turns out to be very manageable. I remember the first time I filled a rotted section near my front door. I was nervous about getting it wrong, but taking it step by step made all the difference.
You now have everything you need to get it done right. Start with good prep, take your time with each step, and don't rush the drying. How to repair a door frame with wood filler is a skill that saves money and keeps your home in good shape.
Got questions or tips from your own repair? Drop them in the comments below!
Frequently Asked Questions
Can Wood Filler Repair Large Holes?
Yes, but large holes should be filled in layers. Apply one coat, let it dry, then add more until the hole is filled.
How Long Does Wood Filler Last?
With proper prep and painting, wood filler can last many years. Outdoor repairs may need checking every few years due to weather exposure.
Can You Paint Over Wood Filler?
Yes, once it's fully dry and sanded smooth. Always apply a primer coat first for the best paint bond and finish.
Does Wood Filler Work on Rotten Frames?
It works on early-stage rot where the wood is still mostly firm. For deep or widespread rot, replacement is the better option.
What Is the Best Wood Filler for Door Frames?
For indoor frames, a latex-based filler is a solid choice. For outdoor or rotten frames, a two-part epoxy filler gives a stronger and more weather-resistant result.