
Installing door hinges sounds simple, but one wrong measurement can leave your door sticking, sagging, or not closing right.
I've been through that frustration, and I want to save you the trouble.
In this guide, I'll walk you through everything you need to know about how to install door hinges the right way.
We'll cover the tools you need, how to mark and cut hinge mortises, and how to hang the door properly.
I'll also share the most common mistakes people make and how to avoid them. With over a decade of hands-on DIY experience, this guide keeps things practical and straightforward.
What Is a Door Hinge?
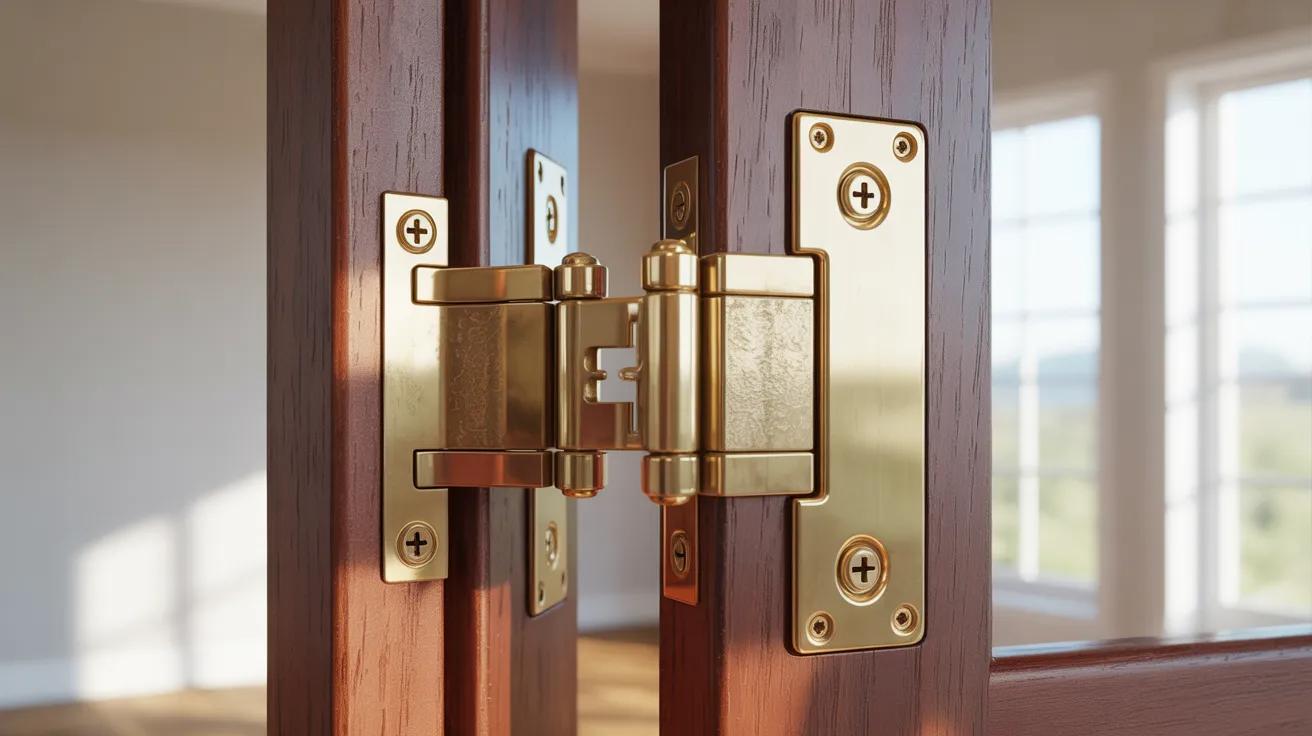
A door hinge is a mechanical joint that connects the door to the frame. It allows the door to swing open and closed.
Most doors use two or three hinges depending on their size and weight.
Hinges come in different styles and materials, but they all do the same basic job: support the door and keep it aligned with the frame.
Choosing the right hinge matters. A hinge that's too small won't hold a heavy door. One that's poorly placed will cause the door to bind or drag.
Tools and Materials Needed for Installing Door Hinges
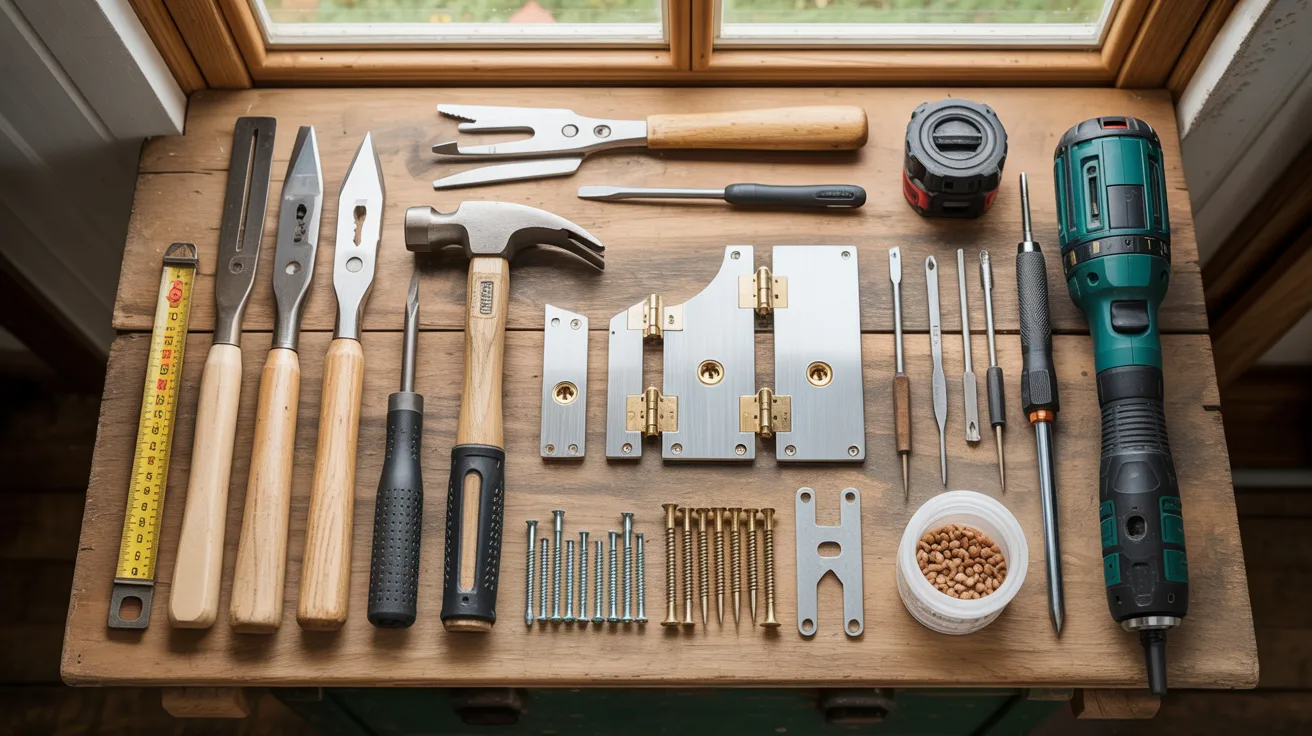
Before you start, gather everything you need.
Tools:
- Tape measure
- Pencil or marking knife
- Chisel (3/4 inch works well)
- Hammer
- Screwdriver or drill
- Square
Materials:
- Door hinges (the right size for your door)
- Screws (usually included with hinges)
- Wood filler (optional, for corrections)
Having everything ready before you start saves time and keeps the job clean.
Step-by-Step Video Guide to Install Door Hinges
Follow these steps in order and the job goes smoothly every time.
Step 1: Prepare the Door and Mark Hinge Locations
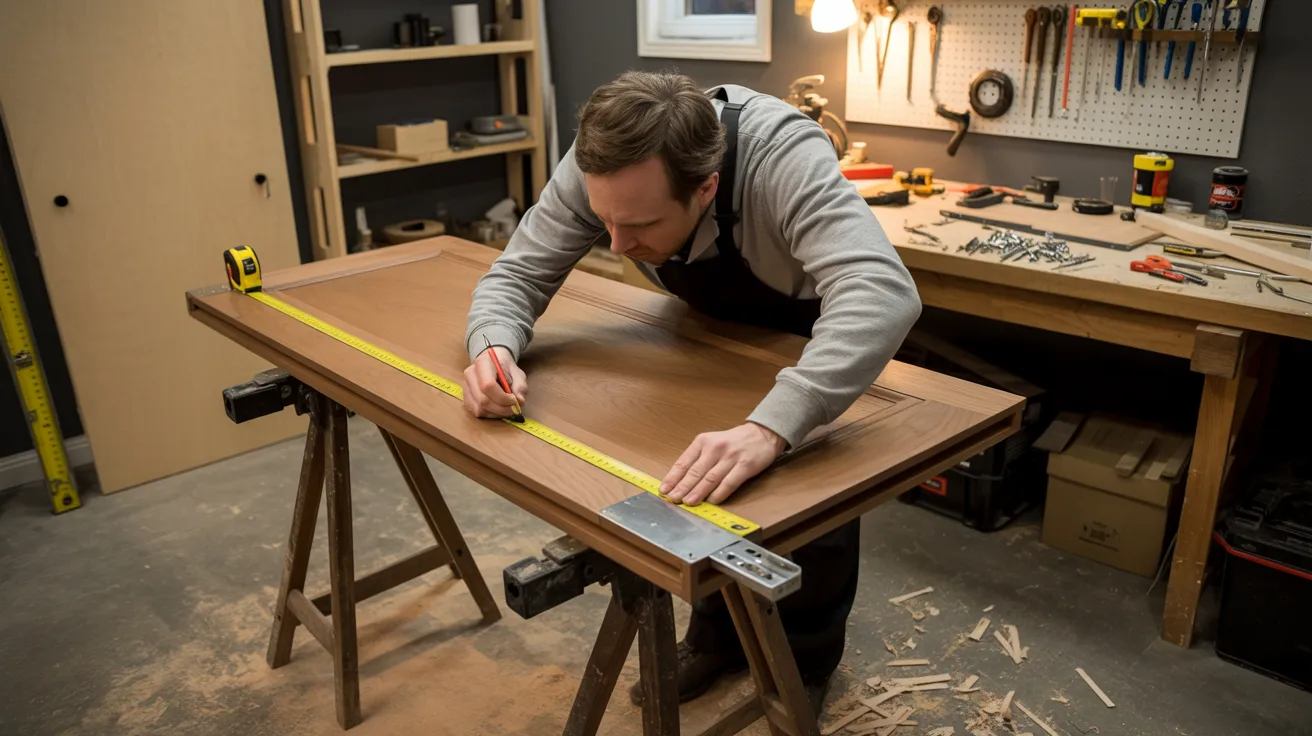
Lay the door flat on a stable surface and make sure it fits the frame properly.
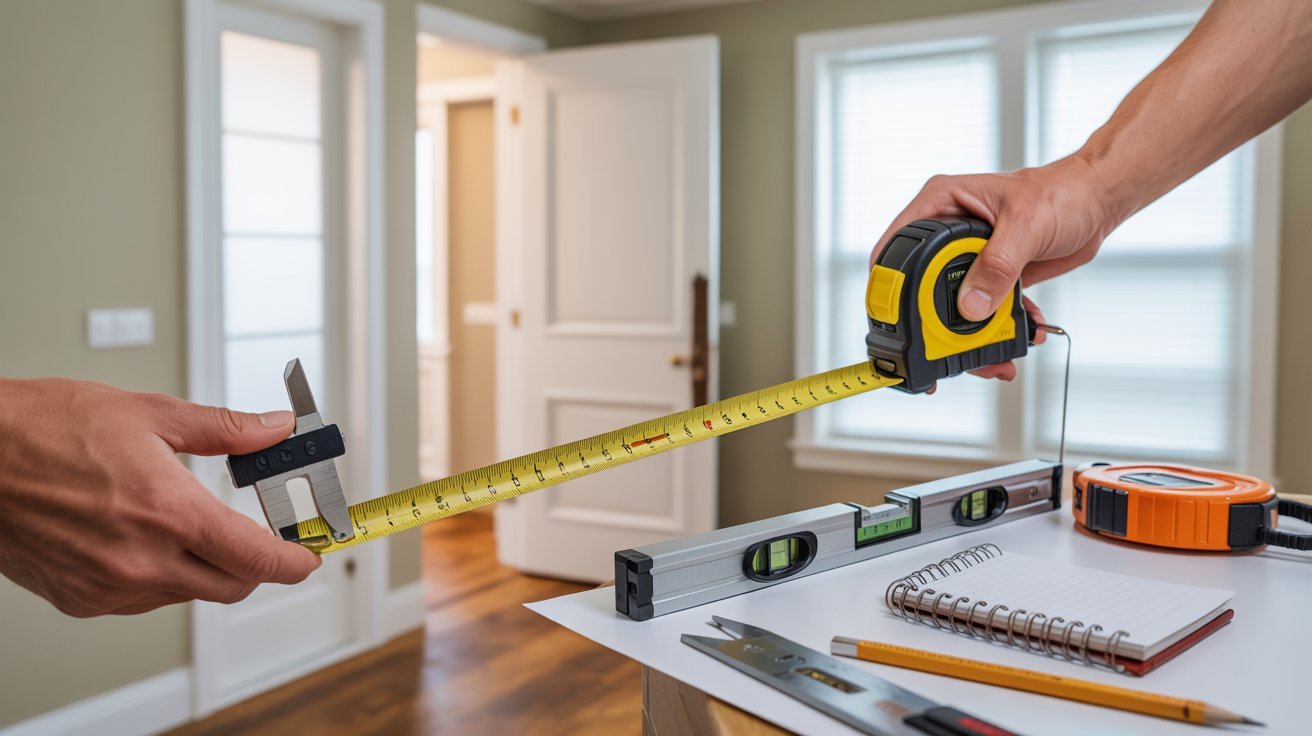
Use a tape measure and pencil to mark the hinge positions: place the top hinge about 7 inches from the top and the bottom hinge 11 inches from the bottom.
Step 2: Trace the Hinges on the Door and Frame
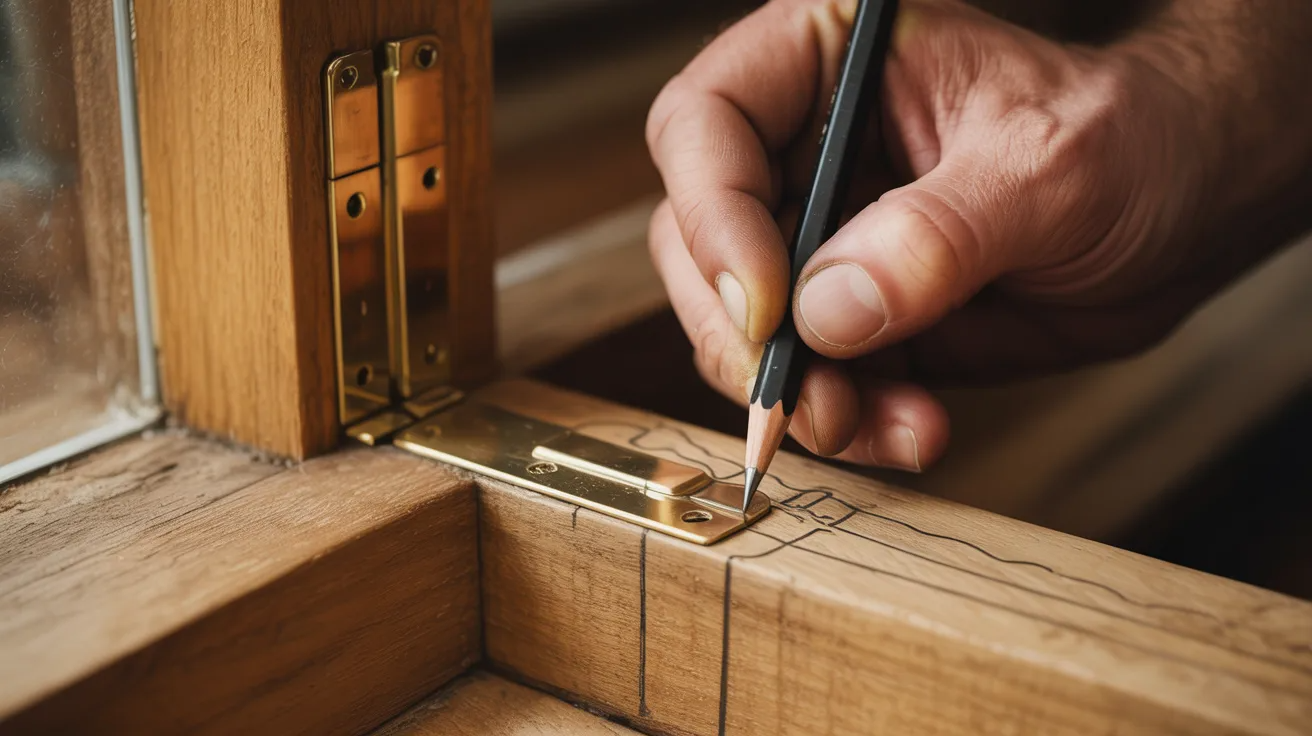
Position each hinge on the marked spots and trace around them using a pencil or marking knife.
Repeat the process on both the door edge and the frame so the hinge placements align correctly.
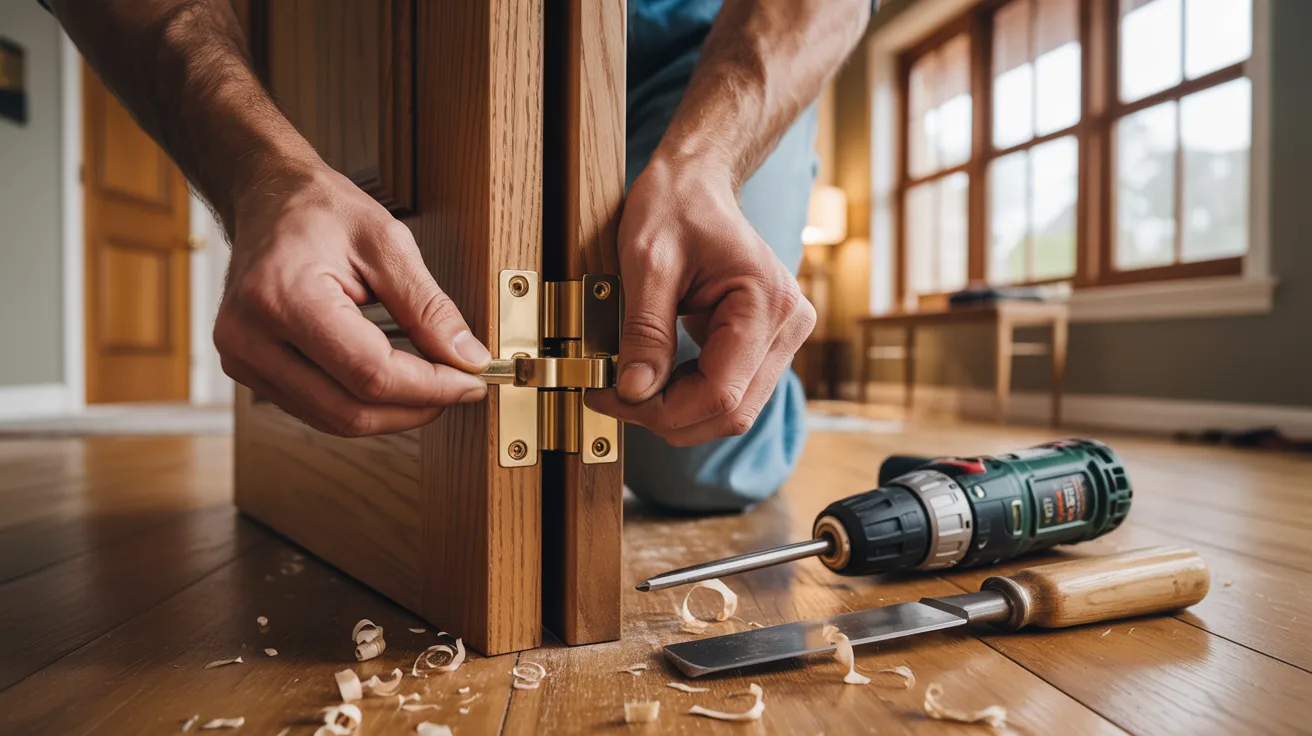
Step 3: Cut the Hinge Mortises
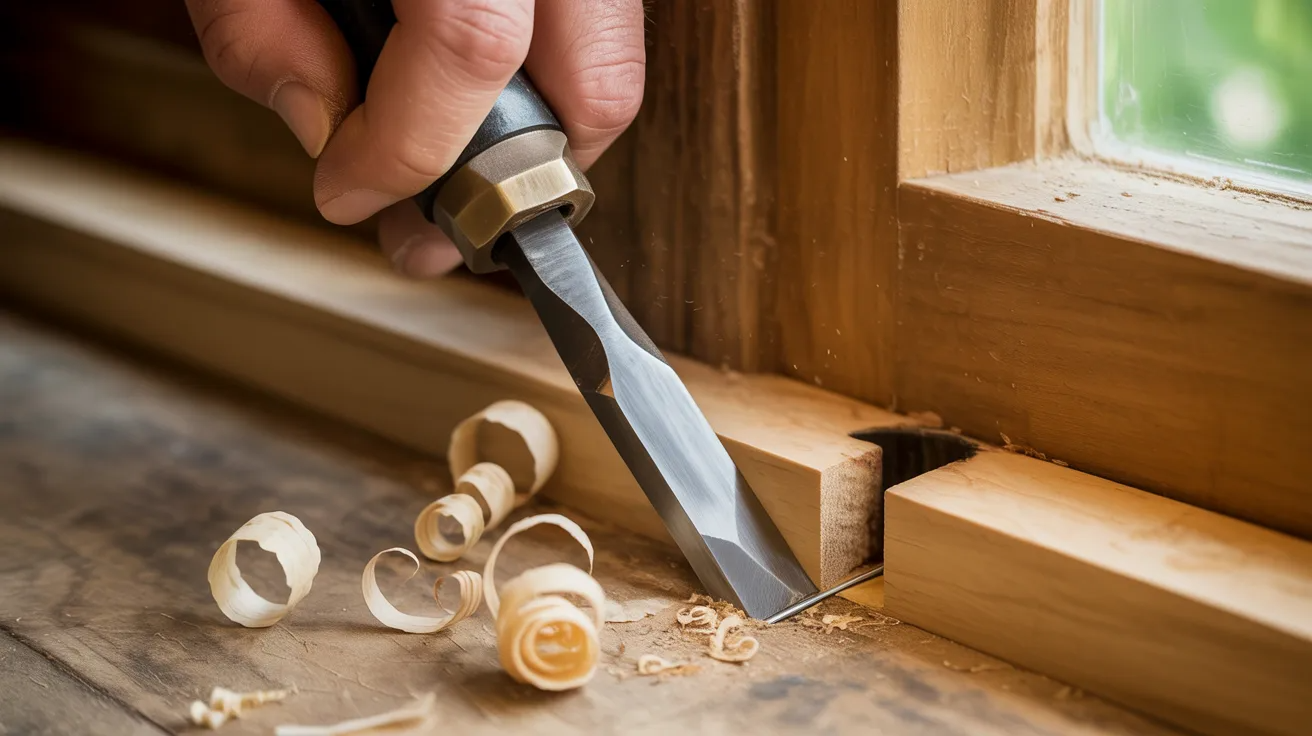
Use a sharp chisel to carefully remove thin layers of wood inside the traced outline.
Keep checking the fit as you work until the hinge sits flush with the surface.
Step 4: Drill Pilot Holes and Attach the Hinges
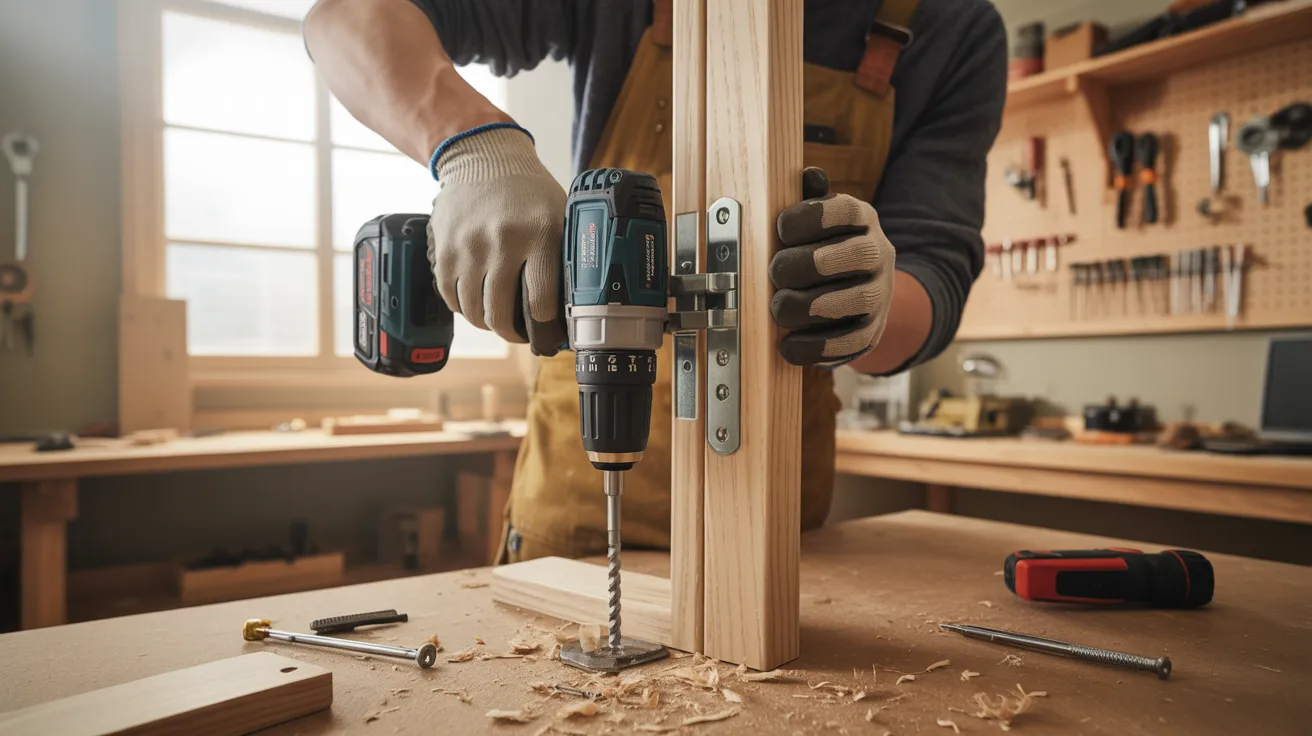
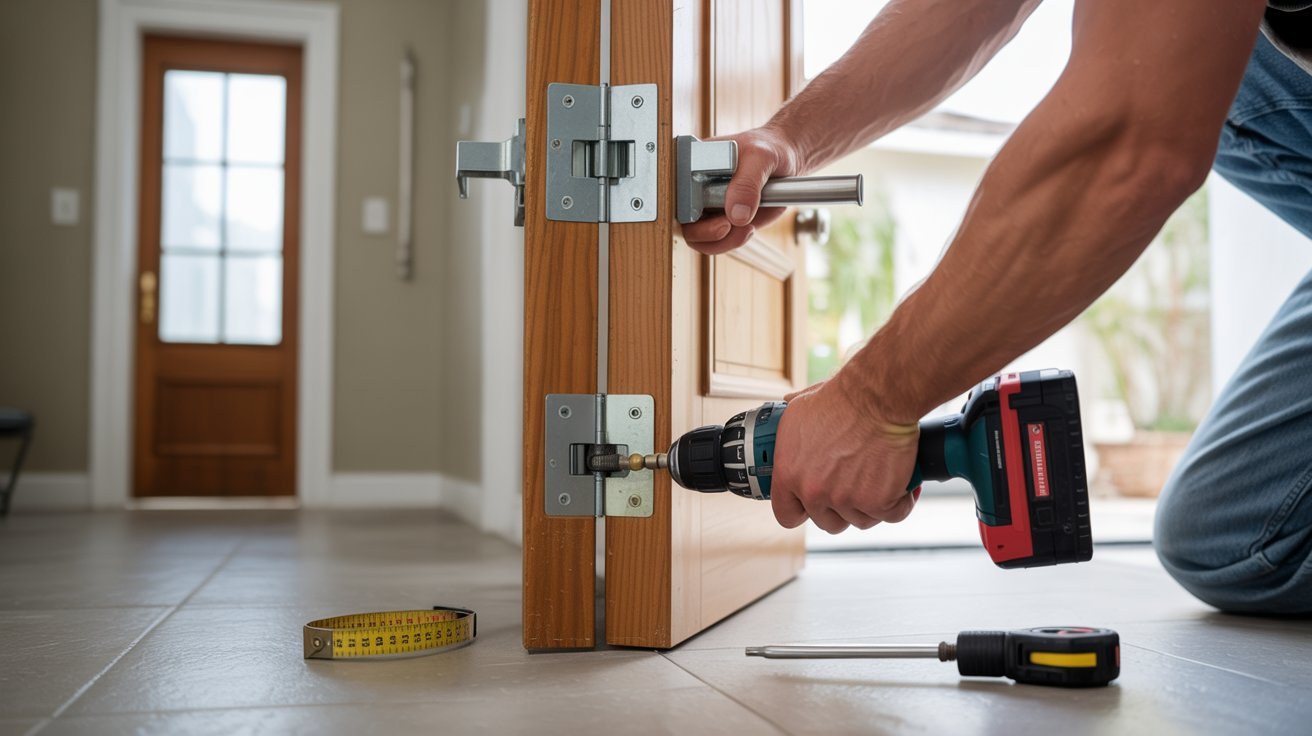
Place the hinges into the mortises and mark the screw holes.
Drill pilot holes slightly smaller than the screws to prevent splitting, then secure the hinges with a drill or screwdriver.
Step 5: Mount the Door and Test the Swing
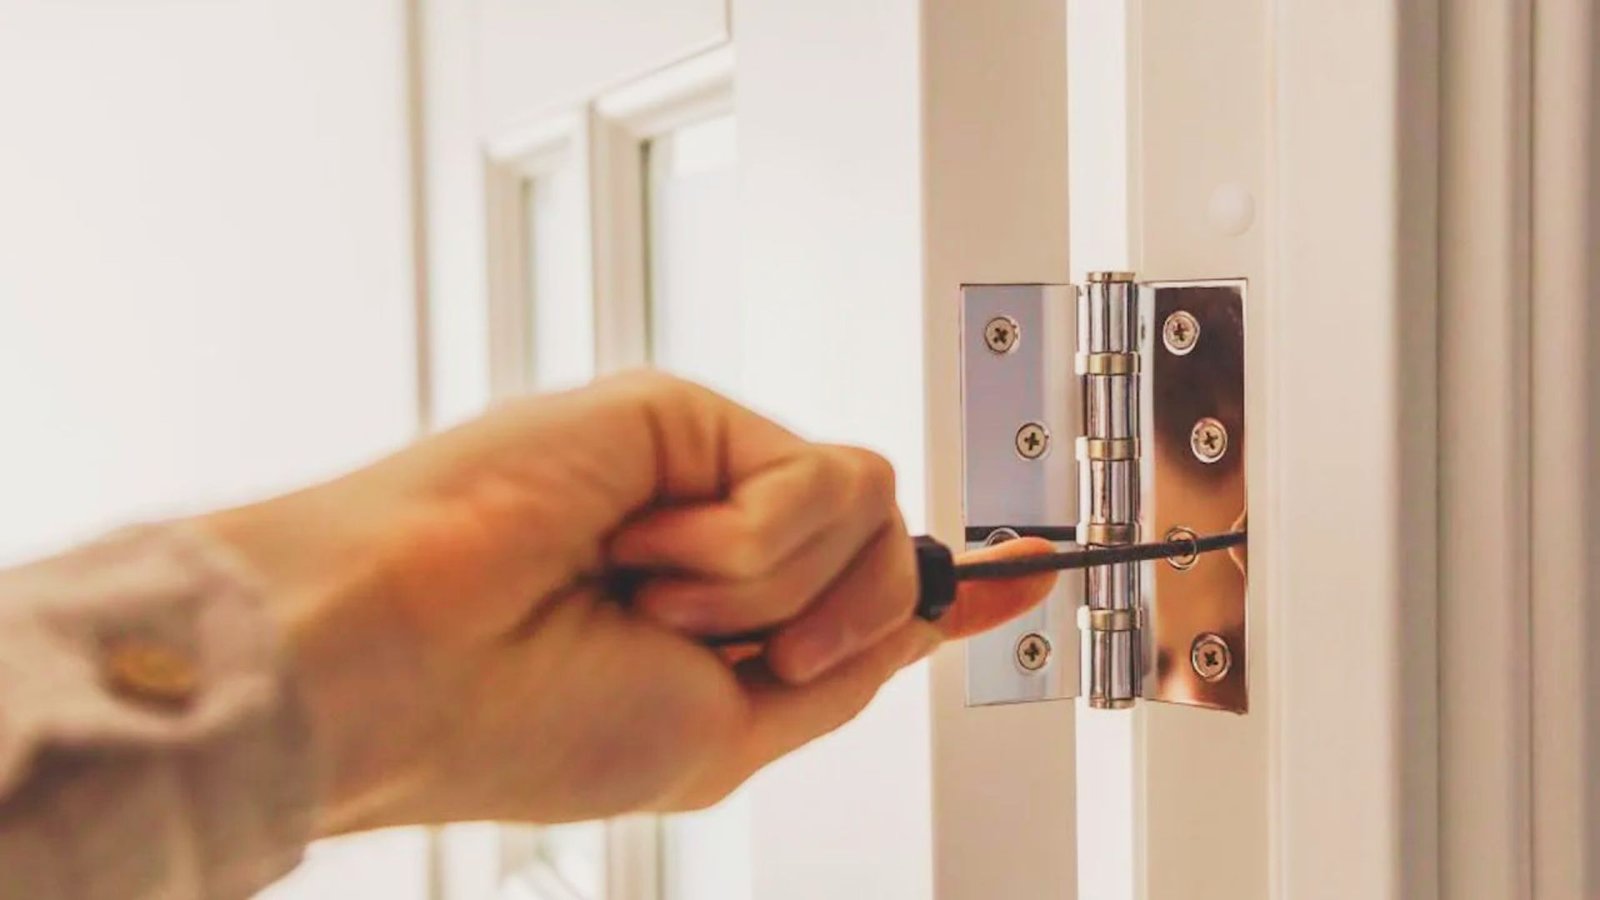
Align the hinges on the door with the hinges on the frame and insert the hinge pins.
Open and close the door several times to make sure it swings smoothly without sticking or dragging.
How to Replace Existing Door Hinges
Replacing old hinges follows the same steps, but you'll remove the old hardware first.
Unscrew the existing hinge leaves from both the door and frame. Check if the mortise is still in good shape.
If the wood is damaged, fill it with wood filler, let it dry, then sand it smooth before fitting the new hinge.
Try to match the new hinge size to the old one to avoid cutting a larger mortise.
Common Door Hinge Installation Mistakes to Avoid
Small slip-ups here lead to doors that stick, sag, or never close right.
- Skipping pilot holes: This splits the wood and makes screws sit crooked.
- Cutting the mortise too deep: The hinge will sink below the surface and the door will bind.
- Not checking alignment before screwing in: Always test-fit before driving screws.
- Using mismatched hinge sizes: Hinges on the door and frame must match exactly.
- Working alone on a heavy door: Always have someone hold the door steady while you attach it to the frame.
- Rushing the mortise cut: Take your time here. A sloppy mortise leads to a door that never sits right.
Best Types of Door Hinges for Different Doors
Not all hinges are built the same, and picking the wrong one shows fast.
Butt hinges are the most common type used in homes. They work well for standard interior doors and come in a range of sizes.
Ball bearing hinges have small bearings between the knuckles. This reduces friction and makes them better for heavy or frequently used doors.
Spring hinges have a built-in spring that pulls the door closed automatically. They're commonly used for fire doors or utility room doors where you want the door to close on its own every time.
Tips for Easier Door Hinge Installation
A few simple habits make the whole process faster and cleaner.
- Use a hinge template: These are inexpensive tools that make marking and routing mortises much faster.
- Sharpen your chisel before starting: A dull chisel tears wood instead of cutting it cleanly.
- Label your hinge leaves: Mark which leaf goes on the door and which goes on the frame so you don't mix them up.
- Check the door gap before hanging: There should be about a 1/8-inch gap between the door and frame on all sides.
- Use longer screws for better grip: Standard hinge screws are short. Swapping one per hinge for a 3-inch screw gives much better holding power.
Conclusion
Installing door hinges on your own is one of those tasks that feels harder than it is, right up until you do it the first time.
The first door I hung took me twice as long as it should have because I rushed the mortise. Once I slowed down and did it properly, everything clicked into place.
Follow the steps in this guide, take your time with the mortise, and you'll end up with a door that opens and closes perfectly.
Drop a comment below if you run into any snags. I'd love to help.
Frequently Asked Questions
How many hinges does a standard door need?
Most interior doors need two hinges. Heavier or taller doors, especially those over 80 inches, need three hinges for proper support.
What size hinges should I use for an interior door?
A 3.5-inch hinge is the standard size for most interior doors. Exterior or heavier doors usually need 4-inch hinges.
Can I install door hinges without a chisel?
You can use a router with a hinge template instead of a chisel. A chisel is more accessible for most DIYers, but a router gives cleaner results on larger jobs.
Why does my door stick after installing hinges?
Sticking usually means the mortise is too deep or the hinges aren't aligned properly. Check that each hinge leaf sits flush with the wood surface and that the door gap is even all around.
How do I fix stripped screw holes in a door hinge?
Fill the stripped holes with wood filler or toothpicks dipped in wood glue. Let it dry fully, then re-drill pilot holes and drive the screws back in.