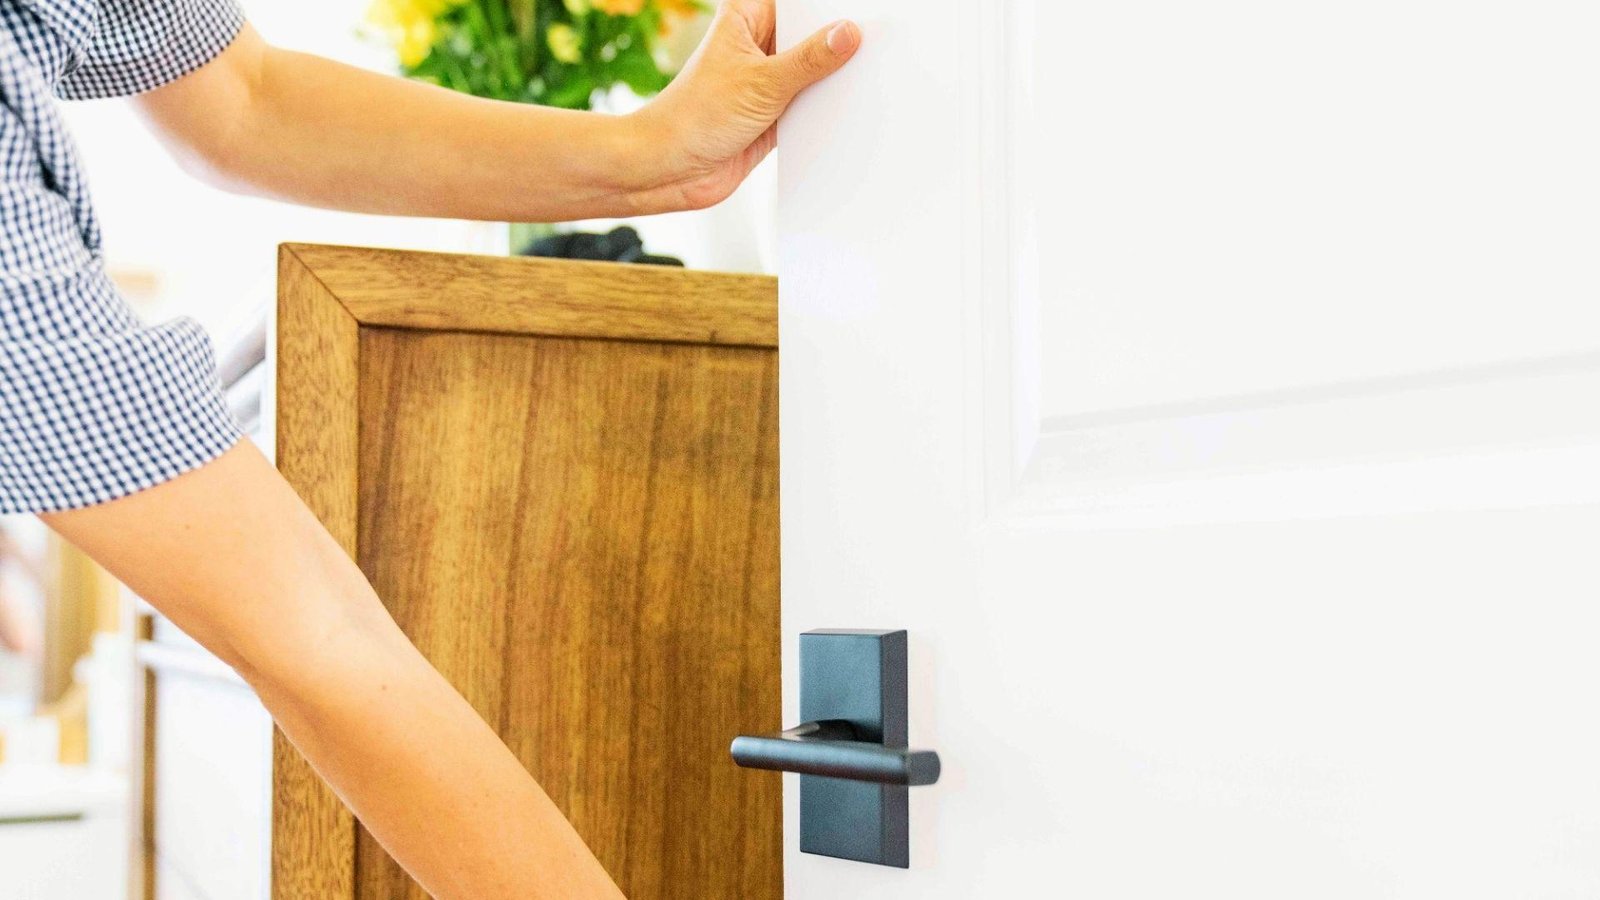

That scratching sound every time you open a door? I know exactly how frustrating that gets. A sticking door seems minor. But it wears on you fast, and ignoring it only makes things worse.
The good news:you don't need to call anyone. I've fixed this myself with basic tools and zero experience.
No contractor, no expensive repairs.
In this guide, I'll show you exactly how to fix a door that sticks, step by step. We'll cover why it happens, what tools you need, and a simple repair process that works.
By the end, your door will open and close smoothly, and you'll have done it yourself.
Let's get into it.
Why Does a Door Stick?
Doors stick for a few simple reasons. No mystery here.Wood swells in humid weather. This is the most common cause, especially in summer.
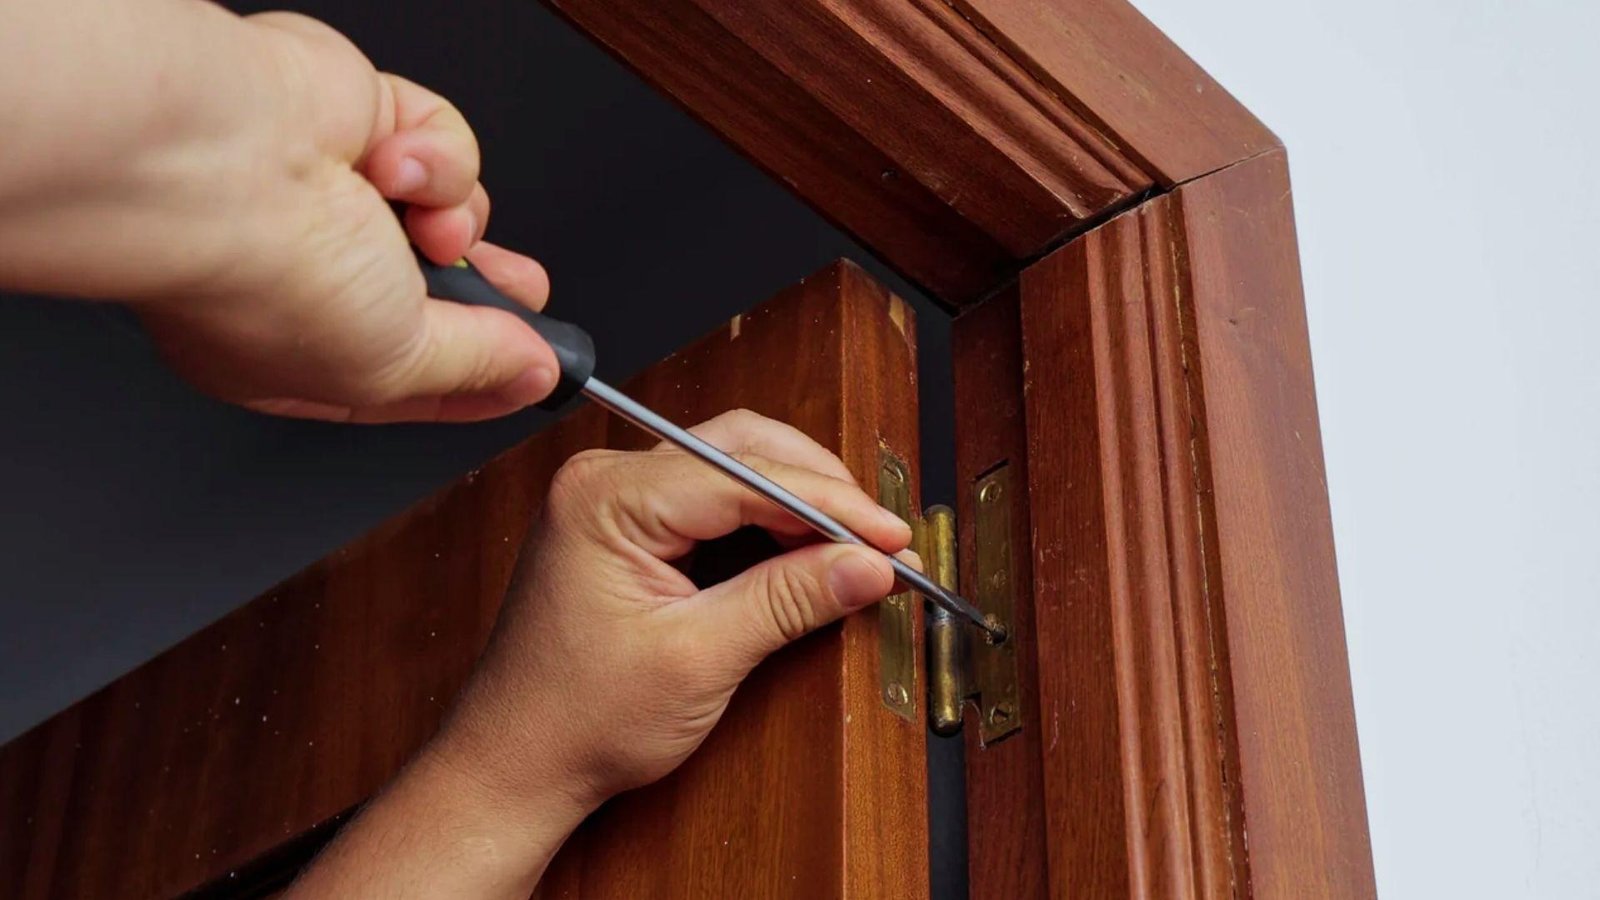
Loose hinges make the door sag and rub against the frame. Old paint buildup adds extra thickness along the edges, and that small amount really does matter.
A misaligned strike plate can make latching feel stiff and difficult. And over time, the house itself shifts slightly. That minor frame movement is enough to push a door out of position.
One or more of these is almost always the reason your door is sticking.
Tools You'll Need to Fix a Sticking Door
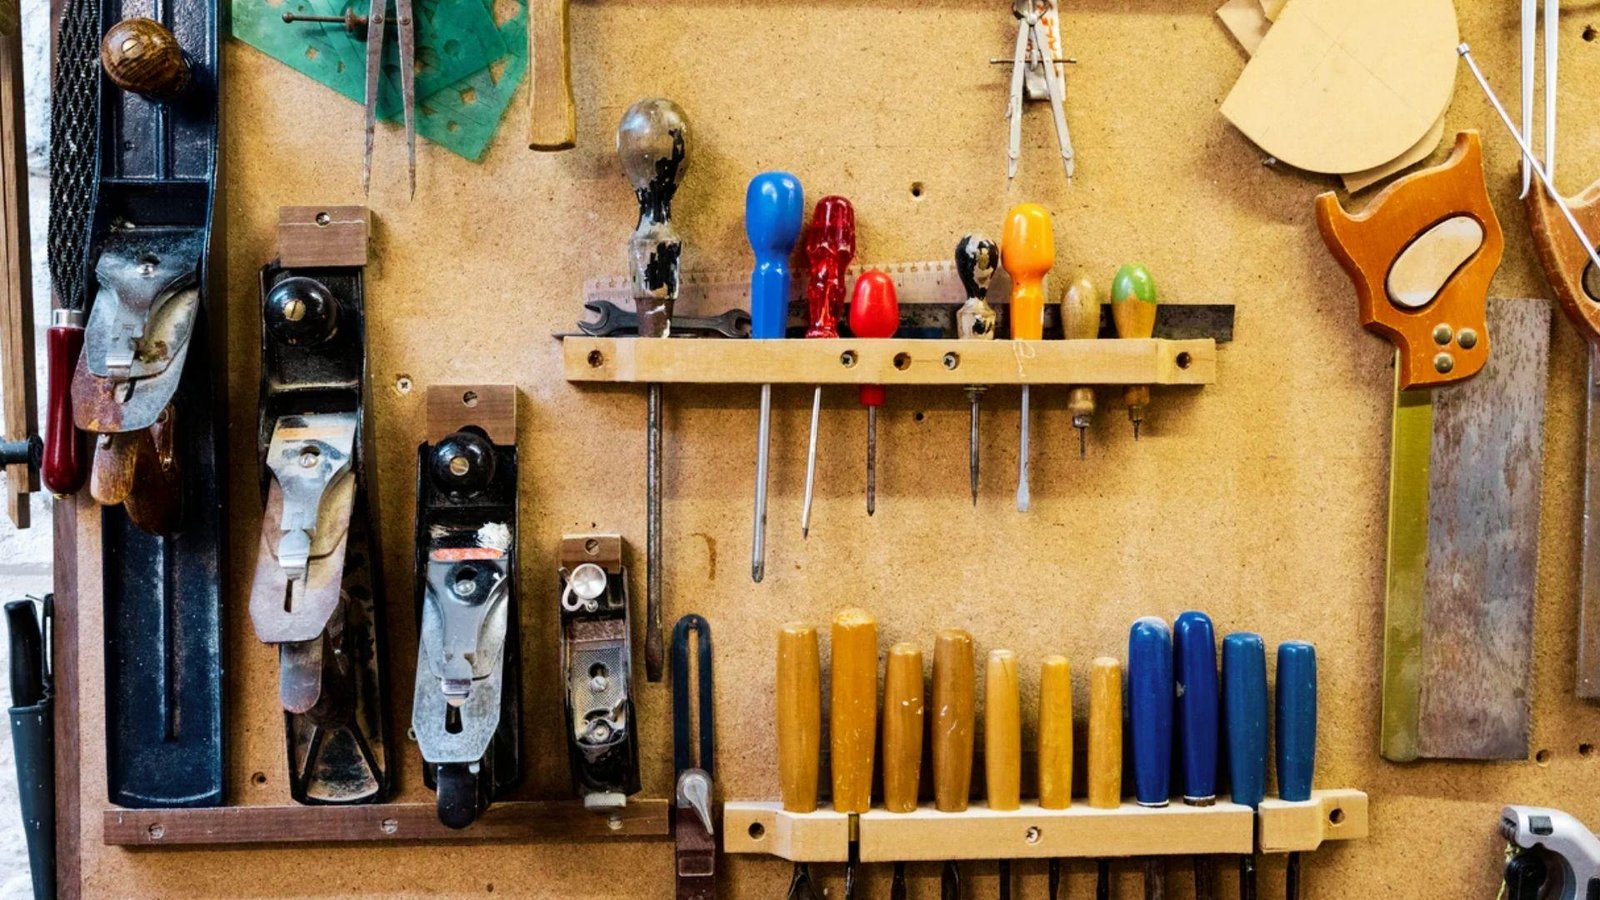
You don't need much.
Here's what to grab before you start:
- Screwdriver: For tightening or removing hinge screws
- Drill:For driving in longer replacement screws faster
- Sandpaper:For smoothing down the sticking edge
- Dry lubricant:For reducing friction on door edges and hinges
- Longer wood screws: For re-anchoring loose hinges into the framing
- Pencil: For marking problem areas before sanding
How to Fix a Door That Sticks: Step-by-Step Instructions
Here's exactly how to get it done, one step at a time.
Step 1: Find the Problem Area on the Door
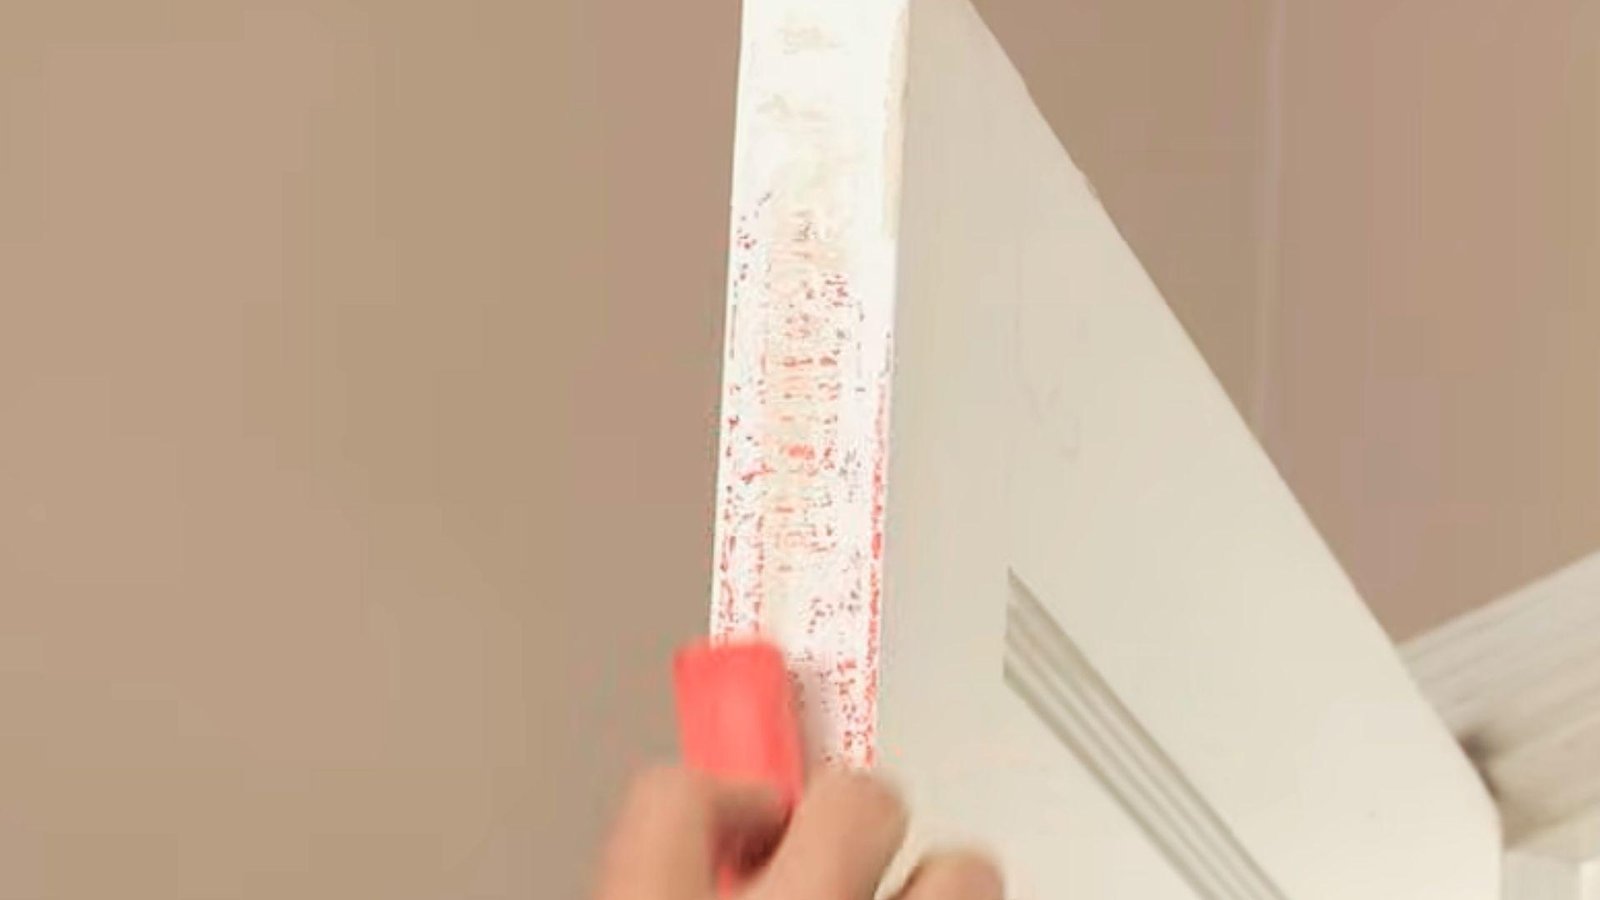
Before making any repairs, identify exactly where the door is sticking. A simple trick is to rub chalk along the edge of the door and then open and close it several times.
The chalk will transfer to the door frame where contact occurs, making the trouble spot easy to see.
This method helps you avoid unnecessary sanding and ensures you only work on the areas causing friction.
Step 2: Check and Tighten the Door Hinges
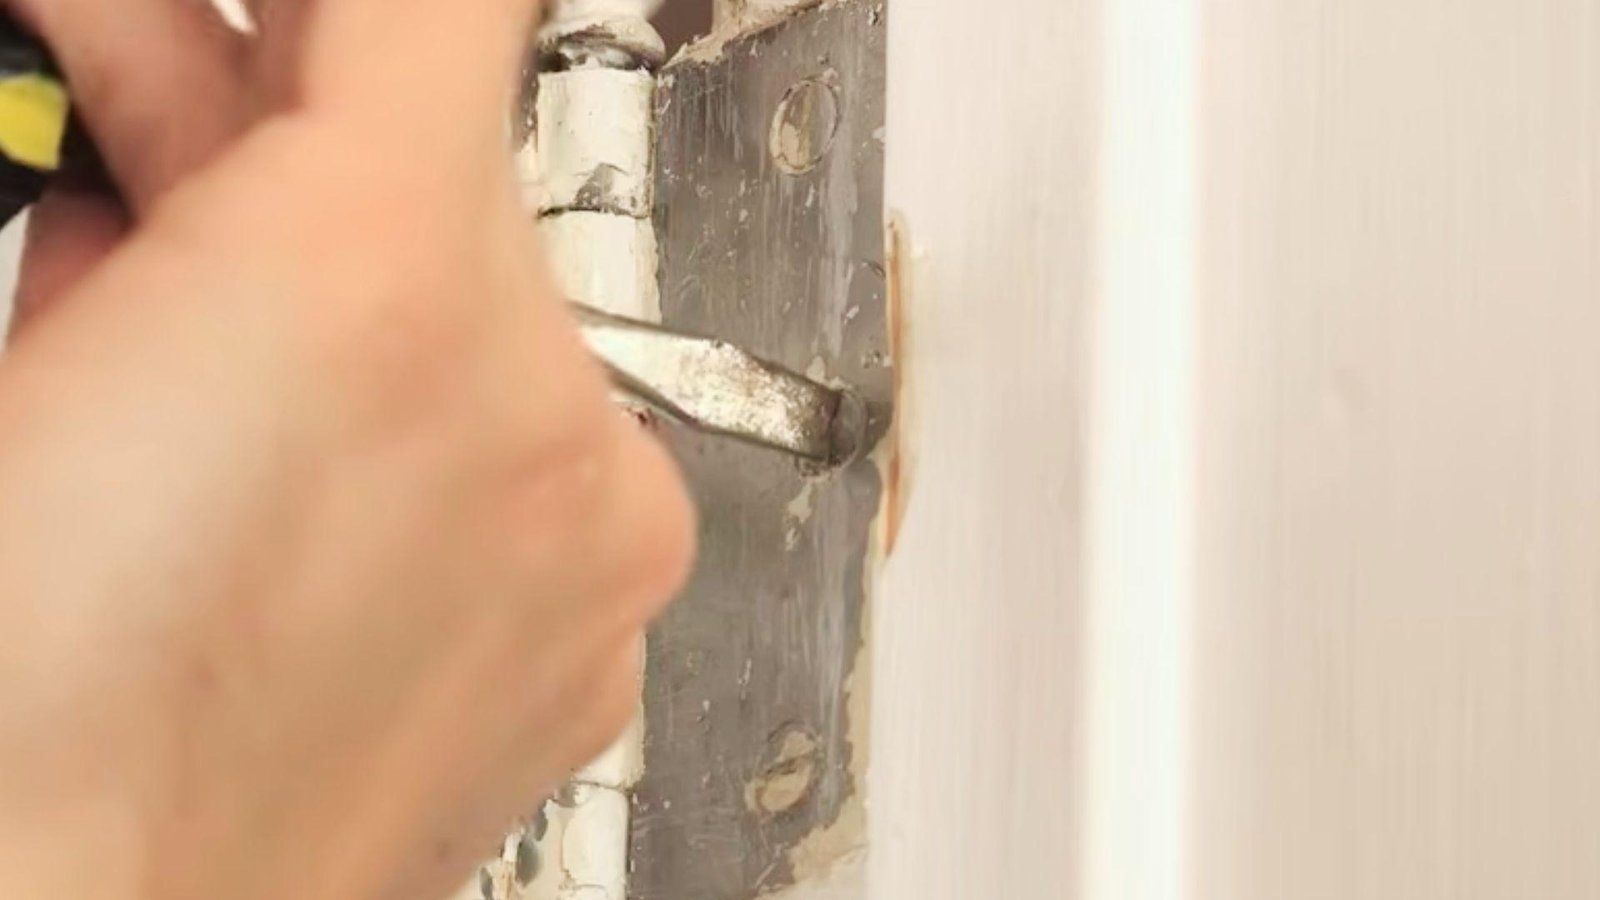
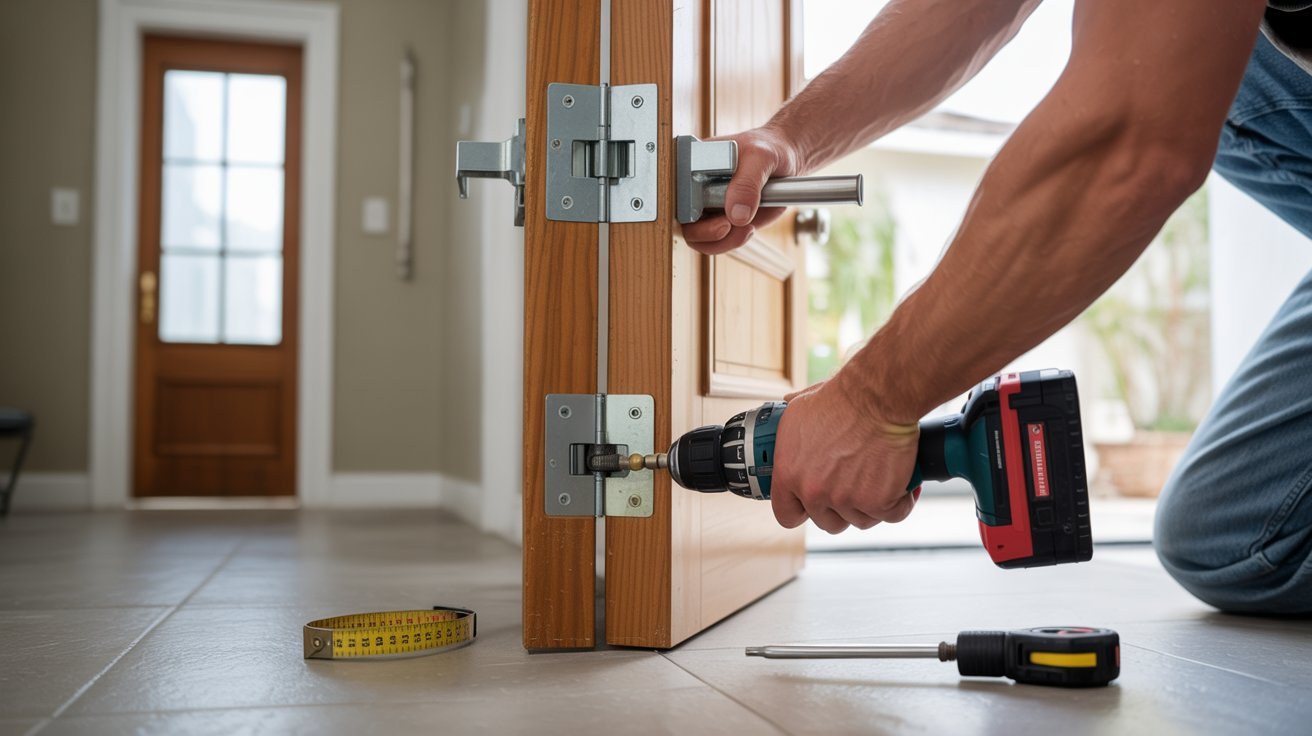
Loose hinges are one of the most common causes of a sticking door. Inspect each hinge and tighten any loose screws using a screwdriver or drill.
Pay close attention to the top hinge, as it often carries the most weight. If screws no longer grip properly, replace them with longer screws that anchor deeper into the framing.
This simple fix can often realign the door without any sanding.
Step 3: Replace Loose Screws if Needed
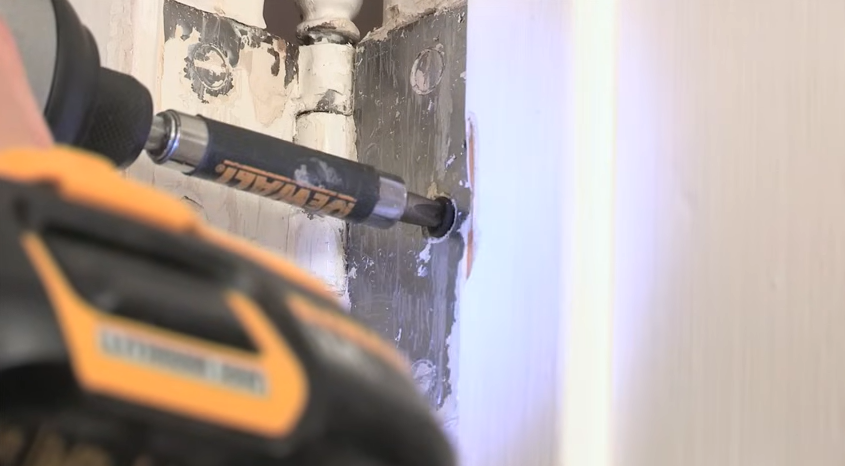
If tightening the existing screws doesn't solve the issue, remove the worn screws and install longer replacements.
Longer screws pull the hinge securely into the wall framing, correcting sagging and improving door alignment.
Work carefully to avoid stripping the screw holes. Once installed, test the door again to see if it swings freely and clears the frame without rubbing.
Step 4: Sand or Plane the Marked Area
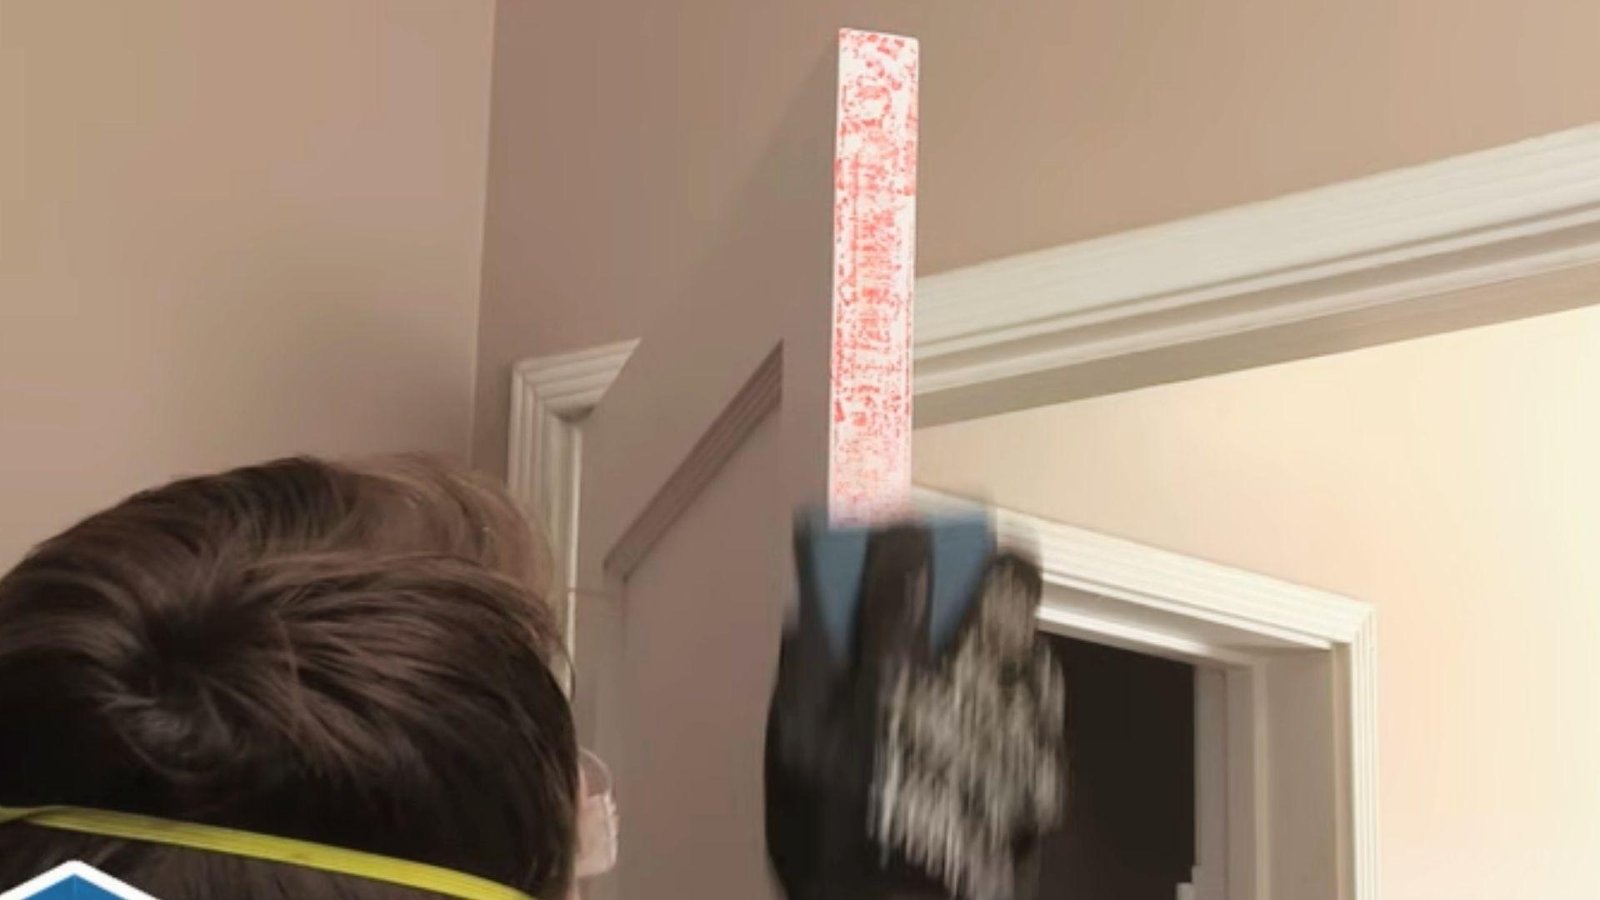
After locating the sticking spot, remove the door if necessary and sand the marked area gradually.
Use smooth, even strokes and check the fit often rather than removing too much material at once. For larger adjustments, a hand plane may be more effective.
The goal is to create just enough clearance for the door to open and close smoothly while maintaining a clean, even edge.
Step 5: Test the Door Fit
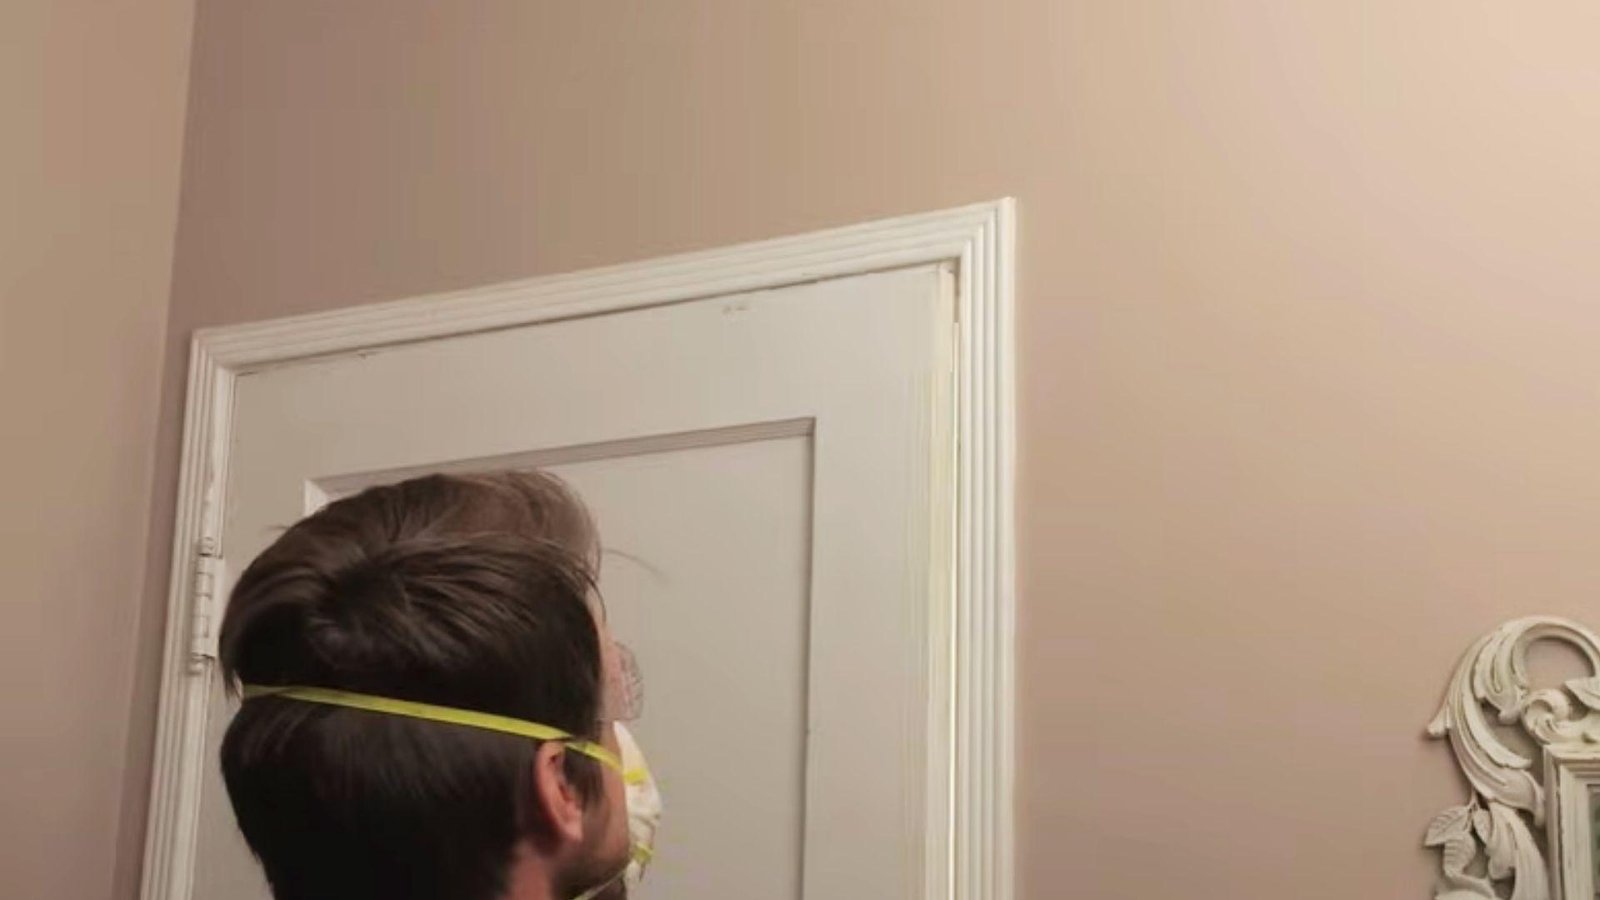
Rehang the door and open and close it several times to verify the repair. Check that the door moves freely, latches properly, and no longer rubs against the frame.
Look for consistent gaps around the edges and listen for any scraping sounds.
If minor sticking remains, make small adjustments rather than removing more material than necessary.
Step 6: Touch Up the Paint
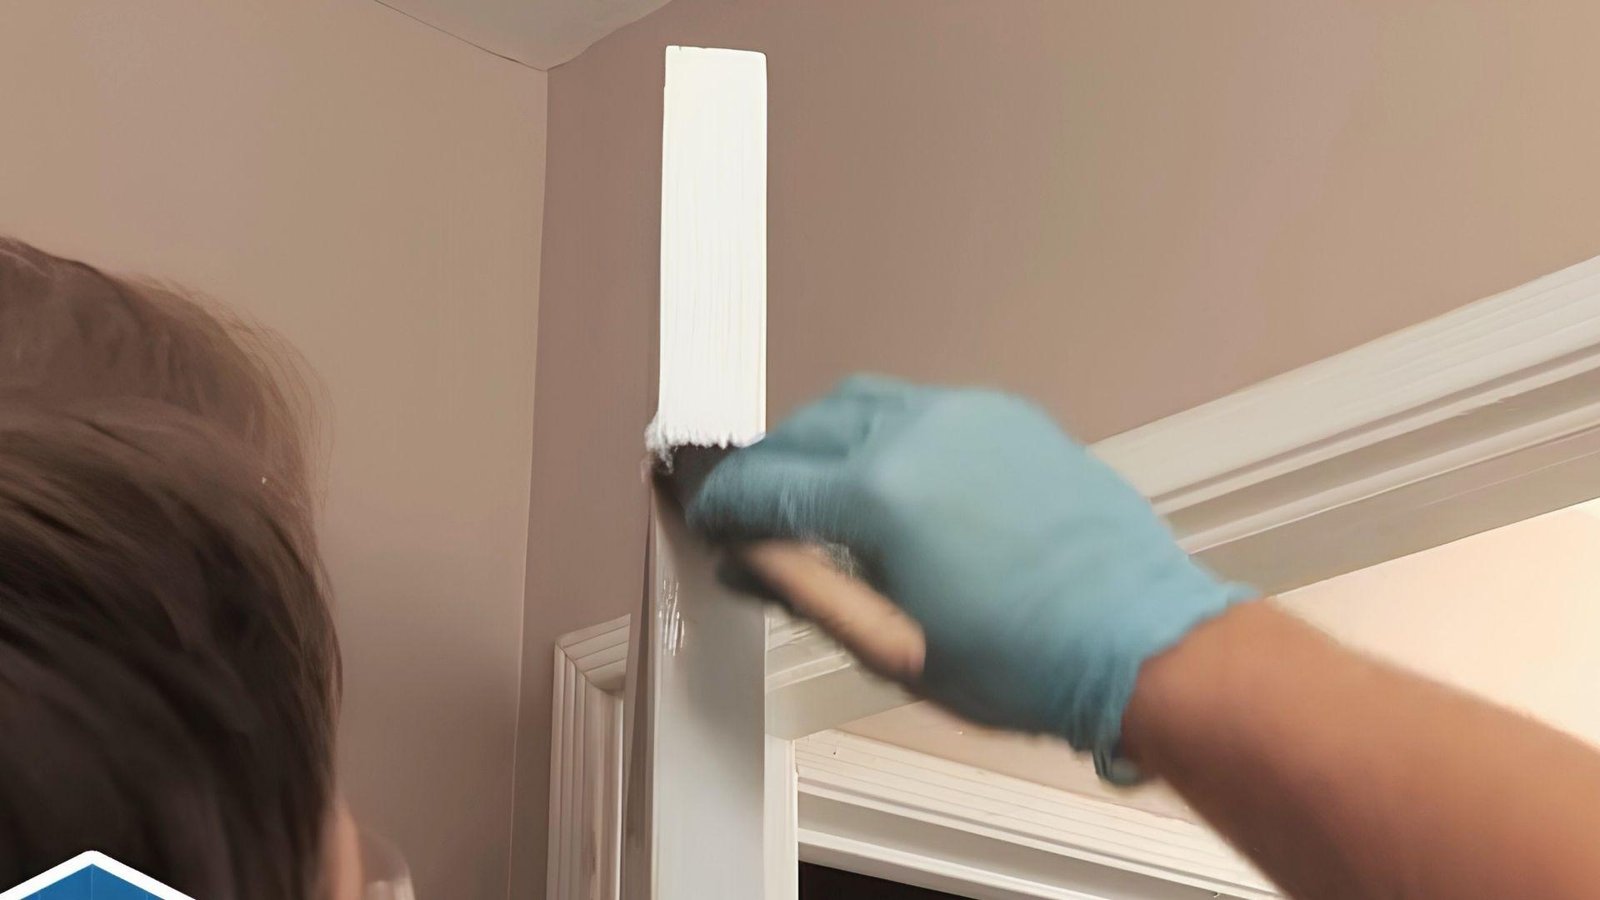
Once the door fits correctly, finish the repair by repainting the sanded edge. Apply a thin, even coat of primer if bare wood is exposed, followed by matching paint.
This protects the door from moisture and gives the repair a clean, professional appearance.
Allow the paint to dry fully before closing the door to prevent fresh paint from sticking to the frame.
Youtube Link:How to Fix a Door That Sticks
Tips to Prevent a Door From Sticking
A little maintenance goes a long way.
Here's how to stop the problem before it starts:
- Control indoor humidity levels: Use a dehumidifier in summer months to stop wood from swelling
- Check hinges once a year:Tighten any loose screws before they become a bigger problem
- Don't skip the top coat:Always seal sanded wood edges with paint or primer to block moisture
- Apply dry lubricant to edges: A light coat on door edges reduces friction without making a mess
- Fix small issues early: A door that barely scrapes today can stick badly in a few months
Conclusion
Fixing a sticking door is one of the most satisfying DIY jobs you can do. I fixed mine last summer with just a screwdriver and some sandpaper. It took less than an hour.
Don't keep putting it off. Learning how to fix a door that sticks is easier than it looks, and you'll feel great once it's done.
Try it this weekend. If this helped, drop a comment below or share it with someone dealing with a stubborn door.
Frequently Asked Questions
How long does it take to fix a sticking door?
Most fixes take under an hour, depending on whether you need to sand or just tighten screws.
Can I fix a sticking door without removing it?
Yes, if the issue is loose hinges or minor paint buildup, you can fix it without taking the door off.
Why does my door only stick in summer?
Wood absorbs moisture in humid weather and swells slightly, which causes seasonal sticking.
What is the easiest way to find where a door sticks?
Rub chalk on the door edge, close it a few times, and check where the chalk transfers onto the frame.
Will painting a door make it stick more?
Yes, applying thick coats of paint without sanding first can add enough buildup to cause sticking.