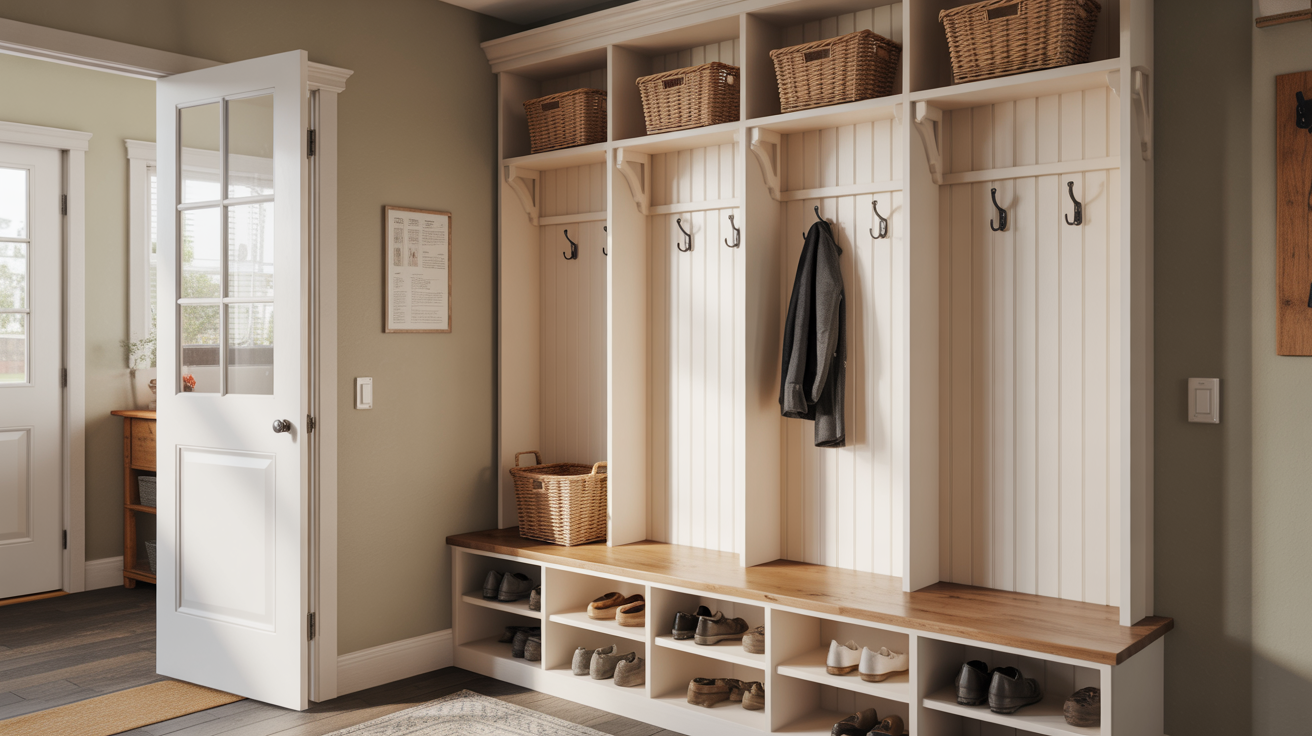

Walking into a cluttered entryway every day gets old fast. I've been there, shoes everywhere, bags on the floor, no system at all.
That's why I built my own diy mudroom bench, and it changed everything.
In this guide, I'll walk you through exactly how to build one from scratch, even if you've never picked up a saw before.
We'll cover design ideas, tools, step-by-step instructions, the best wood to use, and how to keep it looking great long-term.
I've built several of these, so everything here comes from real hands-on experience.
Let's get into it.
What Is a DIY Mudroom Bench?
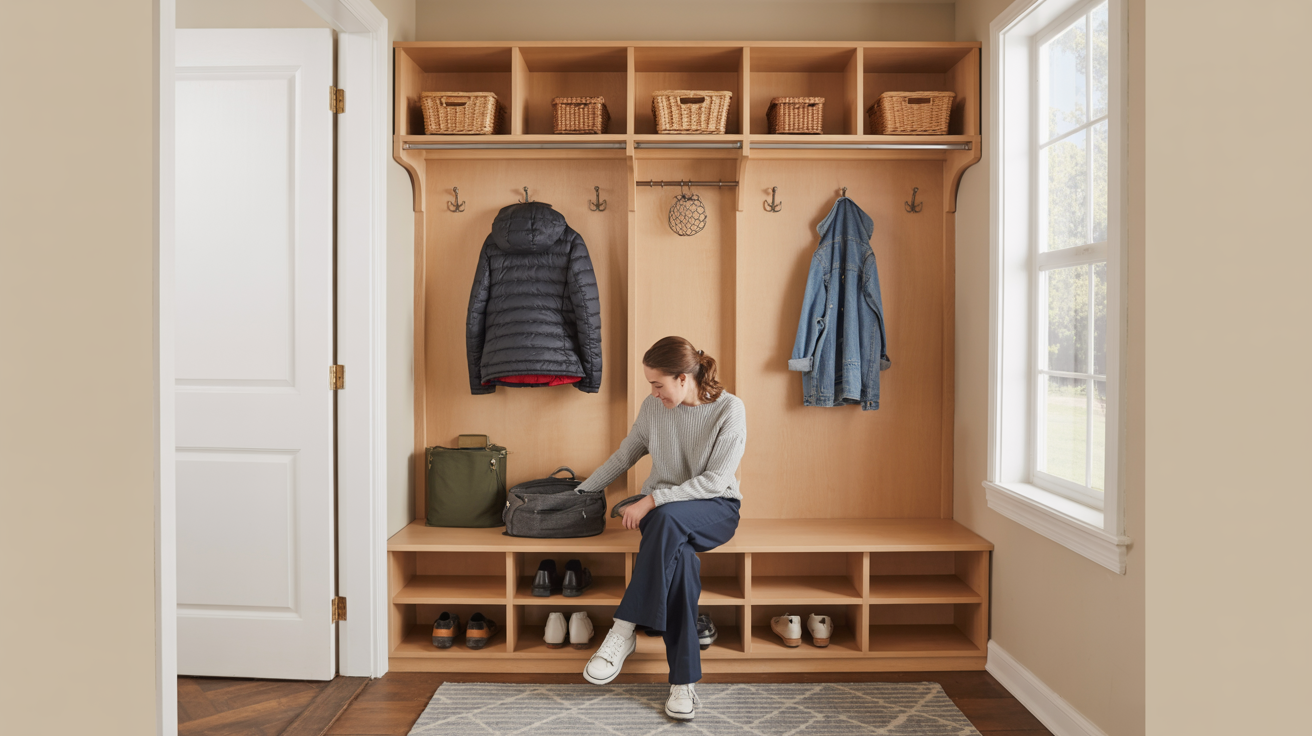
A DIY mudroom bench is a custom-built piece of furniture you make yourself for your entryway or mudroom.
It gives you a place to sit while putting on shoes and helps keep bags, coats, and clutter organized.
Unlike store-bought options, building your own lets you control the size, storage, and finish.
You can add cubbies for shoes, hooks for coats, or drawers for small items. It fits your space and your budget.
Most people build them using plywood or basic lumber. With the right plan and a few tools, it's a manageable weekend project.
The result is a sturdy, practical bench that works hard every single day.
A well-built mudroom bench also keeps your home looking cleaner. Everything has a place. That alone makes the effort worth it.
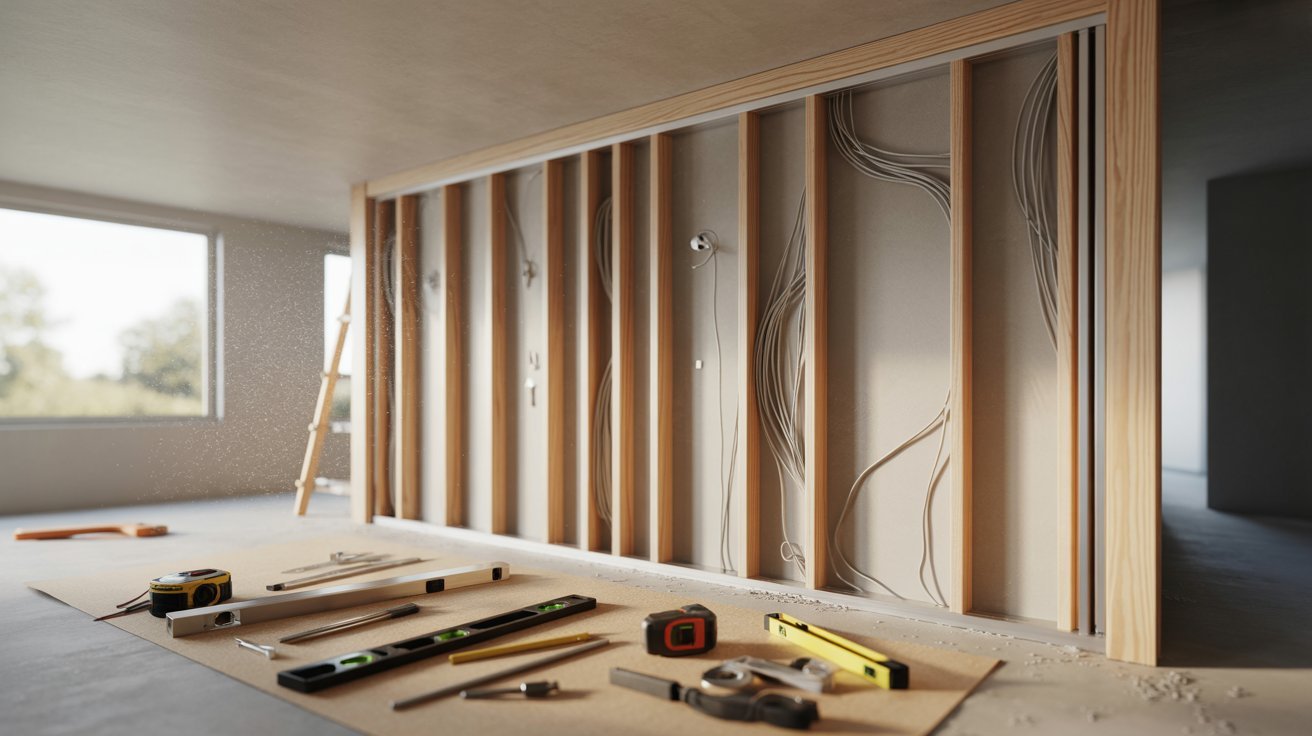
Tools and Materials Needed
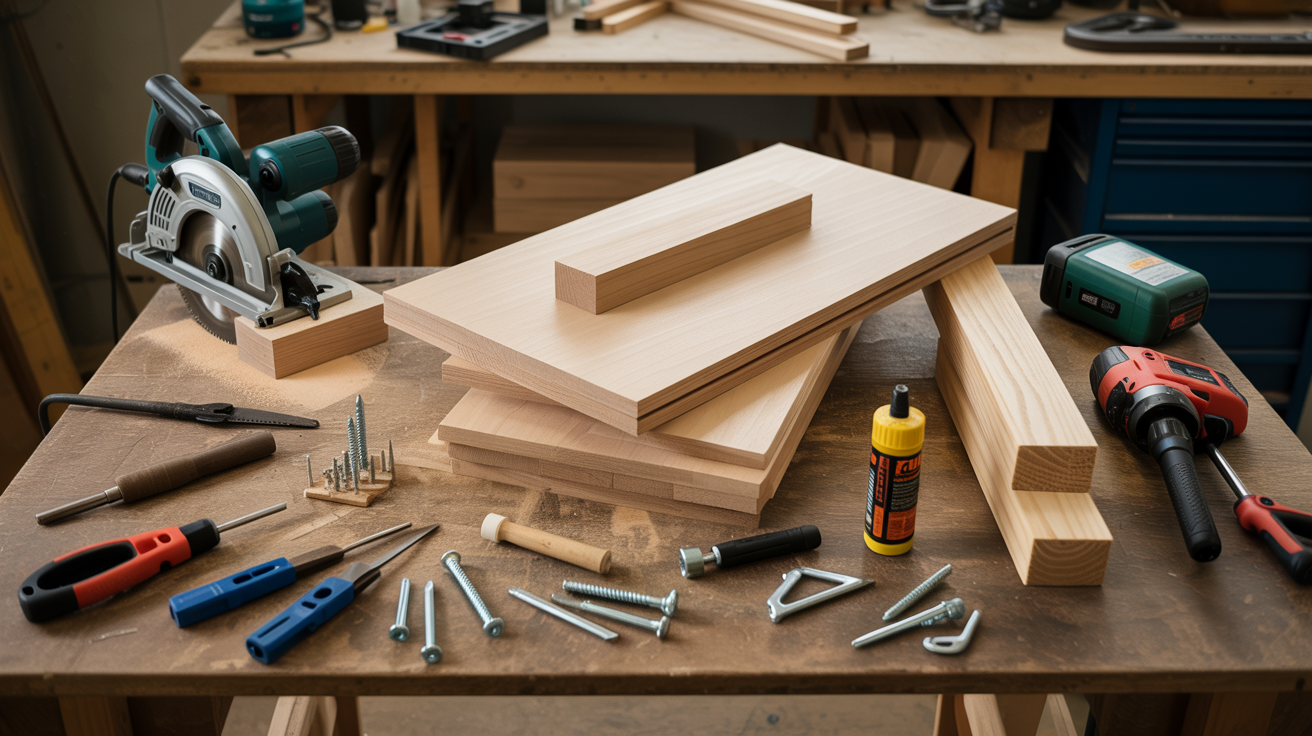
Before you start cutting, gather everything you need.
Here's what you'll use for a basic diy mudroom bench:
Tools:
- Circular saw or miter saw
- Drill and drill bits
- Screwdriver
- Tape measure
- Level
- Sandpaper (80, 120, and 220 grit)
- Paintbrush or foam roller
- Clamps
- Pencil and marking square
Materials:
- Plywood sheets (3/4 inch thick)
- 2×4 lumber (for the frame)
- Wood screws (1.5 inch and 2.5 inch)
- Wood glue
- Corner brackets
- Coat hooks
- Wood filler
- Primer and paint or wood stain
- Polyurethane or sealant (optional but recommended)
- Sandable wood putty
Having everything ready before you start saves time and keeps the build moving smoothly
DIY Mudroom Bench Design Ideas
There's no one-size-fits-all here. The design you choose depends on your space, your needs, and how much you want to build. Here are four popular layouts to think about.
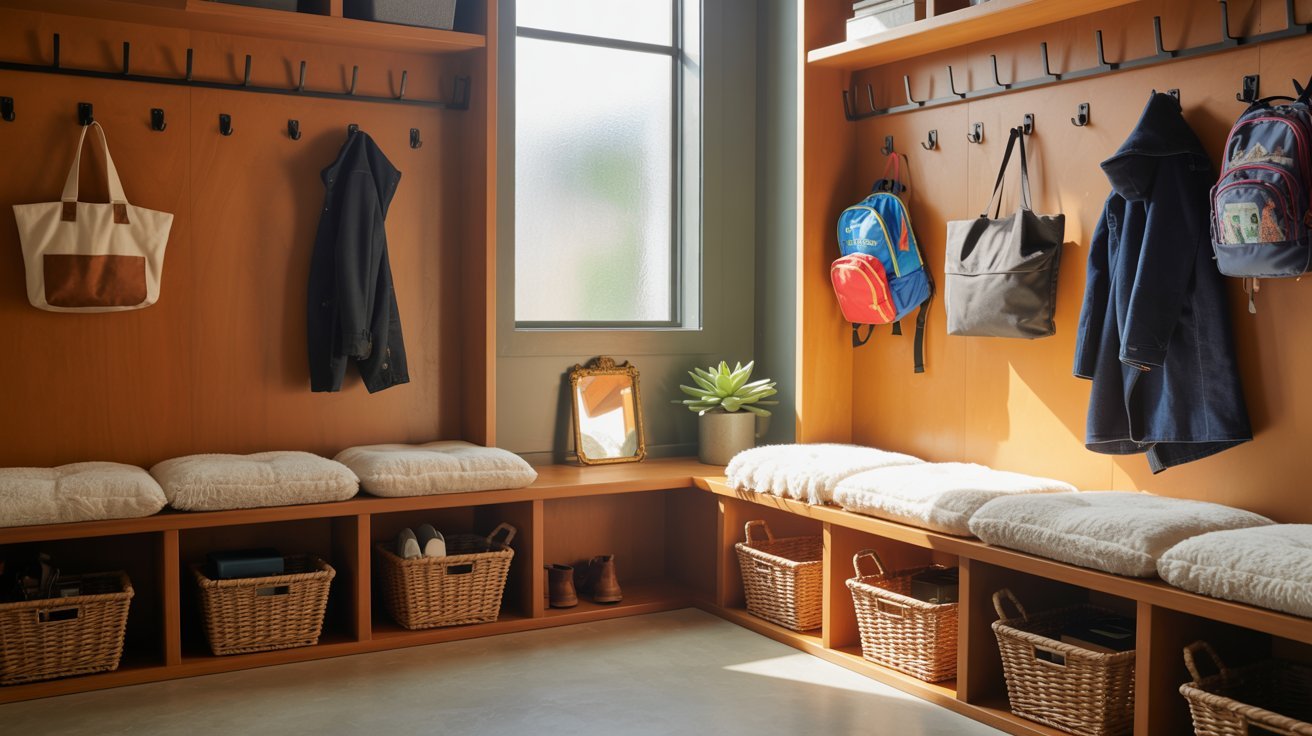
Bench with Open Cubbies
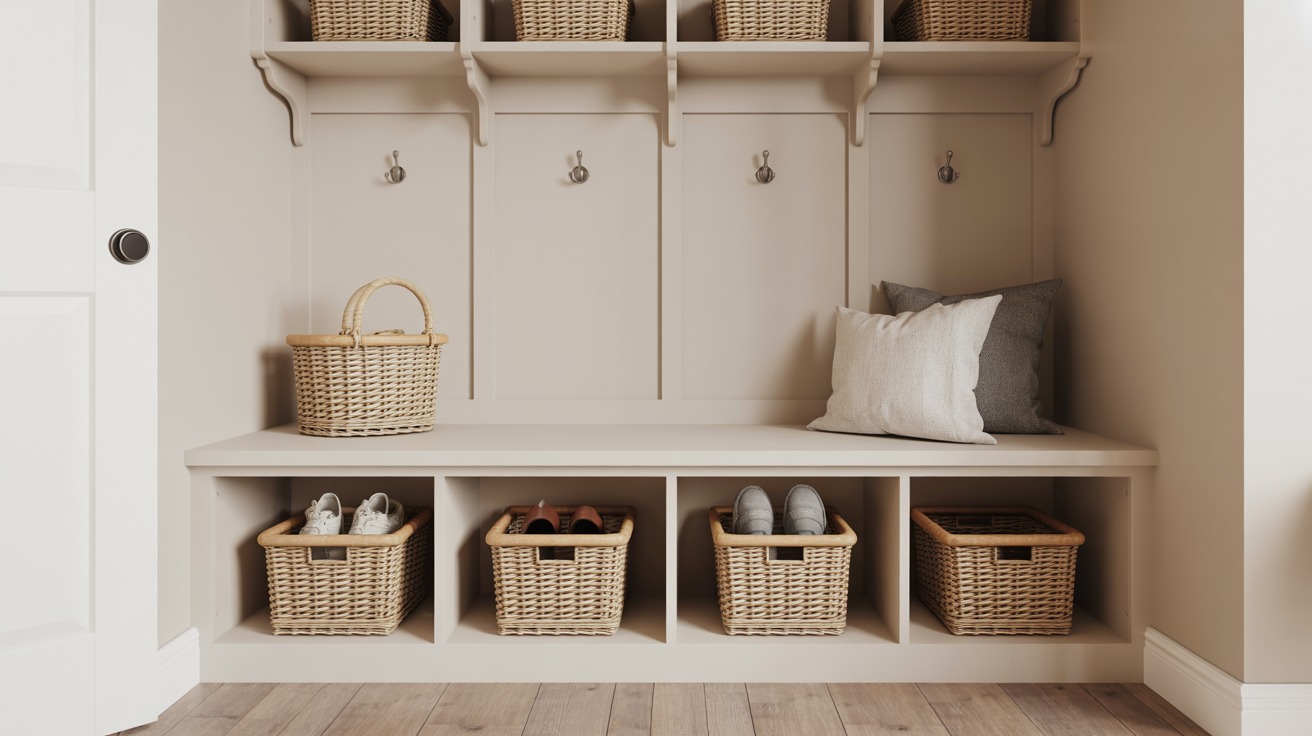
Open cubbies are the most common choice. Each cubby holds one pair of shoes or a basket. This design is simple to build, easy to keep clean, and works well for families.
You can add baskets or bins to each section for extra organization. It's a clean, open look that keeps things accessible.
Bench with Drawers
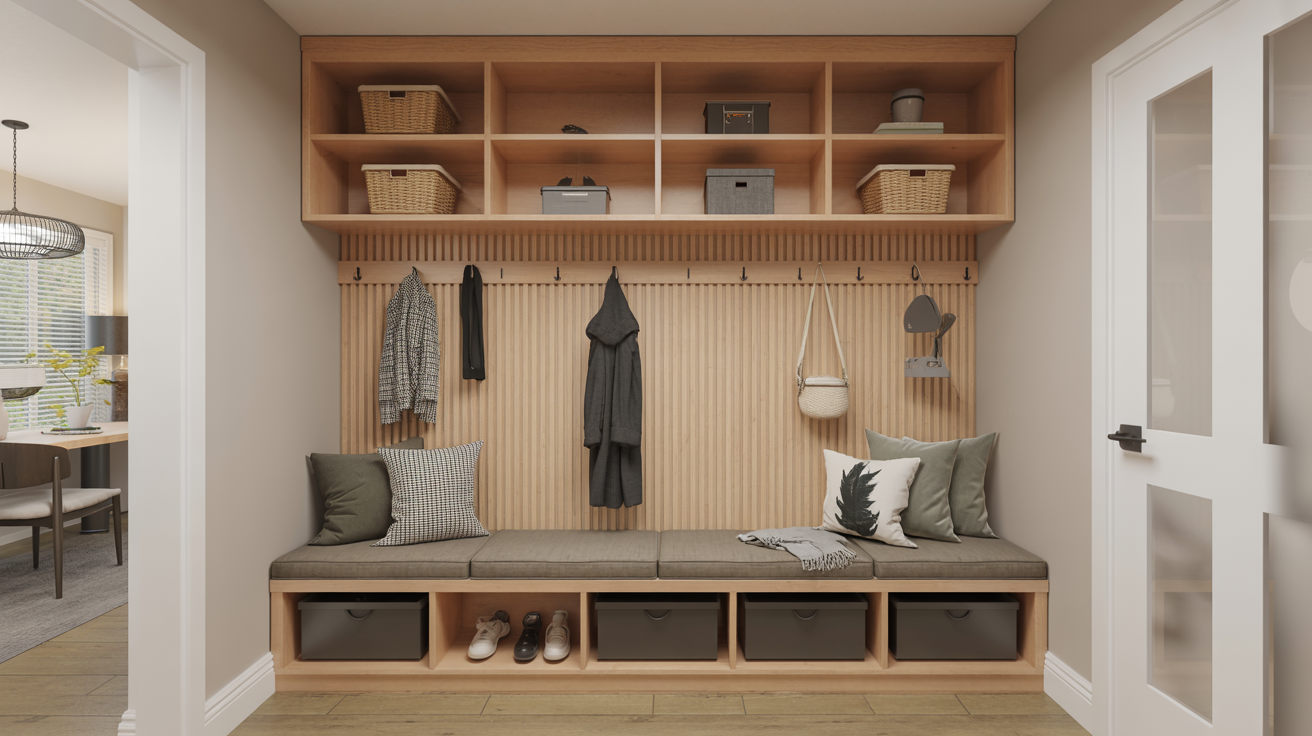
If you want a cleaner look with hidden storage, add drawers below the seat. Drawers are great for gloves, scarves, dog leashes, and small accessories.
They take more time to build, but the payoff is a neat, clutter-free space. Use simple drawer slides for smooth operation.
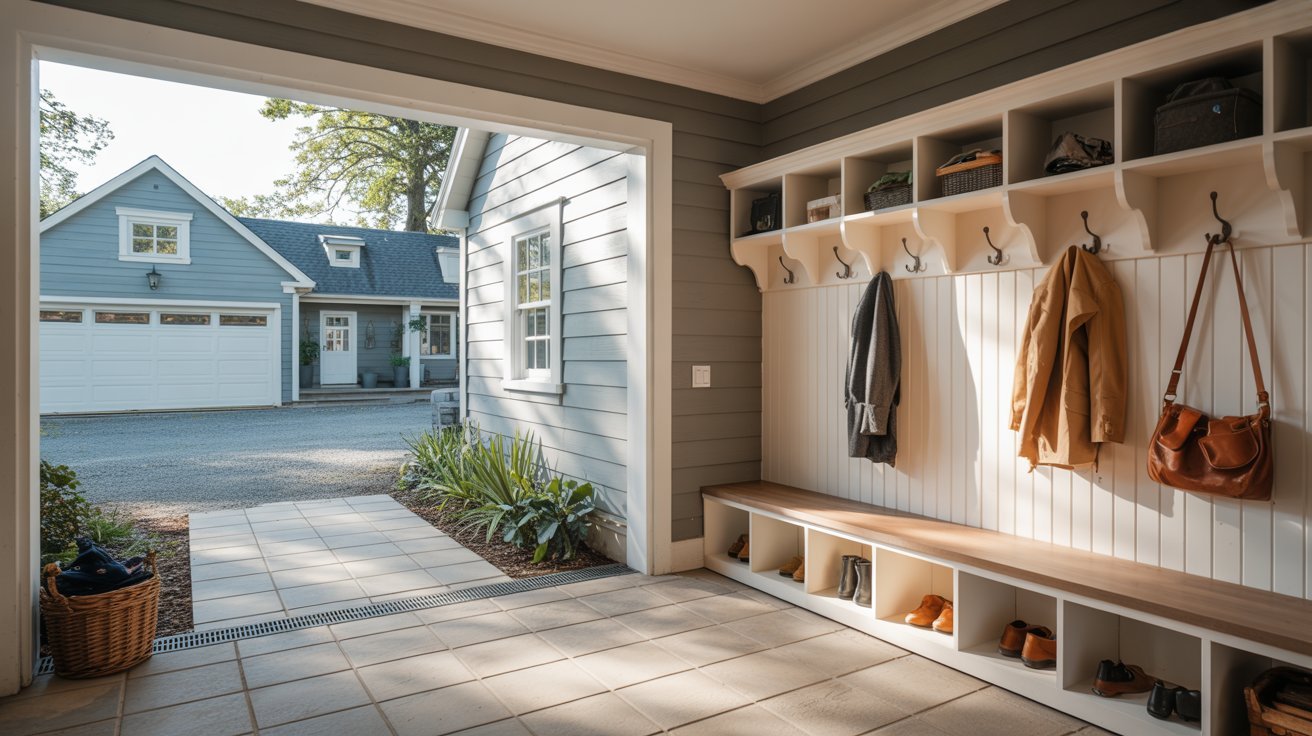
Bench with Coat Hooks
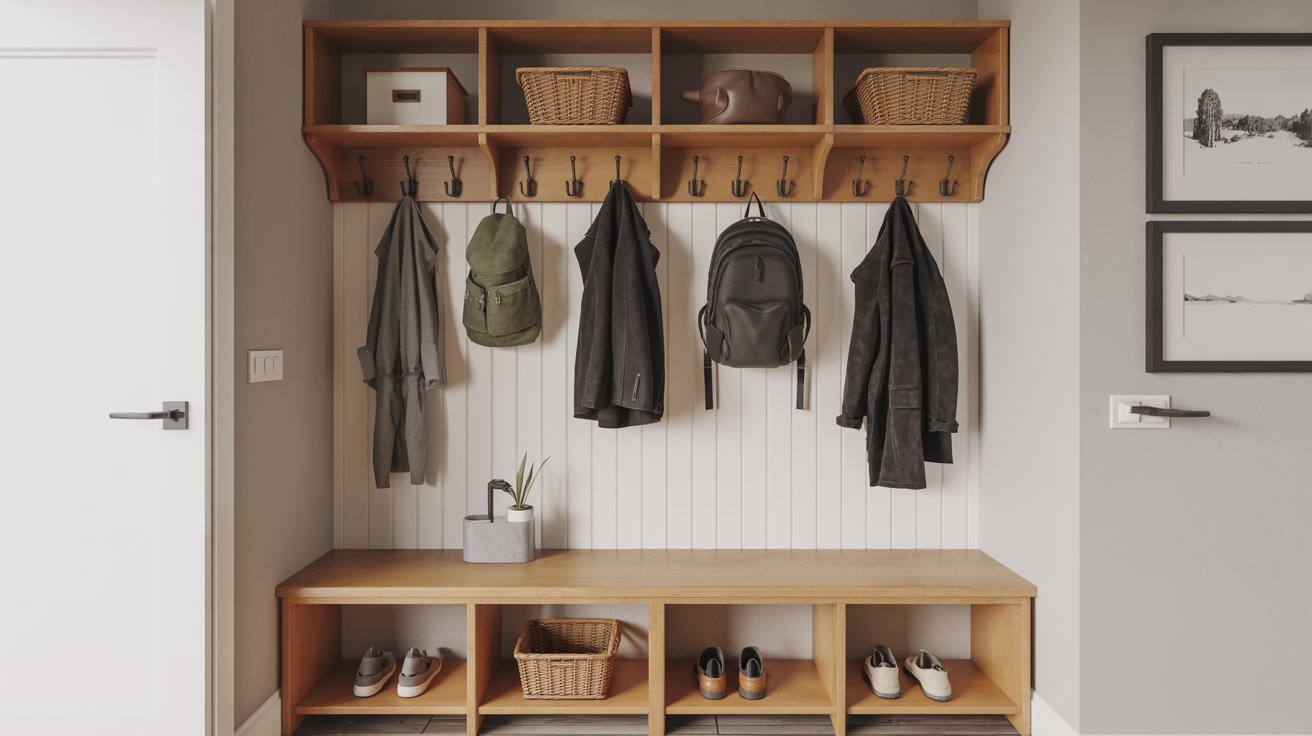
Adding coat hooks above the bench turns it into a full entryway station. You sit, you hang, you go. This is one of the most functional designs for everyday use.
Mount a backing board above the bench seat and space the hooks evenly. This works especially well for kids' backpacks and jackets.
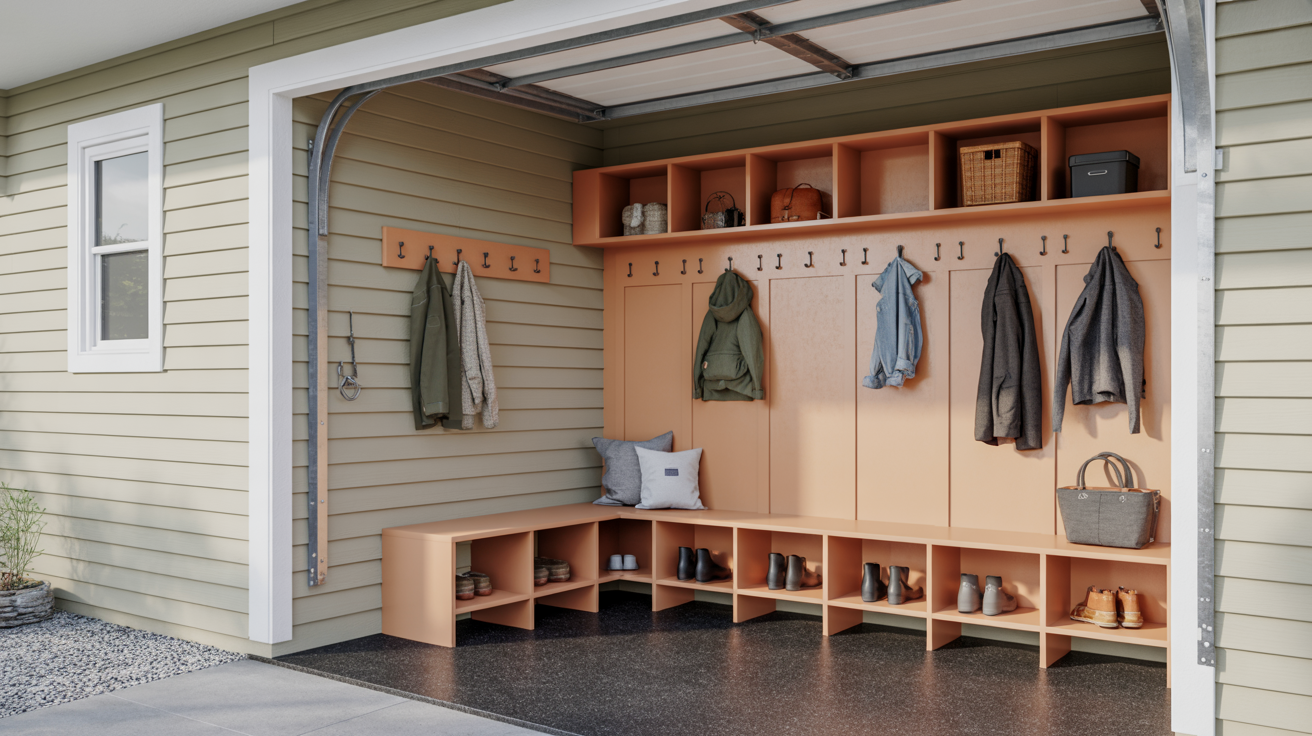
Corner Mudroom Bench Layout
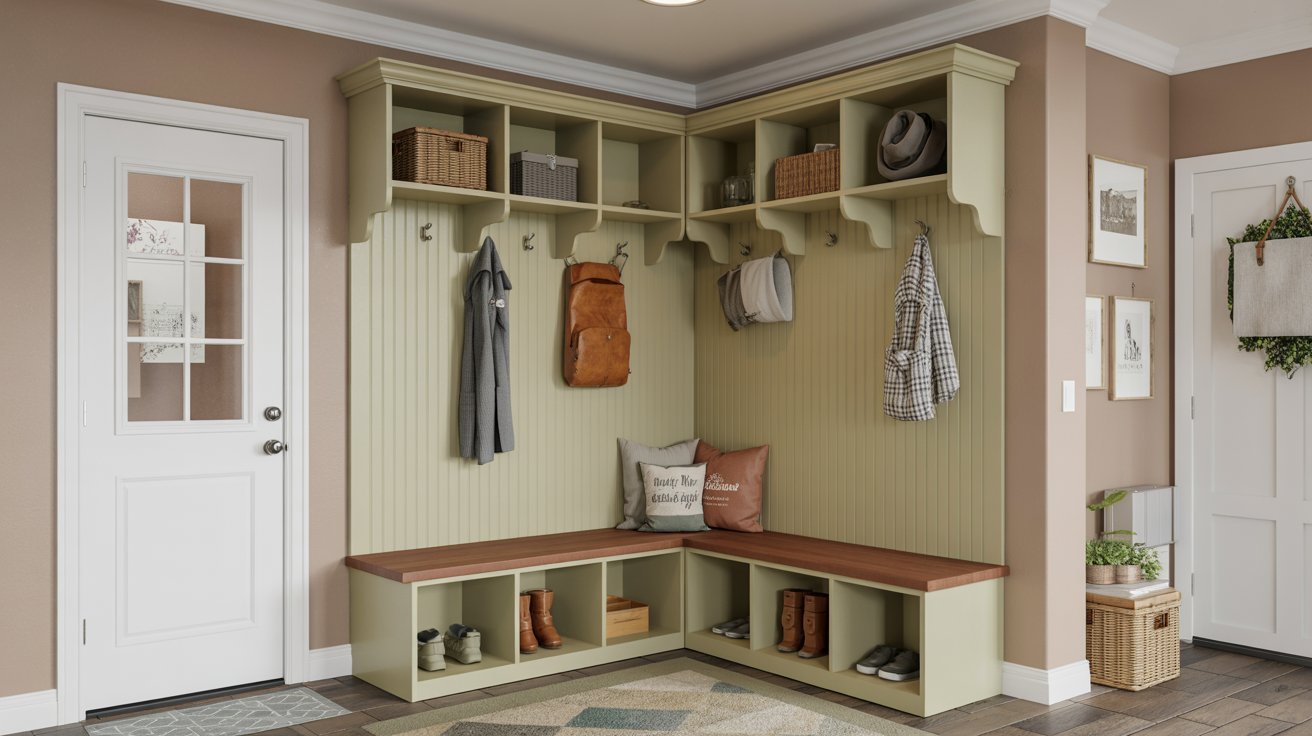
Got an awkward corner? Build into it. A corner bench uses space that usually goes to waste.
It takes a bit more planning with angled cuts, but it creates a lot of seating and storage in a tight area. Great for smaller entryways where every inch matters.
How to Build a DIY Mudroom Bench
Here's the full step-by-step process. Follow this in order and you'll have a solid bench by the end of the weekend.
Step 1: Cut the Wood Pieces
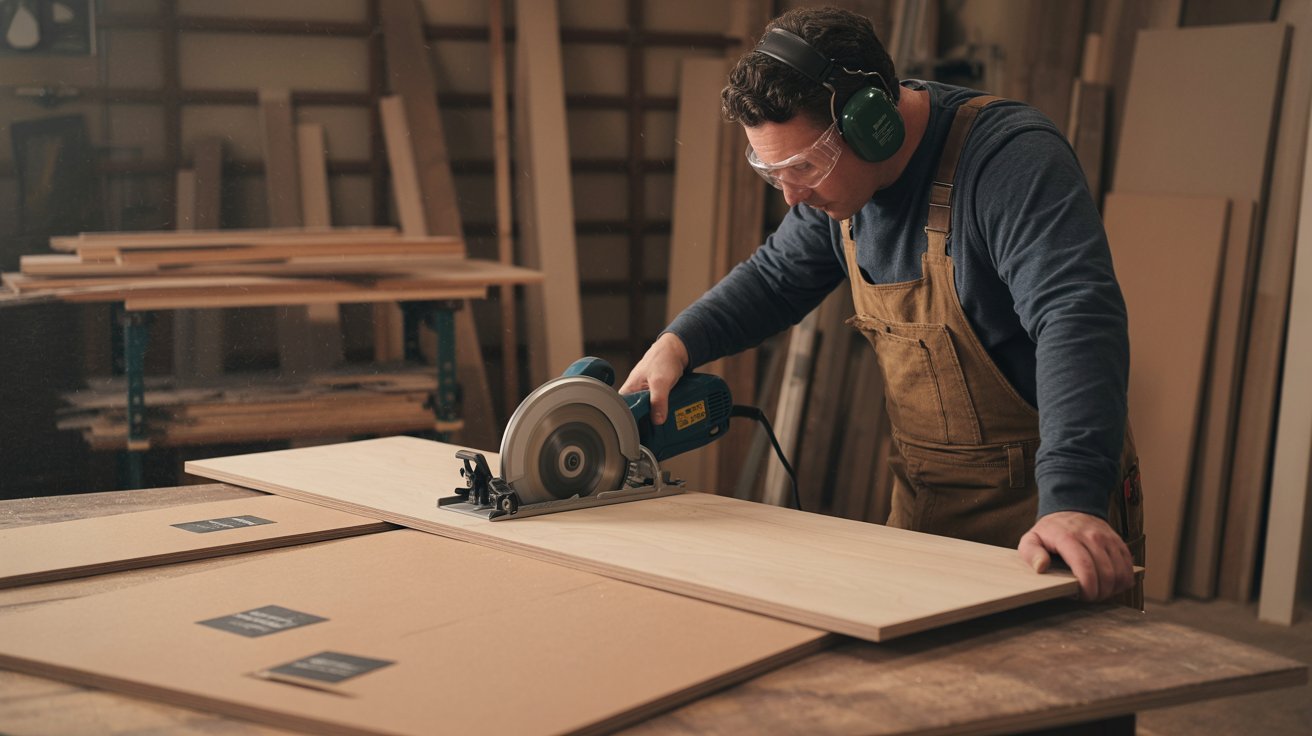
Start by measuring your space carefully. Mark all your cuts on the plywood and lumber before you cut anything.
Cut the side panels, back panel, seat top, and shelf pieces using a circular saw. Label each piece with a pencil so you know where it goes. Double-check every measurement before cutting.
Step 2: Build the Bench Frame
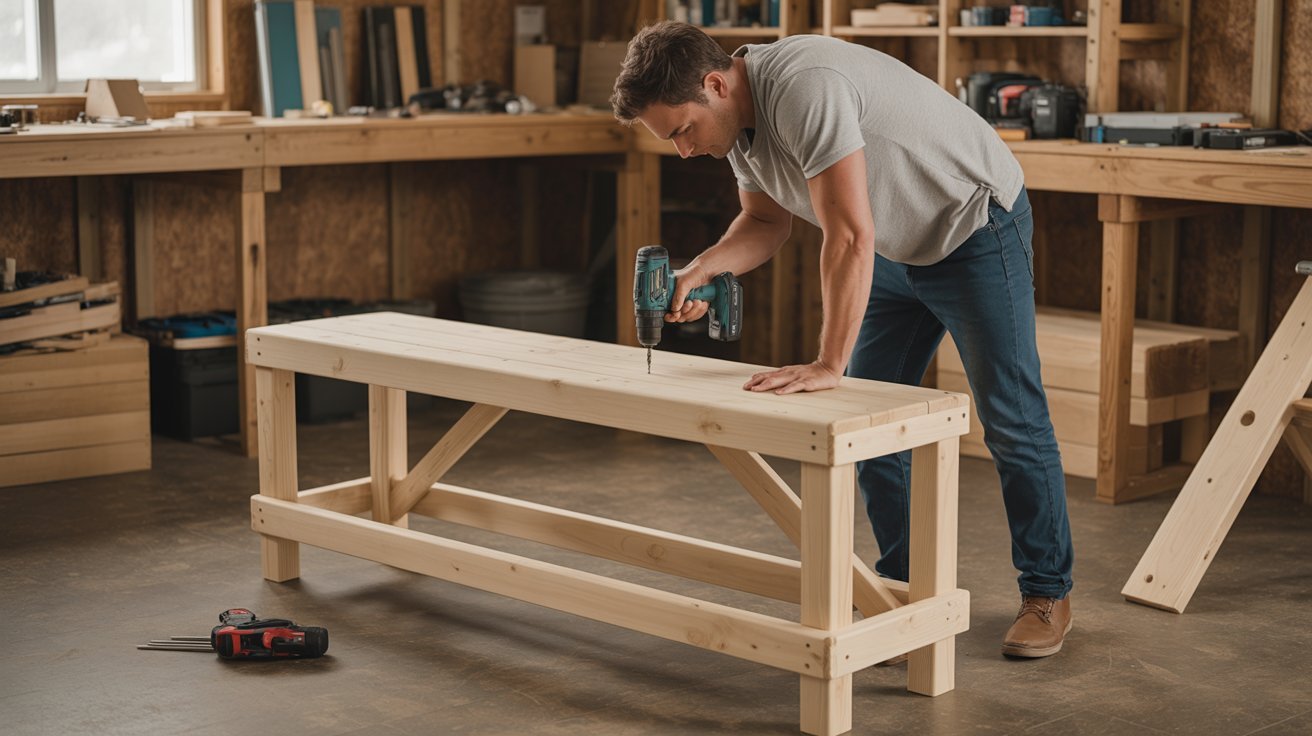
Use 2×4 lumber to build the base frame. This is what holds the weight. Cut four legs and connect them with horizontal supports using wood screws and glue.
Make sure everything is square using a level. A solid frame means a solid bench. Don't rush this step.
Step 3: Attach the Seat
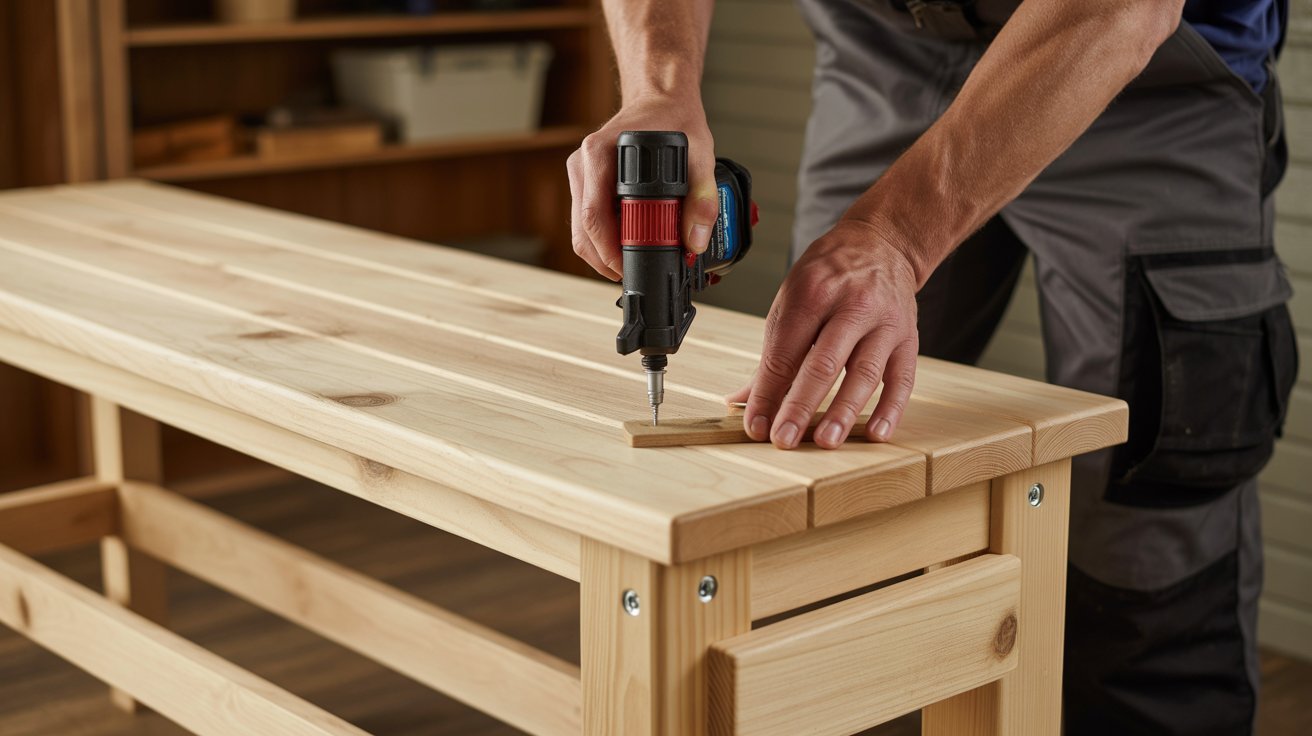
Once the frame is solid, attach the seat panel on top. Use screws from underneath so no screw heads show on the surface.
Add a bead of wood glue along the frame edges before securing the seat for extra strength. The seat should be flush with the frame on all sides.
Step 4: Add Storage Sections
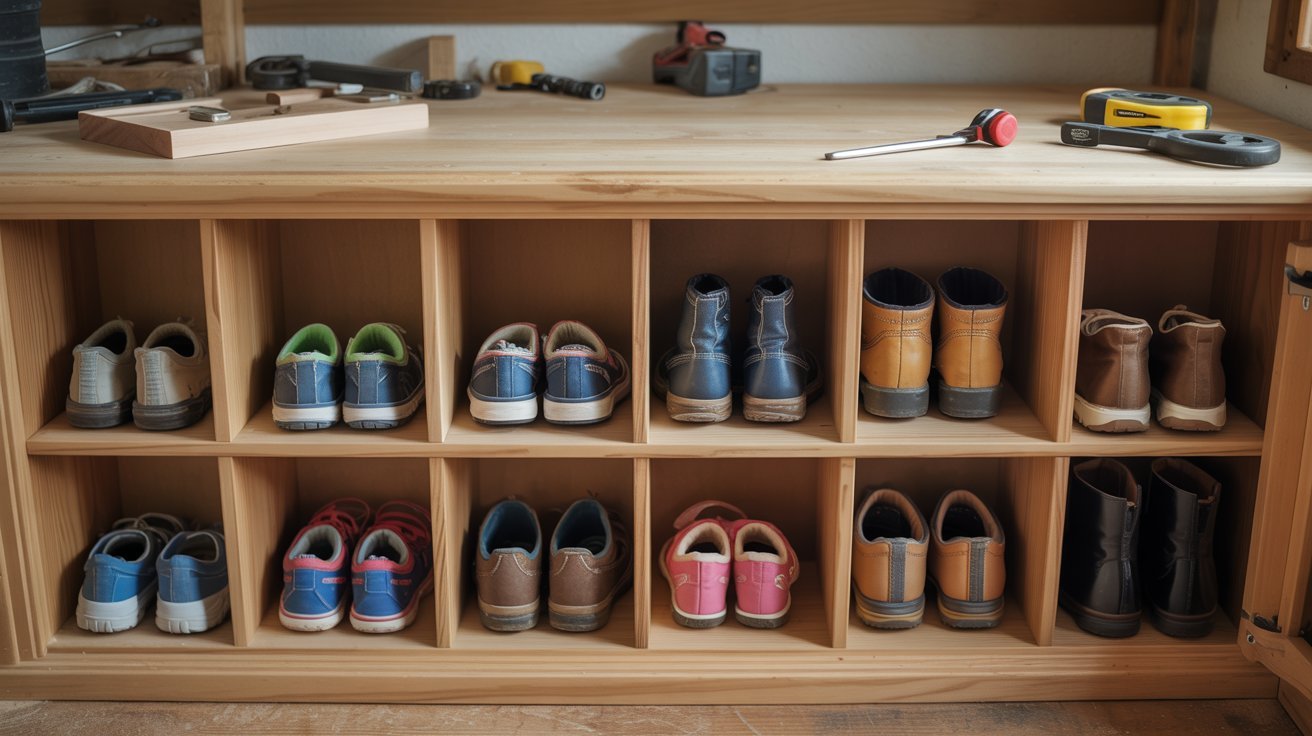
Now add the side panels and inner dividers for cubbies or shelves. Cut each divider to fit inside the frame and attach with screws and glue.
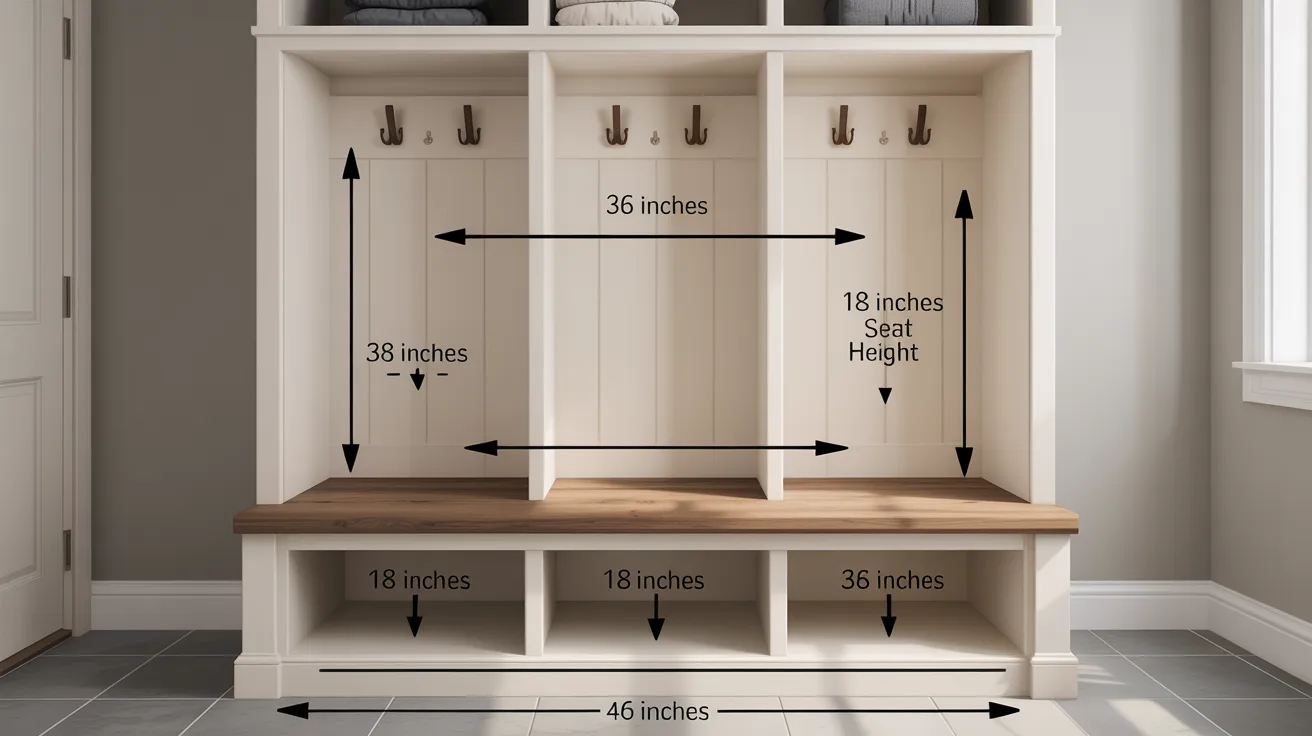
Space them evenly based on what you'll store. For a standard shoe cubby, around 12 inches wide per section works well.
Step 5: Sand the Surface
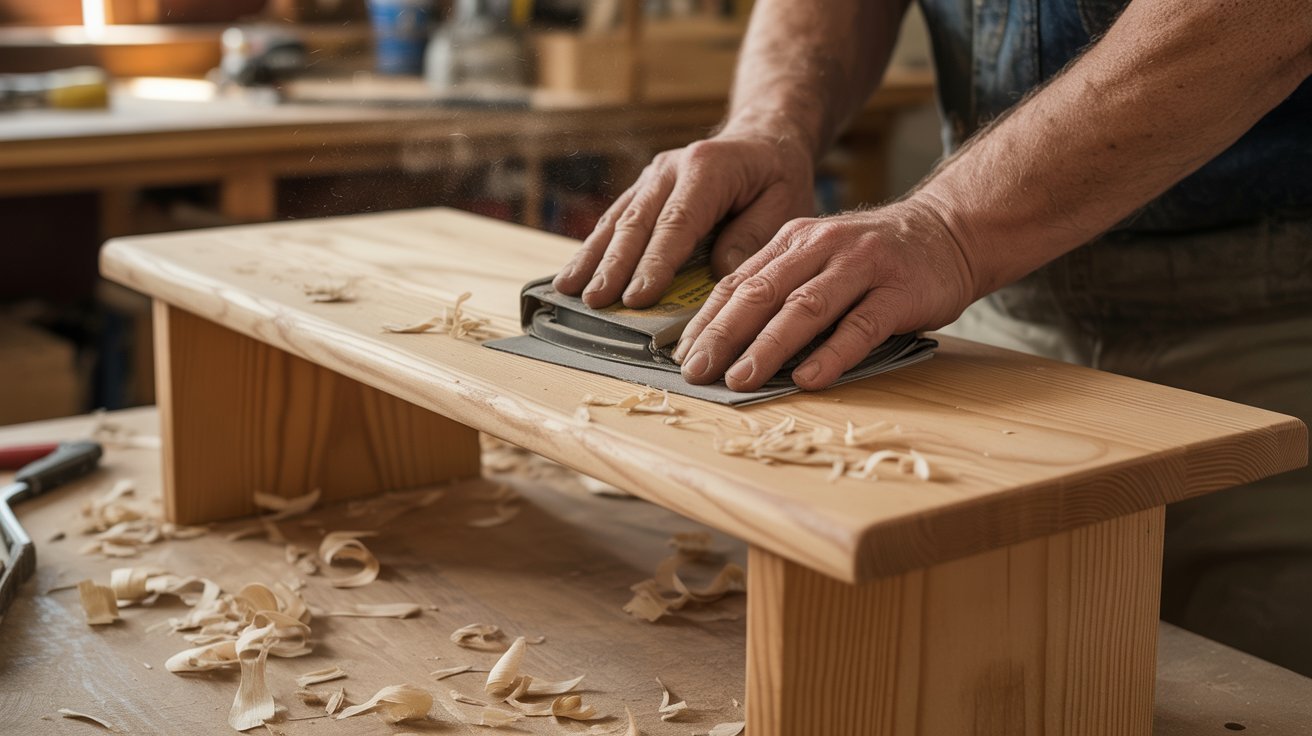
Sand every surface before finishing. Start with 80-grit sandpaper to knock down rough spots, then move to 120-grit, and finish with 220-grit for a smooth surface.
Pay attention to edges and corners. Fill any gaps or screw holes with wood filler, let it dry, then sand again. A smooth surface makes paint or stain look much better.
Step 6: Paint or Stain the Bench
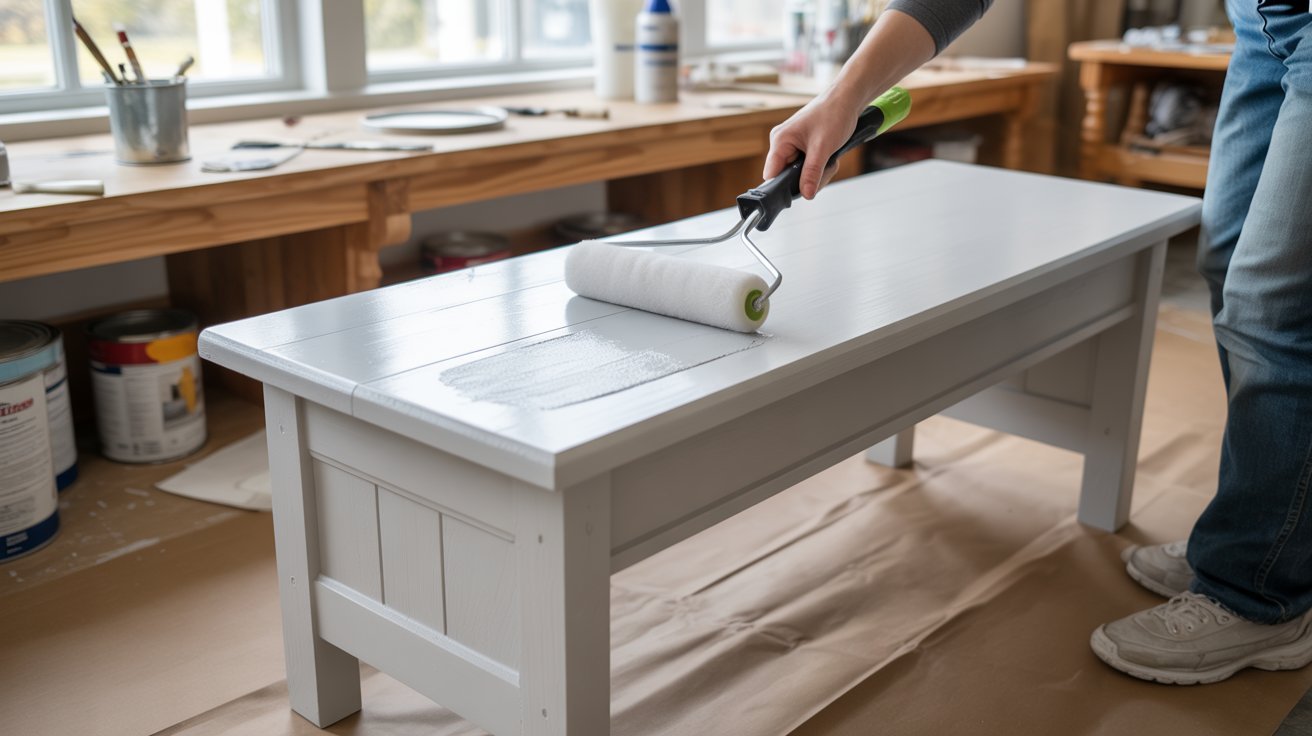
Apply a coat of primer first, especially if you're painting. Let it dry fully, then apply two coats of paint or stain. Sand lightly between coats with 220-grit paper.
For mudrooms, use a semi-gloss or satin finish. It holds up better to moisture and wipes down easily. If you're staining, finish with a coat of polyurethane for protection.
Step 7: Install Hooks and Trim
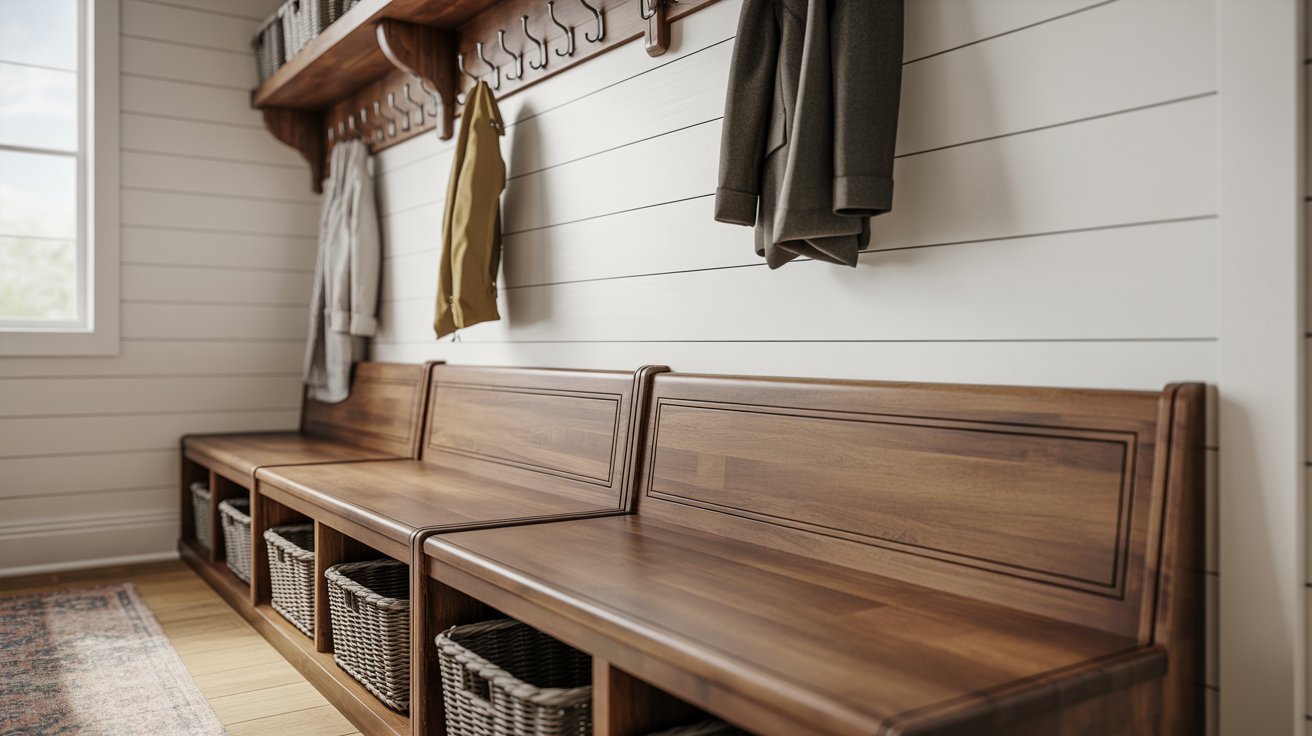
Once the paint is dry, attach coat hooks to a backing board above the bench or directly to the bench back panel. Space them 6 to 8 inches apart.
Add trim pieces along the bottom and edges for a finished, built-in look. Use a nail gun or finishing nails for the trim. Fill nail holes, touch up with paint, and you're done.
Best Wood for a DIY Mudroom Bench
Choosing the right wood matters. The mudroom is a high-traffic, high-moisture area. You need something that holds up well over time.
Plywood vs Solid Wood
Plywood is the top choice for most DIY mudroom bench builds. It's stable, resists warping, and is easy to cut and work with.
3/4-inch birch plywood is smooth and takes paint well. Solid wood like pine or oak looks great but can warp in humid conditions.
For the seat and panels, plywood is the smarter pick. For visible trim pieces, solid wood adds a nice touch.
Budget-Friendly Wood Choices
Pine is the most affordable solid wood option. It's easy to work with and widely available. Standard construction-grade 2x4s work fine for the frame.
For panels, 3/4-inch sanded plywood from any hardware store is affordable and sturdy. You don't need expensive hardwood to get a great result.
Moisture Resistance for Mudrooms
Mudrooms see wet shoes, umbrellas, and damp coats regularly. Seal all wood surfaces with paint, stain, or polyurethane.
For extra protection, consider a moisture-resistant primer before painting. Avoid leaving raw wood exposed.
Even one good coat of sealer makes a big difference in how long your bench holds up.
DIY Mudroom Bench Maintenance Tips
Taking care of your bench keeps it looking good and lasting longer.
Here's what to do regularly:
- Clean Spills Right Away: Do not let water sit on the wood surface. Wipe spills as soon as they happen to prevent moisture damage.
- Wipe Down Weekly: Use a damp cloth with a mild cleaner for everyday upkeep. Avoid harsh chemicals that can strip paint or stain.
- Remove Scuff Marks Carefully: A magic eraser works well on painted surfaces. Always dry the surface after wiping to stop moisture from building up.
- Prevent Scratches and Water Damage: Place a rubber mat near the bench and add felt pads under baskets or bins sitting on the surface.
- Refinish Once a Year: Apply a fresh coat of polyurethane annually if the bench gets heavy use. It adds a strong layer of protection against wear.
- Repaint Every Couple of Years: Sand lightly, clean off the dust, and apply fresh paint or stain to keep the bench looking good without rebuilding it.
Common Mistakes to Avoid
A few small mistakes can make the build harder than it needs to be.
Watch out for these:
- Skipping the Planning Stage: Measure your space twice before cutting anything. A few minutes of planning saves hours of fixing later.
- Wrong Measurements: Off cuts lead to panels that do not fit and a wobbly structure. Always measure twice, write it down, and check against your space before cutting.
- Weak Bench Support: Use proper 2×4 framing, add corner braces, and secure every joint with both glue and screws. A bench that flexes is one that will not last.
- Not Checking for Square: An out-of-square frame leads to gaps and uneven panels. Check alignment at every stage of the build.
- Skipping Surface Finishing: Raw wood absorbs moisture and cracks over time. Sanding, priming, and sealing are steps that protect the wood and add years to the bench life.
- Rushing Drying Time: Let glue, filler, and paint dry fully between each step. Rushing this leads to weak bonds and finishes that peel early.
Conclusion
Building a diy mudroom bench was one of the most satisfying projects I've done at home. It wasn't perfect the first time, but it worked, and it still holds up years later.
You'll figure it out as you go, and the result is something you actually built.
Start simple. Pick a design that fits your space, grab your materials, and take it one step at a time.
If you found this helpful, leave a comment below or share it with someone who needs a better entryway setup. Good luck with your build!
Frequently Asked Questions
How much does it cost to build a DIY mudroom bench?
Most DIY mudroom benches cost between $100 and $300 depending on the size, wood, and storage features you choose.
What is the best wood for a DIY mudroom bench?
3/4-inch plywood is the best choice for most builds because it is strong, affordable, and easy to paint or stain.
Can I build a mudroom bench without advanced tools?
Yes. A basic mudroom bench can be built using simple tools like a circular saw, drill, and screwdriver.
How deep should a mudroom bench be?
A standard mudroom bench is usually 15 to 20 inches deep, which gives enough room for comfortable seating and storage.
How do I protect my mudroom bench from wet shoes?
Seal the wood with paint, stain, or polyurethane and wipe up water quickly to prevent moisture damage.