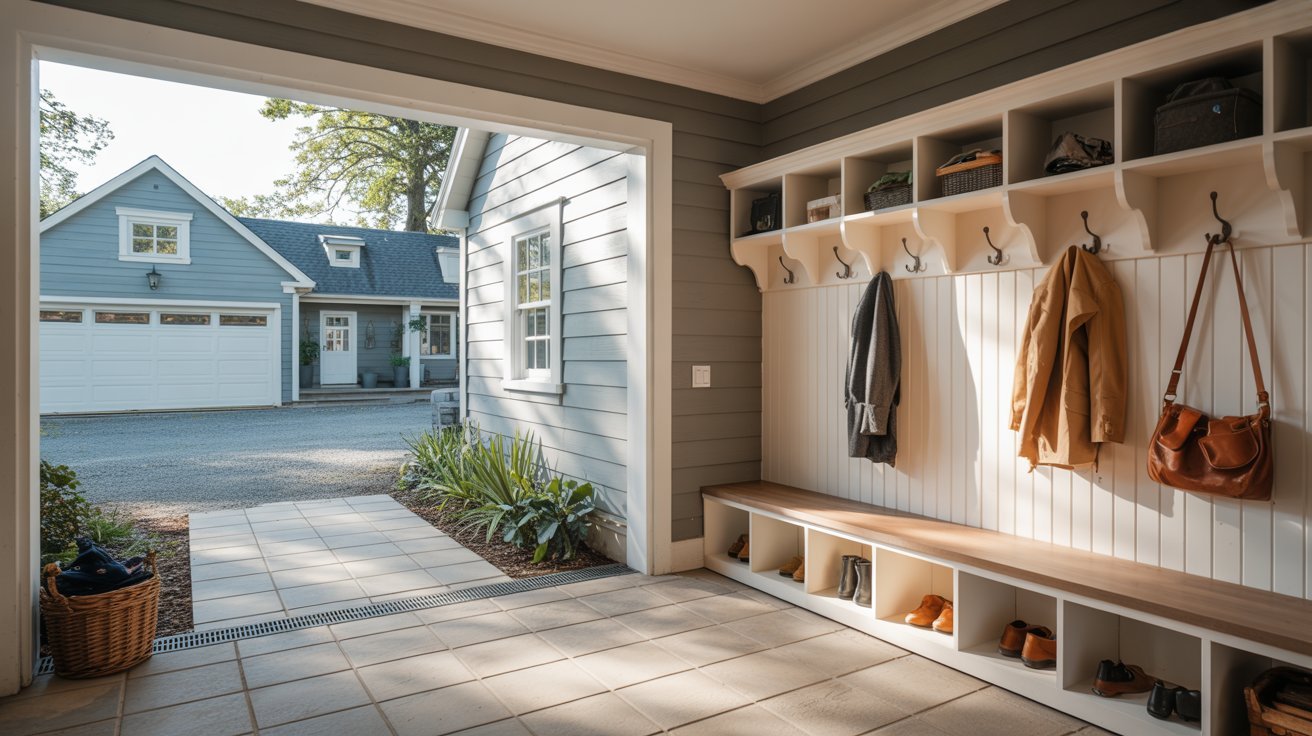

Have you ever looked at your breezeway and thought, "This space could do so much more"? I had the same thought.
An enclosed breezeway mudroom is one of the smartest ways to add storage, keep dirt outside, and make daily life easier. I've seen how the right setup changes a home completely.
In this guide, I'll cover planning, layout ideas, flooring, storage, and DIY tips. I'll also share common mistakes to avoid.
With years of experience writing about home improvement, I'm here to give you real, practical advice you can actually use.
What Is an Enclosed Breezeway Mudroom?
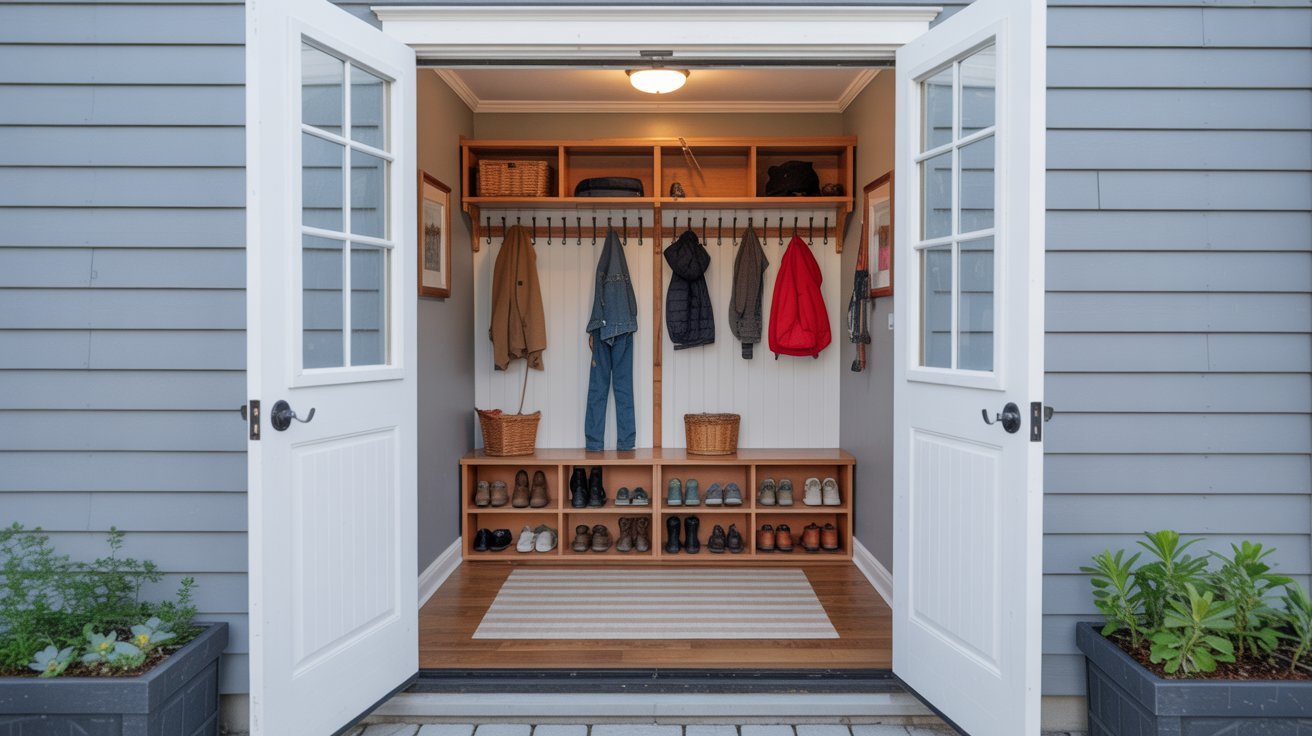
An enclosed breezeway mudroom is a covered, enclosed passage that connects two parts of a home or links the house to a garage or outdoor area.
Think of it as a buffer zone. It keeps mud, rain, and clutter from entering your main living areas.
Instead of a simple walkway, this space becomes a working room with storage, seating, and sometimes even laundry setups.
These spaces come in many sizes. Some are narrow and simple. Others are wide enough to include benches, built-in cabinets, and hooks. The key is making the most of what you have.
An enclosed breezeway mudroom adds value to your home. It keeps your interiors cleaner.
It also gives every family member a dedicated spot for their belongings. That alone makes it worth the investment.
Planning an Enclosed Breezeway Mudroom
Good planning is the foundation of any successful mudroom project. Before you buy materials or pick a layout, you need to know exactly what you're working with.
Measuring the Space
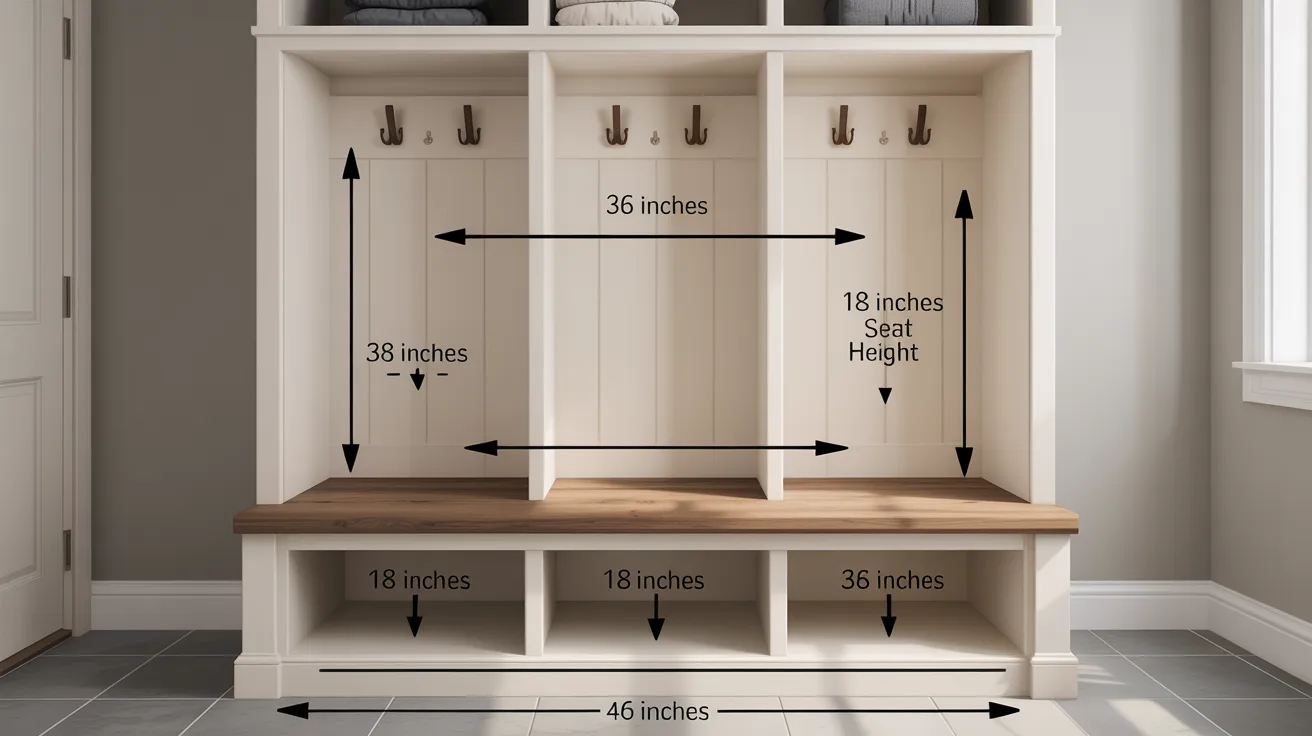
Start by measuring your breezeway carefully. Note the length, width, and ceiling height.
Also check where doors and windows are placed. These measurements will guide every decision you make, from furniture size to cabinet placement.
Don't guess. Use a tape measure and write everything down. Even a few inches can affect how well your layout works.
Setting a Budget
Decide how much you want to spend before anything else. A basic setup with simple shelving and hooks can cost very little. A full build-out with custom cabinets and flooring will cost more.
Break your budget into categories: flooring, walls, storage, lighting, and labor. This helps you see where you can save and where it's worth spending more.
Checking Local Building Rules
Some areas require permits for enclosing a breezeway. Check with your local building department before starting any work. Rules may cover electrical work, structural changes, and insulation.
Skipping this step can lead to fines or problems when selling your home. A quick call or visit to your local office saves a lot of trouble later.
Best Layout Ideas
The layout you choose depends on the size of your space and how your family uses it daily.
1. Narrow Walkway Layouts
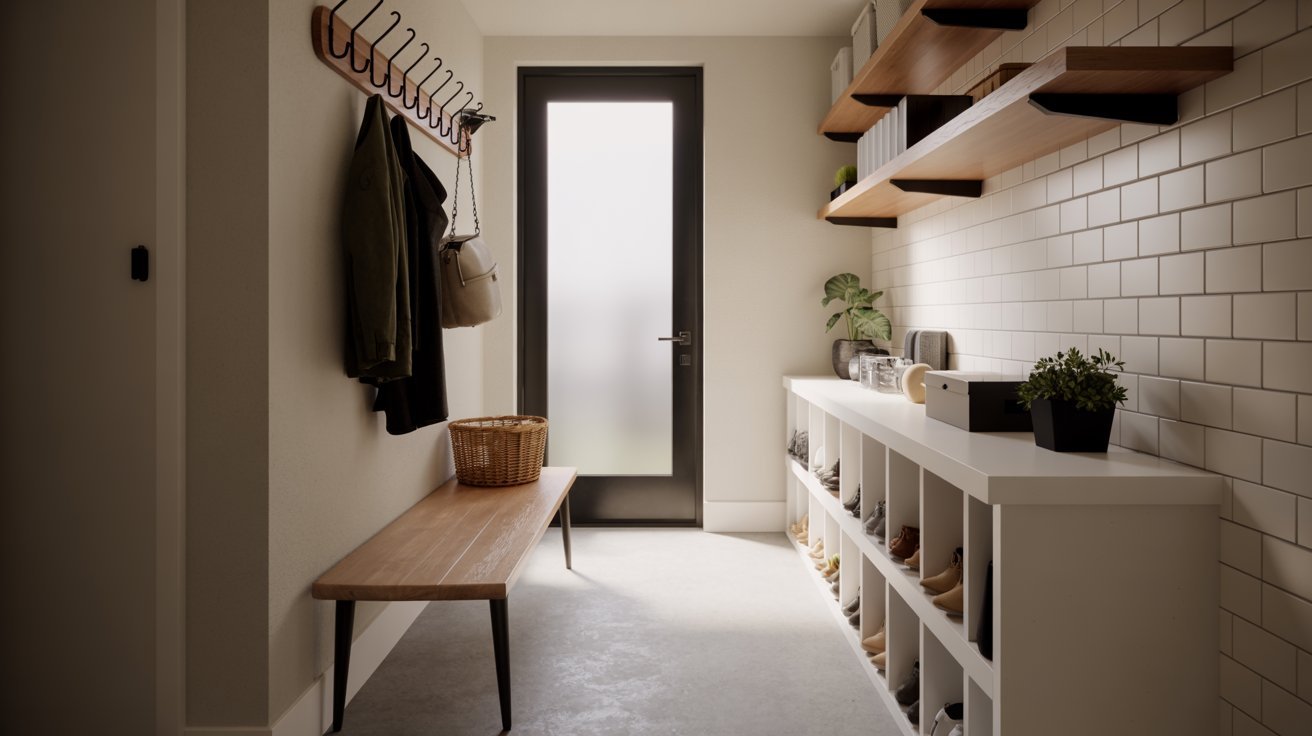
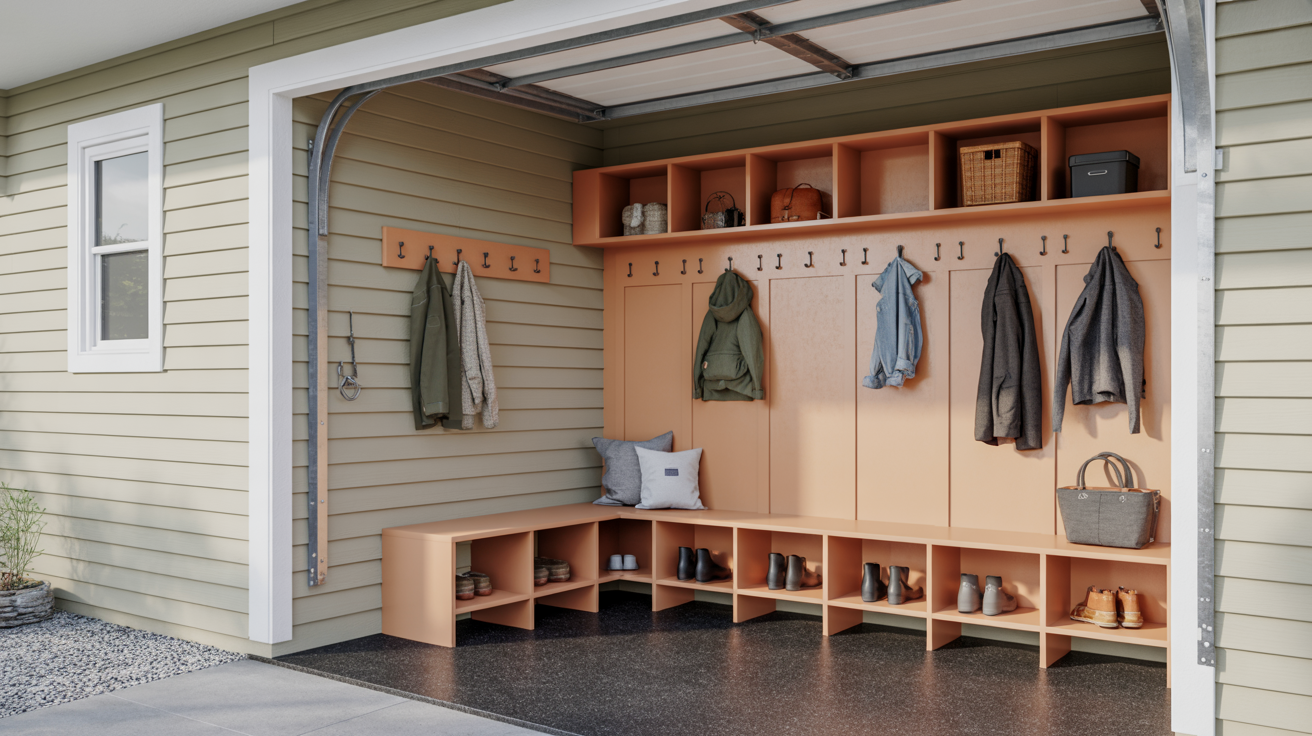
If your breezeway is narrow, keep things simple. A single row of hooks along one wall works well.
Add a slim bench below for sitting while putting on shoes. Use vertical space with shelves above the hooks.
Avoid bulky furniture in tight spaces. The goal is to keep the path clear while still adding storage.
2. Open Bench and Locker Arrangements
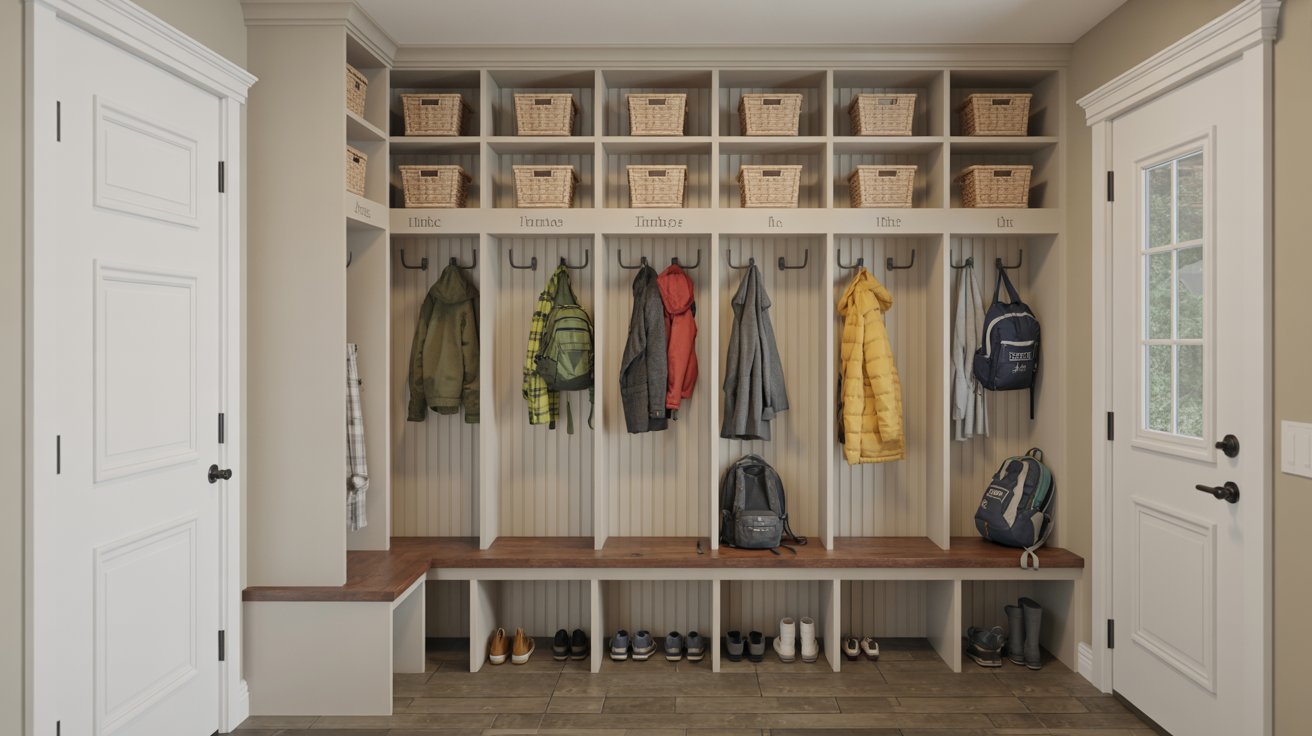
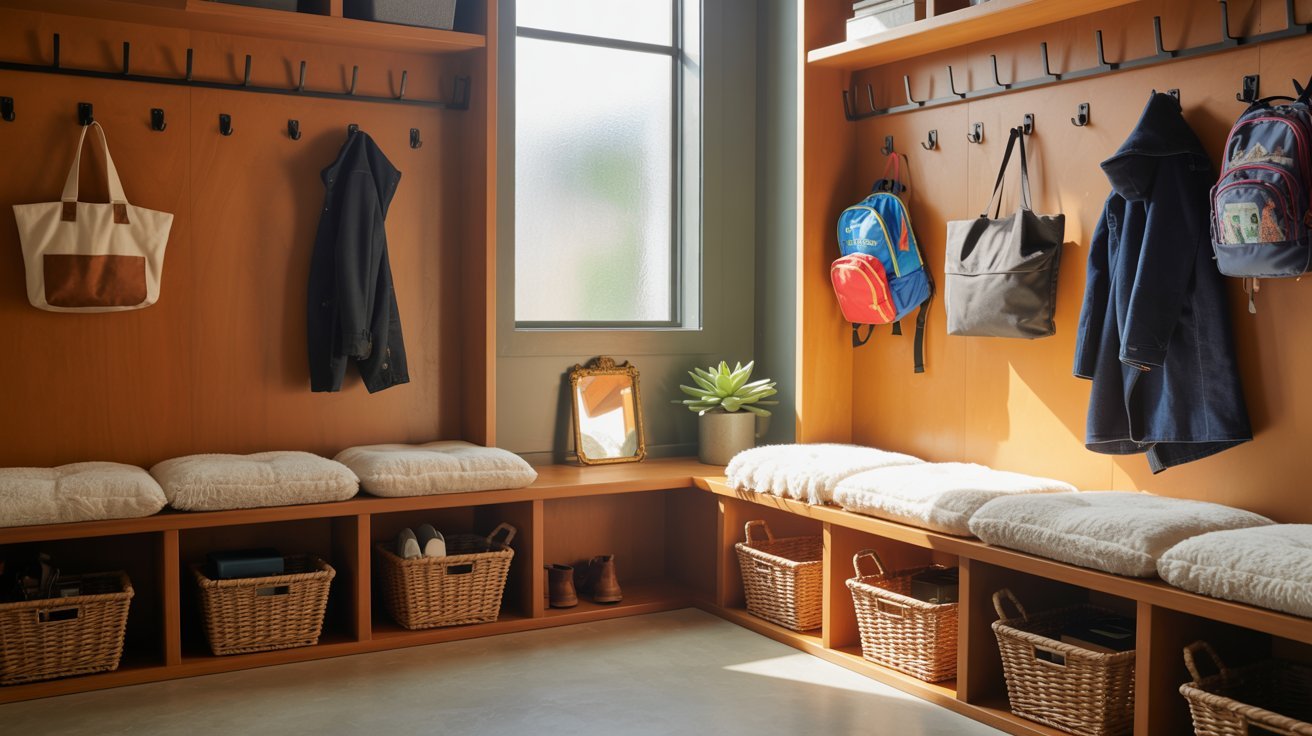
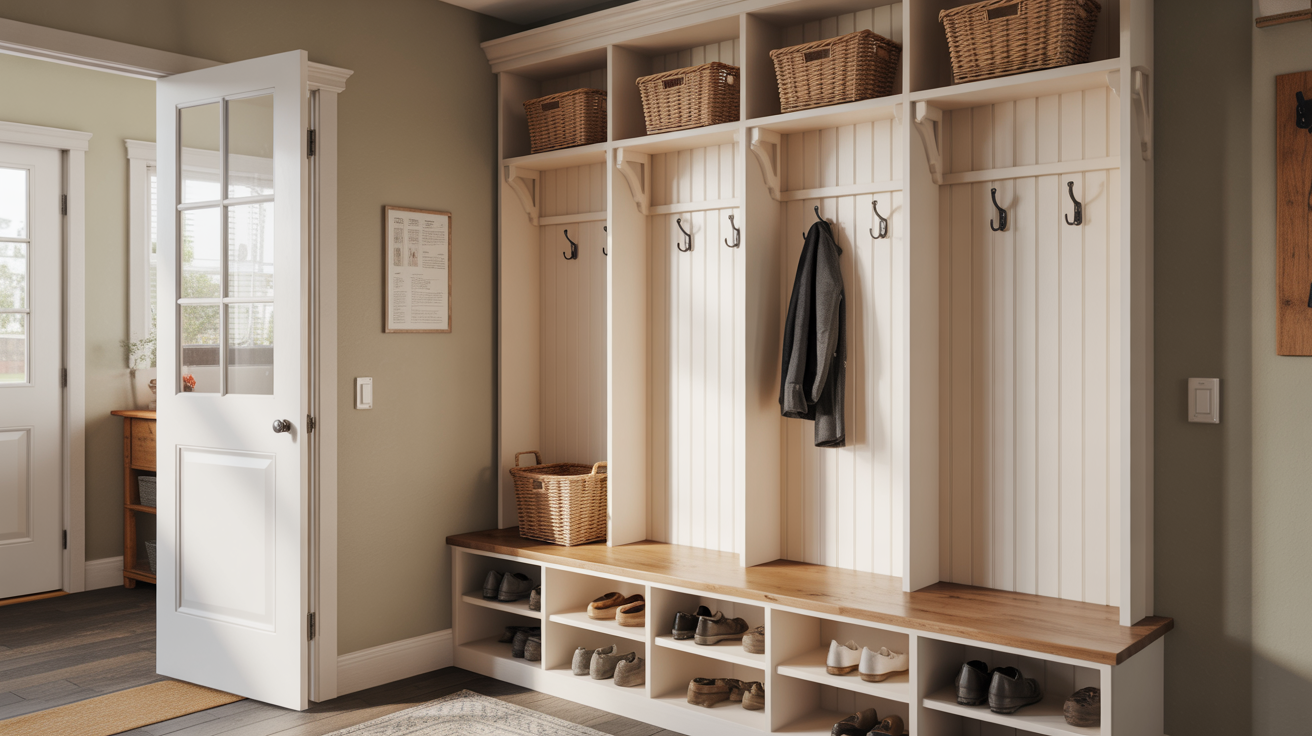
For wider spaces, consider a locker-style setup. Assign each family member their own section with a hook, shelf, and bin below. This keeps things organized and reduces morning chaos.
A long bench in the center or along one wall gives everyone a place to sit. Choose benches with storage underneath for extra functionality.
3. Combined Laundry and Mudroom Setup
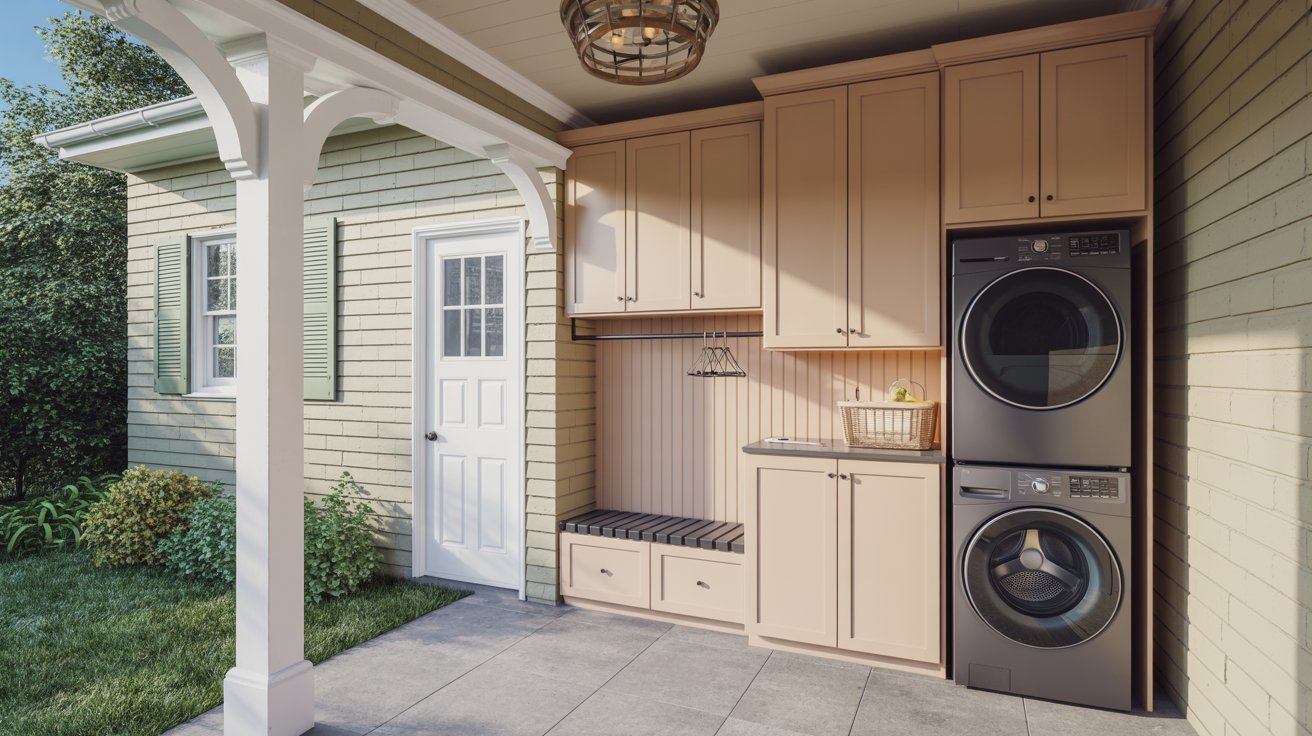
Some homeowners use the breezeway as both a mudroom and a laundry area. This works well if you have enough space and proper plumbing access.
Place the washer and dryer against one wall. Use the remaining space for coats, shoes, and bags. Add a folding surface above the appliances if possible.
4. Mudroom Designs for Small Spaces
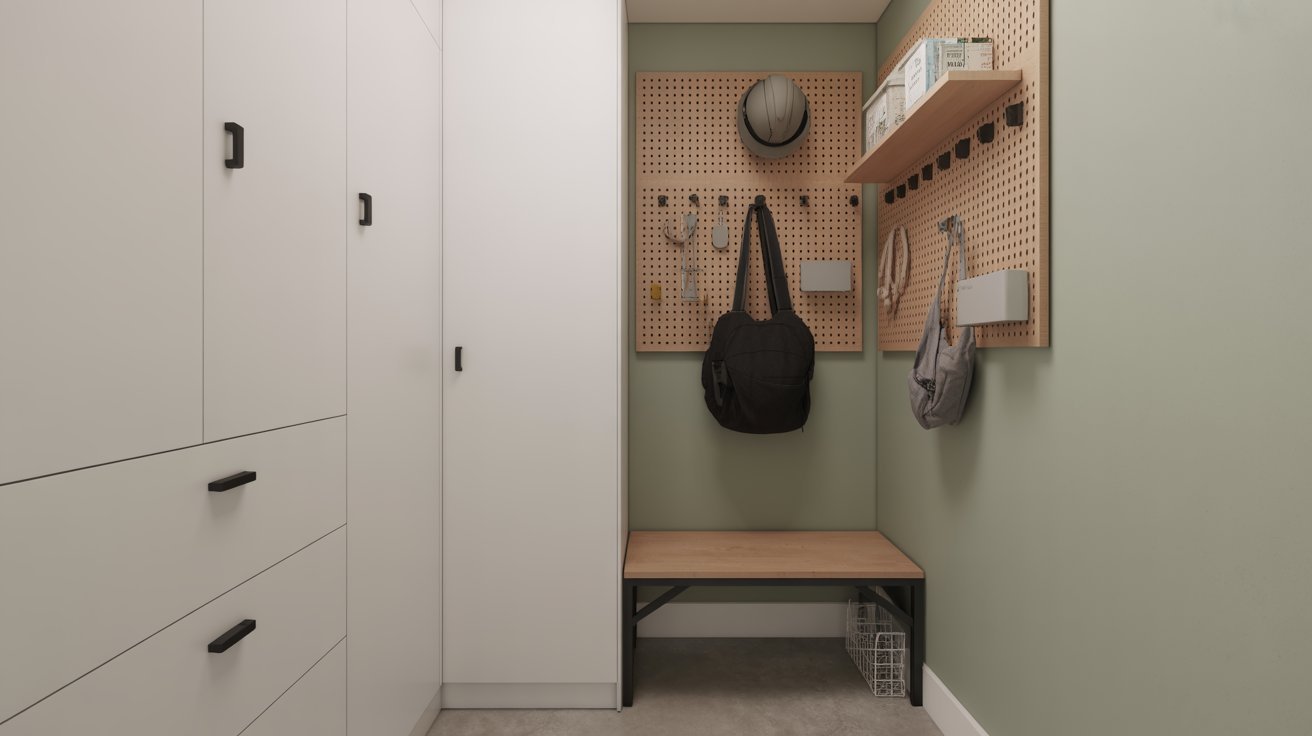
Small spaces need smart thinking. Use wall-mounted storage instead of freestanding units.
Foldable benches save floor space. A pegboard on the wall holds bags, hats, and light tools without taking up any shelf space.
Choose lighter colors on walls to make the space feel more open. Keep clutter minimal
Flooring and Wall Materials
The right materials make your mudroom easier to maintain and longer-lasting.
Waterproof Flooring Options
Mudrooms take a lot of abuse. Wet boots, muddy paws, and heavy foot traffic are daily realities. Choose flooring that handles all of this well.
Porcelain tile:It is one of the best options. It's waterproof, easy to clean, and very durable.
Luxury vinyl plank (LVP):It is another solid choice. It looks like wood but handles moisture much better.
Avoid carpet or hardwood in this area. They absorb water and stain easily.
Easy-to-Clean Wall Finishes
Walls in a mudroom get dirty fast. Choose finishes that wipe down easily. Semi-gloss or satin paint works well. It resists moisture and cleans with a damp cloth.
Beadboard paneling is a popular choice too. It's tough, adds a clean look, and holds up well in high-traffic areas.
Moisture Control Tips
Control moisture to protect your space long-term. Use a dehumidifier if the area tends to feel damp. Add weather stripping to doors to block rain and drafts.
Good ventilation matters too. A small vent or window helps air circulate and keeps moisture from building up on walls and floors.
DIY Tips for an Enclosed Breezeway Mudroom
You don't always need a contractor. With the right tools and a clear plan, many parts of this project are very doable on your own.
Tools and Materials Needed
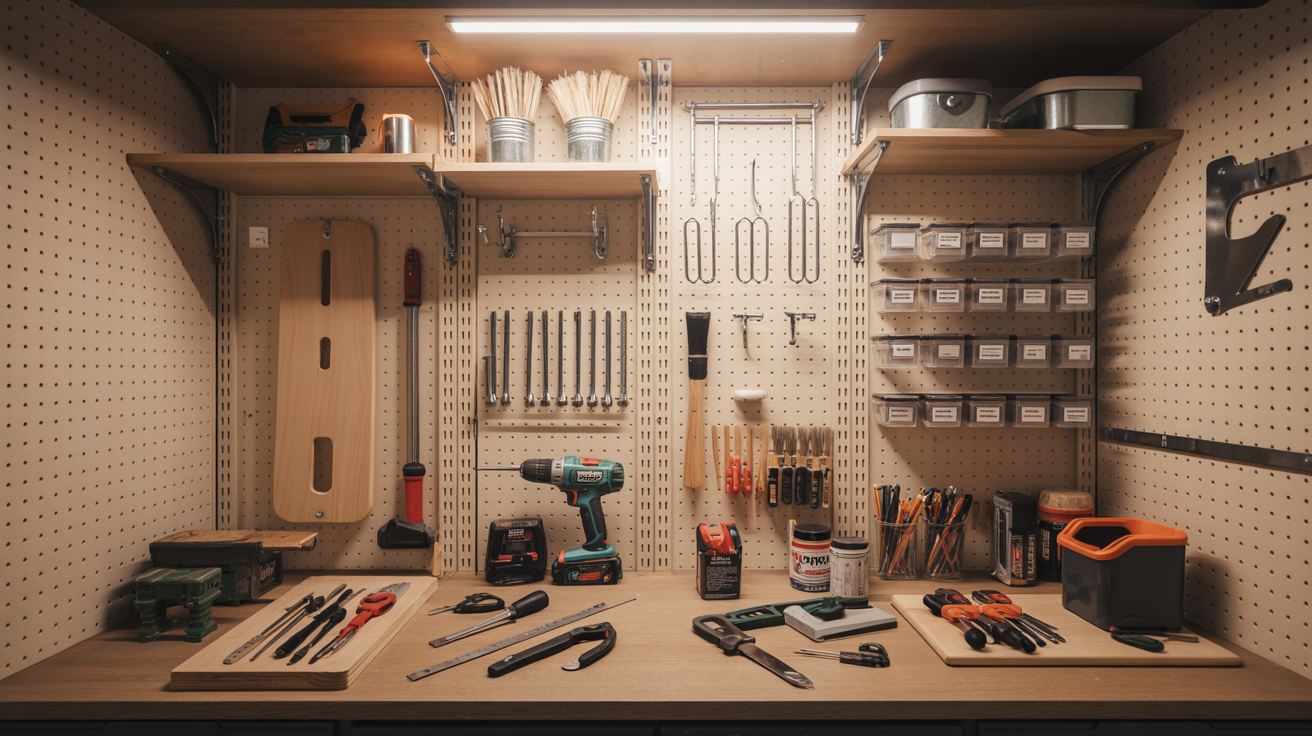
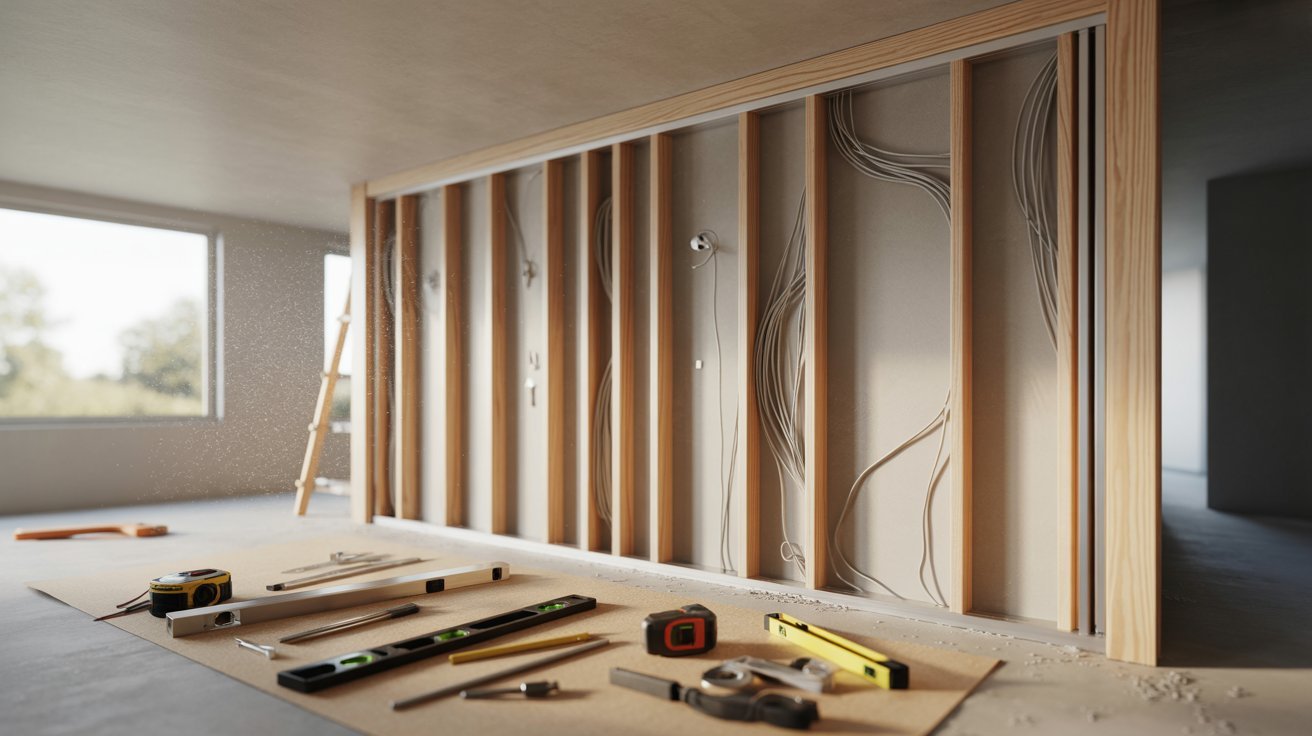
Before you start, gather what you need:
- Tape measure and level
- Drill and screwdriver set
- Stud finder
- Saw (hand or circular)
- Sandpaper
- Paint and brushes
- Wall anchors and screws
- Shelving brackets or pre-made units
- Hooks and mounting hardware
Steps for a Basic Setup
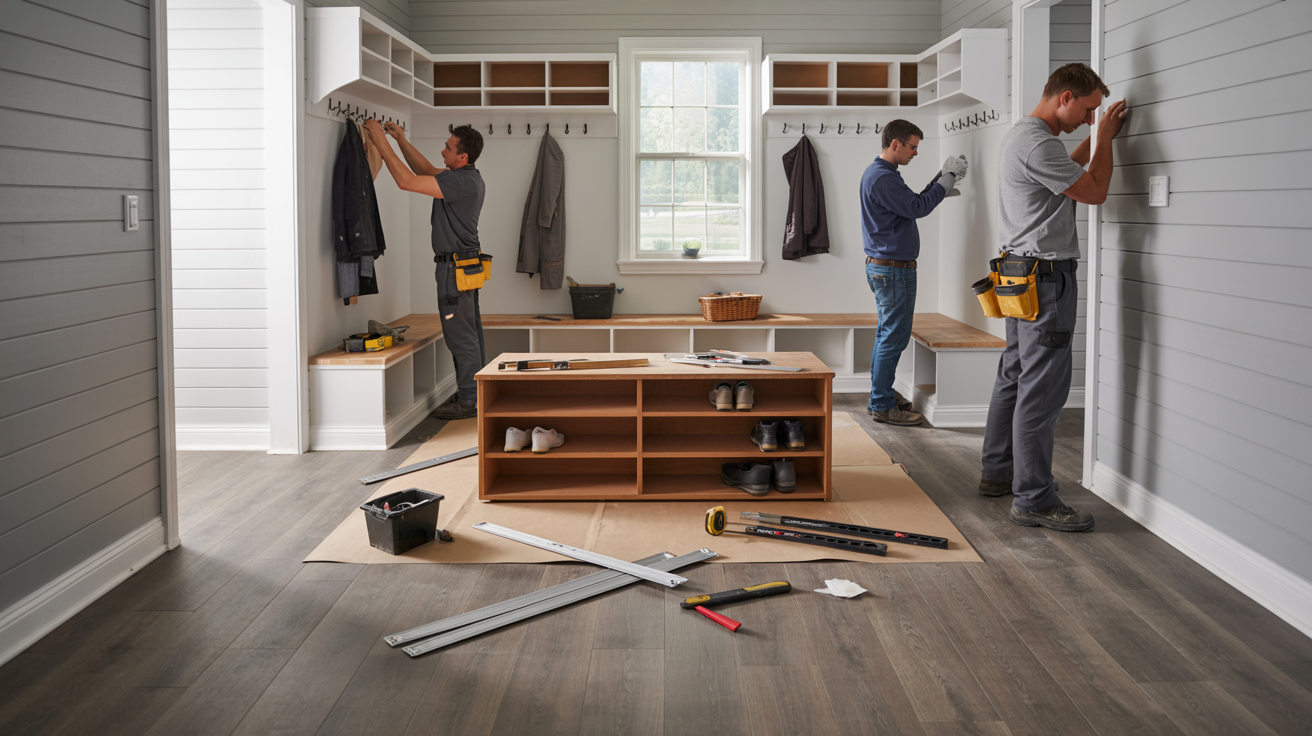
Here are the steps to be followed for a basic setup of an Enclosed Breezeway Mudroom.
- Measure the space and sketch a simple layout
- Install flooring first before adding any storage
- Mount hooks and shelving into wall studs for strength
- Add a bench, freestanding or built-in
- Paint walls and touch up edges last
When to Hire a Contractor
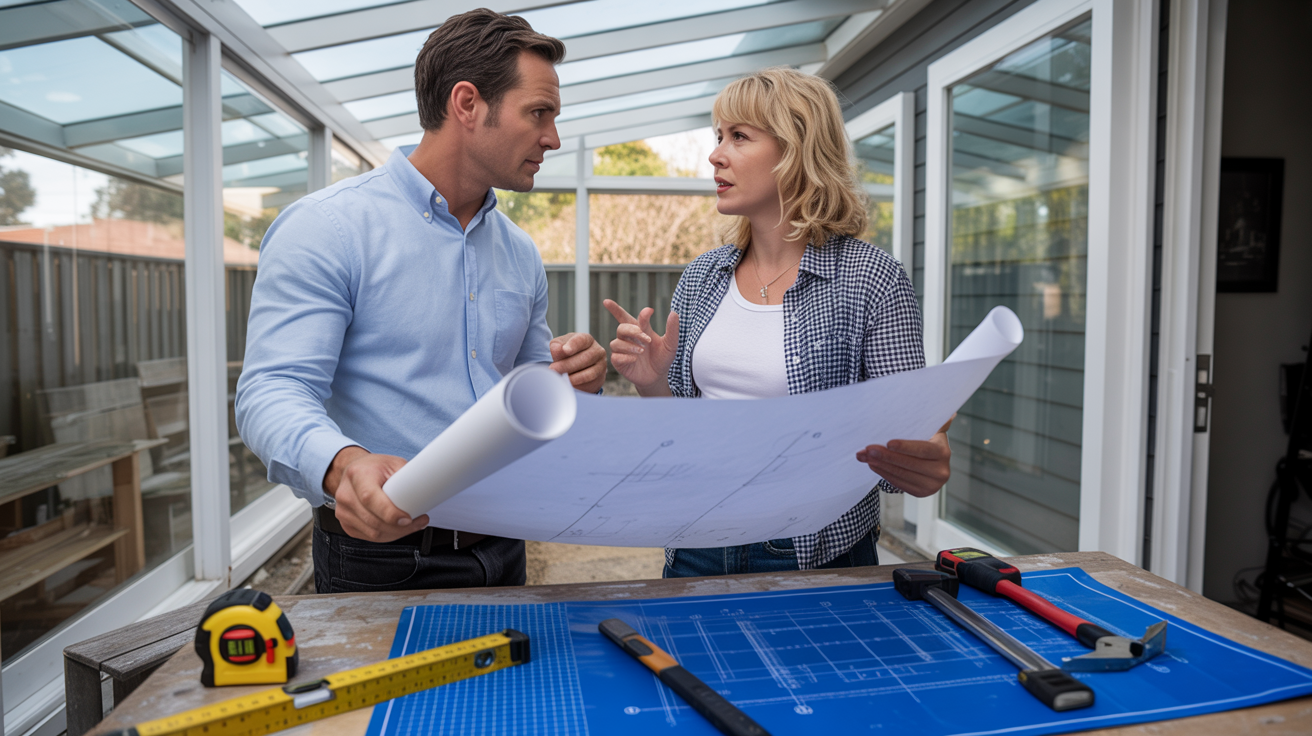
Some tasks are better left to professionals. If your project involves electrical work, plumbing, structural changes, or adding insulation, hire a licensed contractor.
Also consider hiring help if you're not confident with tools or if the project is large. A contractor can save you time and prevent costly mistakes.
Storage Solutions
Smart storage keeps your mudroom functional and tidy.
Shoe and Coat Storage
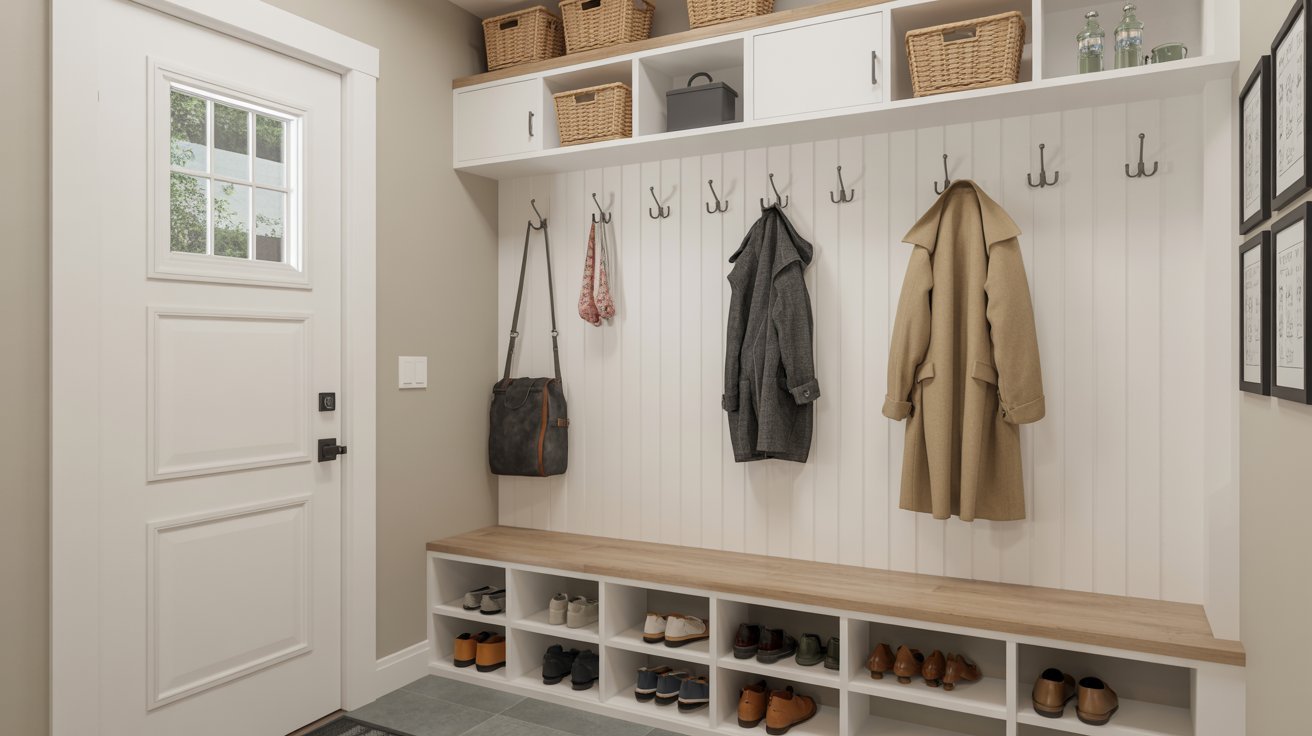
Shoes and coats are the two biggest storage needs in any mudroom.
Use a low cubby or open shelves near the door for shoes. A separate shelf or bin for wet and dry shoes keeps things more organized.
For coats, install strong hooks at different heights. Lower hooks work for kids. Higher ones are better for adults. A closet rod with a curtain is another option if you want to hide the mess.
Built-In Cabinets and Hooks
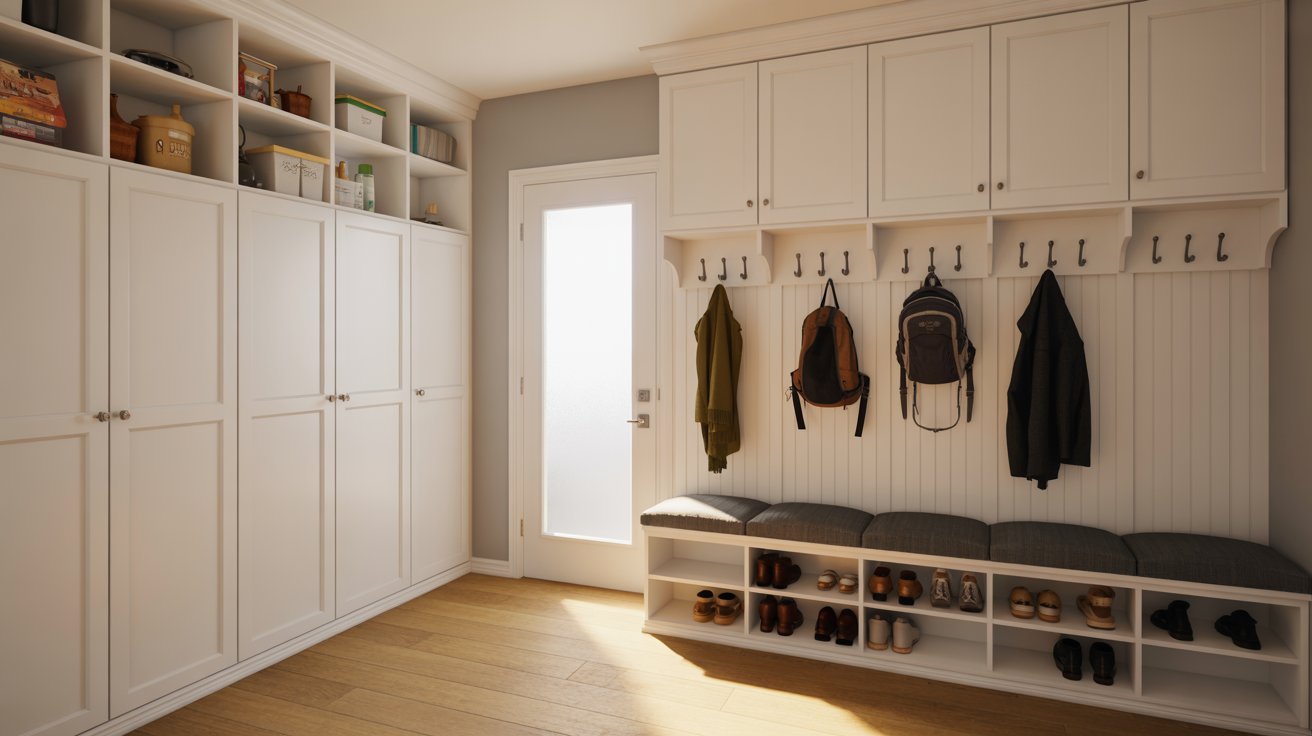
Built-in cabinets give your mudroom a clean, finished look.
They can be custom-made or assembled from standard units. Use upper cabinets for seasonal items and lower ones for daily use.
Hooks are simple but very effective. Install a row of them at a comfortable height. Choose heavy-duty hooks that can hold backpacks, umbrellas, and bags without bending.
Overhead Storage Ideas
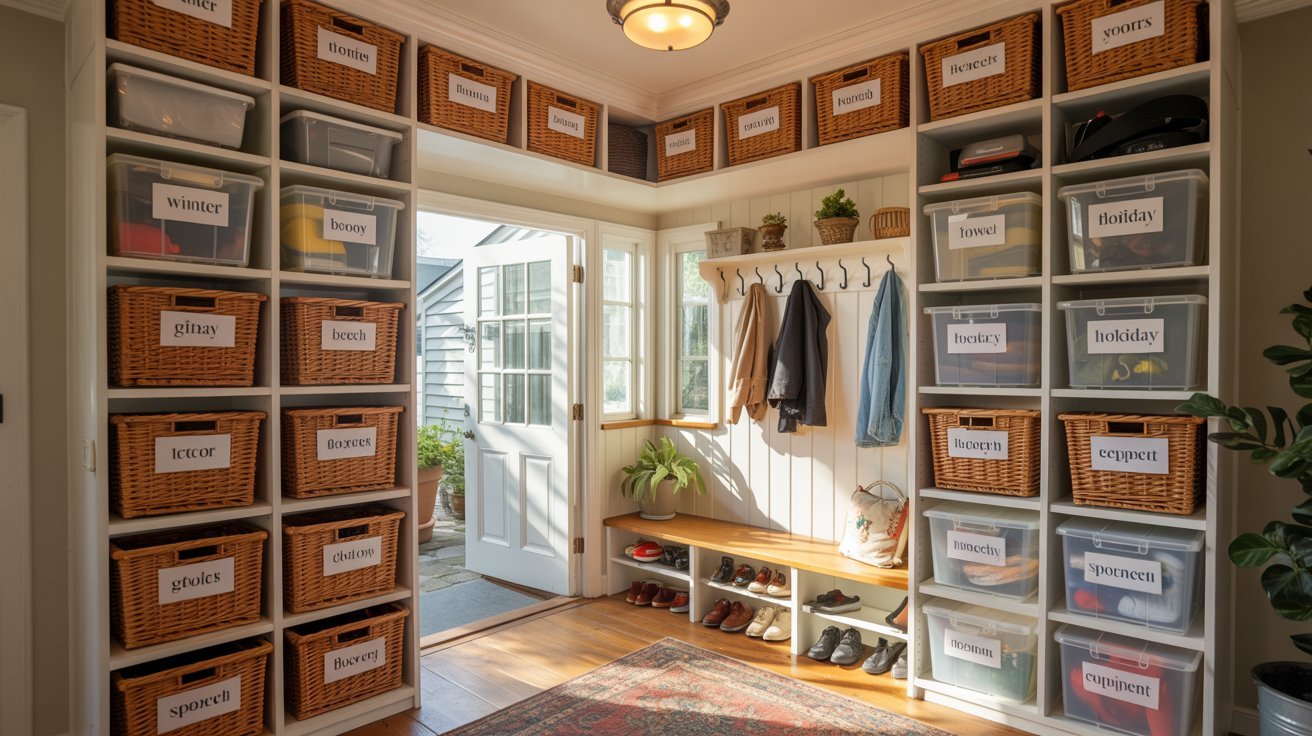
Don't ignore the space above eye level. Install shelves near the ceiling for items you don't need every day.
Baskets and bins on high shelves keep seasonal gear, sports equipment, and extra supplies out of the way.
Label everything. It makes it easier to find things and keeps the space from turning into a dumping ground.
Common Mistakes to Avoid
Here are five mistakes people commonly make when setting up an enclosed breezeway mudroom:
- Poor layout planning: Not measuring the space first leads to furniture that doesn't fit or walkways that feel cramped. Always plan on paper before buying anything.
- Lack of ventilation: Closed spaces with no airflow get damp and musty quickly. Add a vent, window, or small fan to keep air moving.
- Choosing the wrong materials: Using materials not suited for moisture or heavy use means frequent repairs. Always pick flooring and wall finishes made for high-traffic, wet-prone spaces.
- Ignoring lighting: Dark mudrooms are frustrating to use. Add overhead lighting or under-shelf lights to brighten the space.
- Skipping permits: Making structural changes without checking local rules can cause legal and financial problems. Always verify before starting.
Conclusion
Building an enclosed breezeway mudroom was one of the most practical decisions I've seen homeowners make.
It keeps homes cleaner, reduces clutter, and gives every family member a space of their own.
I hope this guide helped you see what's possible, even in a small or awkward space. Start with good planning, pick the right materials, and don't rush.
Have questions or ideas to share? Drop a comment below. And if this guide helped you, share it with someone planning a similar project!
Frequently Asked Questions
Can I turn a small breezeway into a mudroom?
Yes, even a narrow breezeway can work well with wall hooks, slim benches, and vertical storage.
What is the best flooring for an enclosed breezeway mudroom?
Porcelain tile and luxury vinyl plank (LVP) are great choices because they are waterproof and easy to clean.
Do I need a permit to enclose a breezeway?
In many areas, yes. Check local building rules before starting any structural, plumbing, or electrical work.
How much does an enclosed breezeway mudroom cost?
Costs vary based on size and materials, but a simple DIY setup can be budget-friendly compared to custom builds.
How do I keep a mudroom from getting messy?
Use labeled bins, shoe storage, hooks, and regular cleaning habits to keep everything organized.